
When Santa got stuck up the chimney cake!

Step by step tutorial by Sarah Harris
When Santa got stuck up the chimney,
He began to shout,
You girls and boys,
Won’t get any toys,
If you don’t pull me out.
There’s soot on my back,
And my beard is all black,
My nose is tickling too.
When Santa got stuck up the chimney, Achoo, Achoo, Achoo!
We all know and love the song, so why not follow this in depth step by step tutorial from Sarah at The Cupcake Range and create this amazing when Santa got stuck up the chimney cake! Skill Level: Advanced.
Materials List:
- KSD Sugar Buttons Father Christmas mould
- KSD Sugar Buttons reindeer mould
- KSD Sugar Buttons gingerbread man mould
- KSD bow trio
- KSD brickwork mould
- KSD stone mould
- KSD clock mould
- KSD Sugar Buttons penguins mould
- KSD holly trio
- KSD cable knitting mat
- Cornflour to dust the moulds with
- Fondant/sugarpaste in the following colours – chocolate brown, grey, black, red, yellow, white, green, orange, brick red, beige
- Small amount of white modelling paste to make the clock face
- Edible black marker pen (or fine paint brush and black colouring gel)
- 18cm round cake drum
- 15mm wide chocolate brown ribbon to go round cake drum and double sided sellotape or glue to secure
- Edible glue
- Dresden tool
- Rolling pin
- Other embellishments as desired eg. gold stars, gold balls, candy stick, snowflakes
- A cocktail stick
- Icing sugar to dust
- Rich fruit cake approximately 13cm wide, 3cm in depth and 8cm tall covered with a thin layer of marzipan which has been left to dry*
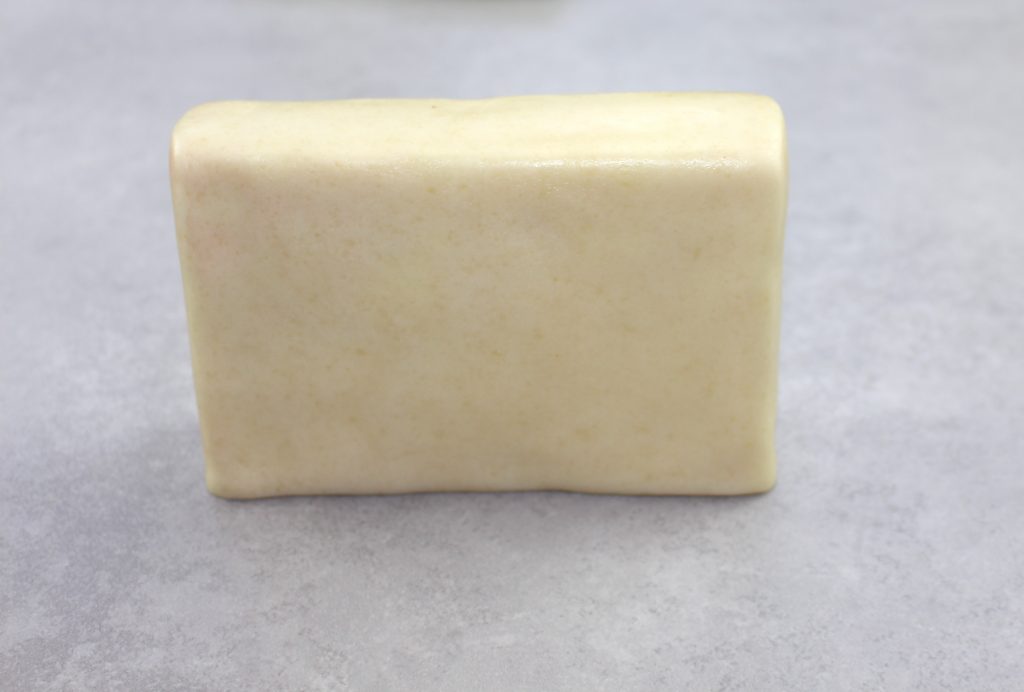 * if preferred a madeira cake can be used instead, the cake just needs to be quite sturdy. Alternatively if the chimney is to go on the top of a cake instead of the base board, you could use rice krispie treats covered in marzipan.
Prepare the base board in advance:
Roll out some chocolate brown fondant and cover the cake drum. Create the wood grain effect using a dresden tool (or use KSD Wood Panel Mould), marking lines approximately 2cm apart across the board to make the wood panels. Attach the chocolate brown ribbon around the cake drum using double sided sellotape to secure. Set aside for the fondant to dry.

Prepare the decorations in advance:
Using your KSD moulds, make the following:
Four Stockings
I made one red, one green, one yellow and one orange, each topped with white – using the Sugar Buttons Gingerbread Man mould.

Three Red Bows
Using the KSD bow trio mould.

One Rudolph Reindeer
Using the KSD Sugar Buttons reindeer mould.

Two Small Penguins
Using black, white, orange fondant and the KSD Sugar Buttons penguins mould.

One White Clock
Using white modelling paste for the face and black fondant for the hands. Once the clock face has dried, add in the black detail around the edge of the clock and the numbers using an edible black pen. Then glue in place the clock hands.

Holly leaves/berries using dark green and red fondant – I used 2 medium sized and 3 small holly leaves, using the KSD holly trio mould.
Make all of the other embellishments too except Santa’s legs and the knitted hearth mat.
Covering the cake:
You will need to roll out enough brick coloured fondant (I used poppy red fondant mixed with a little chocolate brown fondant to get the brick shade) to cover the front, back and the sides of the chimney breast. Emboss the fondant to create the brick effect before applying to the cake using the KSD brickwork mould. Use edible glue brushed onto the front, back and sides of the cake to attach the fondant with.
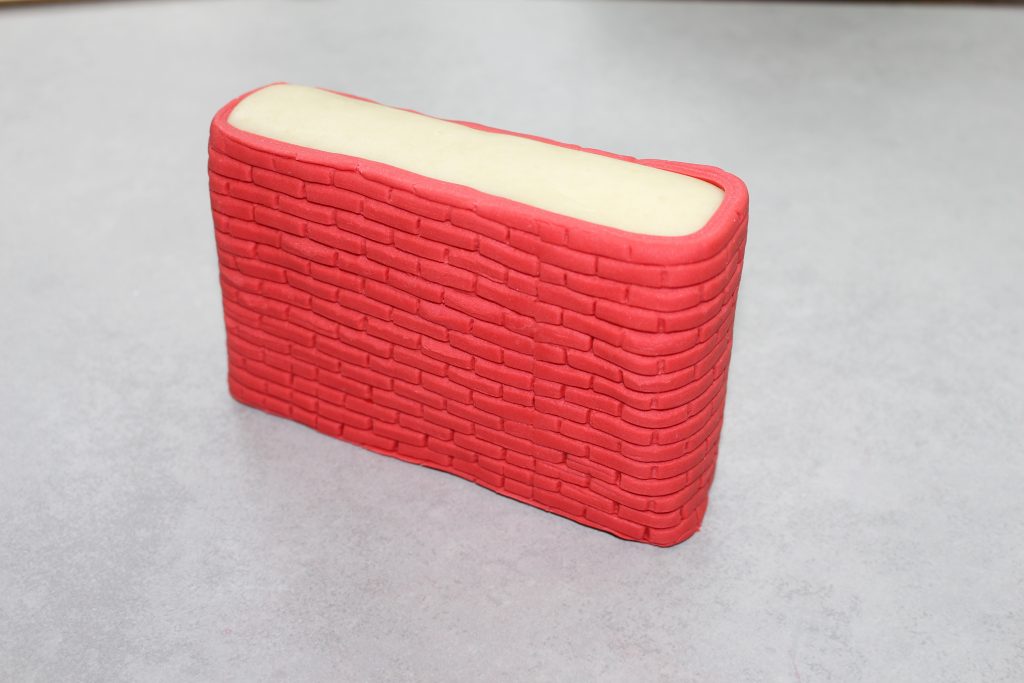
Top Tip:
It is quite tricky to cover the whole of the chimney in one piece of fondant so if preferred cover the front and sides with one piece and the back with a separate piece ensuring that the bricks line up with each other.
Create a small paper template of the fire place arch checking to make sure it is wide enough for Santa’s legs to fit on and small enough to fit under the stockings allowing enough room for the grey brick surround to be added afterwards. Once happy with the size use this to cut out a piece of black fondant and glue onto the centre of the fireplace.


Roll out some grey fondant and create the brick effect using the bottom row of bricks from the KSD brick embosser and glue in place. Blend in any joins in the fondant so they don’t show.
Glue in place the four stockings so that each is at a slight angle and they touch the top of the brickwork.

Next roll out a thick long rectangle of chocolate brown fondant slightly longer and wider than the top of the cake to create the mantel piece and attach in place so that there is a slight overhang all around. I used 90 grams of brown fondant for the mantelpiece. Lightly mark the top with a Dresden tool to create a wood grain effect if desired.

Position the cake in the center of the covered cake drum as shown in the photo. If necessary secure to the base board with a little edible glue and leave to set.

Roll out some beige coloured fondant, emboss with the KSD cable knitting mat and trim to size to fit on the floor in front of the fireplace to create a rug.

Santa’s legs:
Using some black fondant for his boots and some red and white fondant or modelling paste for his legs and the bottom part of his jacket, use the KSD Sugar Buttons Father Christmas mould to make Santa’s boots, legs and lower body.


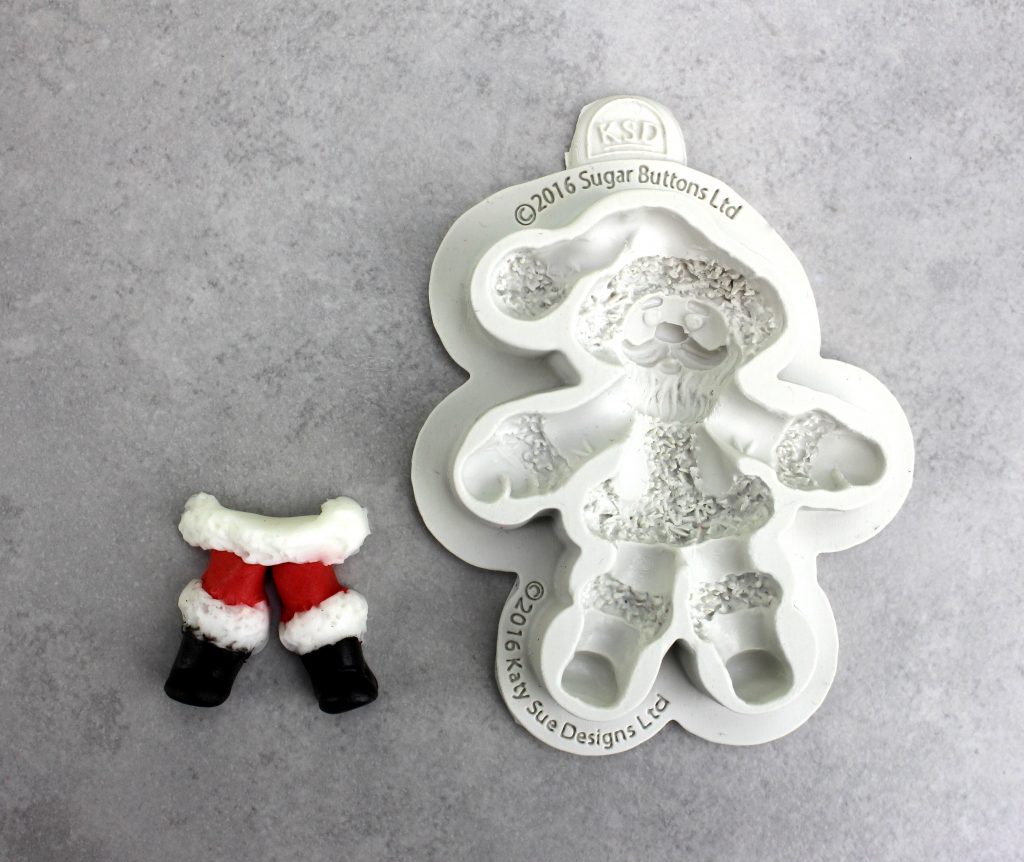
Trim to fit under the arch of the fireplace and glue into place so that his boots dangle slightly off the floor. 
Finishing touches:
- Decorate the top and front of the mantle piece as desired, inserting a cocktail stick behind the clock to secure if it doesn’t stay in place with just glue. Make sure that the clock is positioned so that the number 12 is at the top.
- Stick Rudolph in place.
- Make a tiny white plate to place at the front with some carrots and chocolate chip cookies on it made out of fondant.
- When finished, dust Santa’s boots with a light covering of icing sugar to represent snow, adding some to the bottom of the fireplace, around the back of the rug and across to where Rudolph is sitting to look like footprints.

Alternative ideas for variations:
- Create a picture frame out of modelling chocolate instead of the clock and include inside an edible image of your family/ favourite pet or a snow scene.
- Make some edible Christmas cards to go on top of the mantelpiece using modelling paste for the cards and once dry add details using edible marker pens.
- Place two small candles on the top of the mantel piece either side of the clock
- Add in a Christmas tree and or some presents
- If you are feeling ambitious, make the cake entirely reversible so that you have another fireplace at the back maybe with Santa fully down the chimney holding his sack of presents with a little soot smudged on his face.
- Use a firm chocolate cake covered in chocolate ganache or buttercream instead of the fruit cake
Sarah Harris, The Cupcake Range
Leave a comment