Golf Medal Cupcake Topper Tutorial by Gilles Leblanc
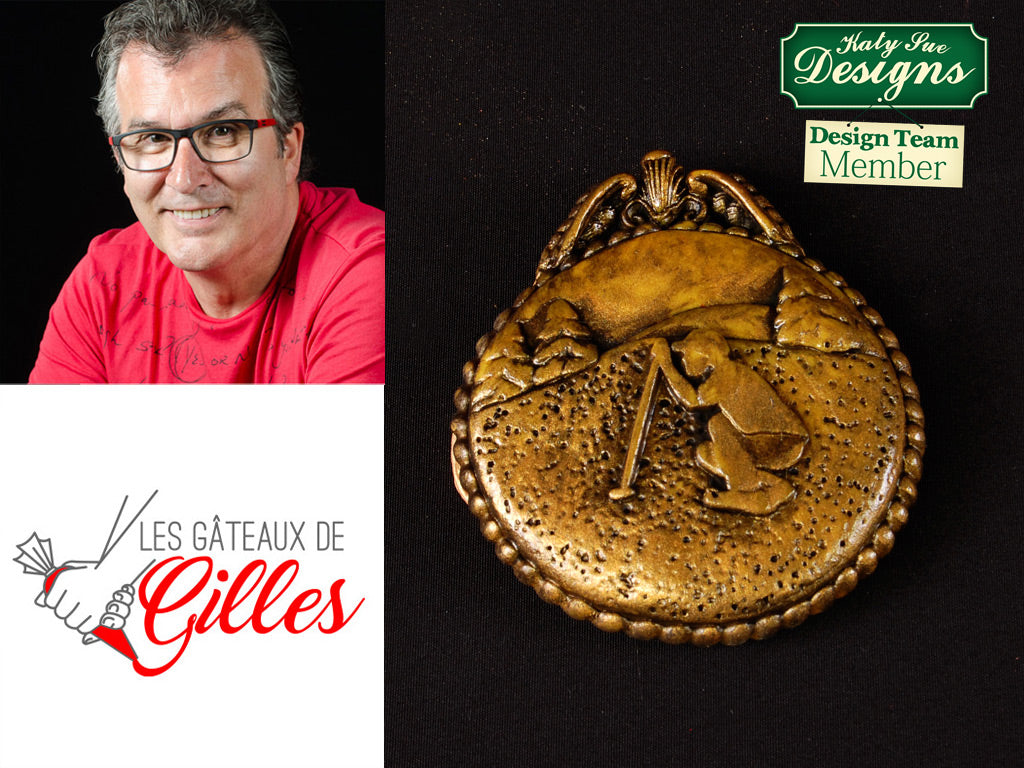
Follow this detailed step by step tutorial by Gilles from Les Gateâux de Gilles and make your very own Golf Medals! Perfect for the top of any cupcake or cookie!
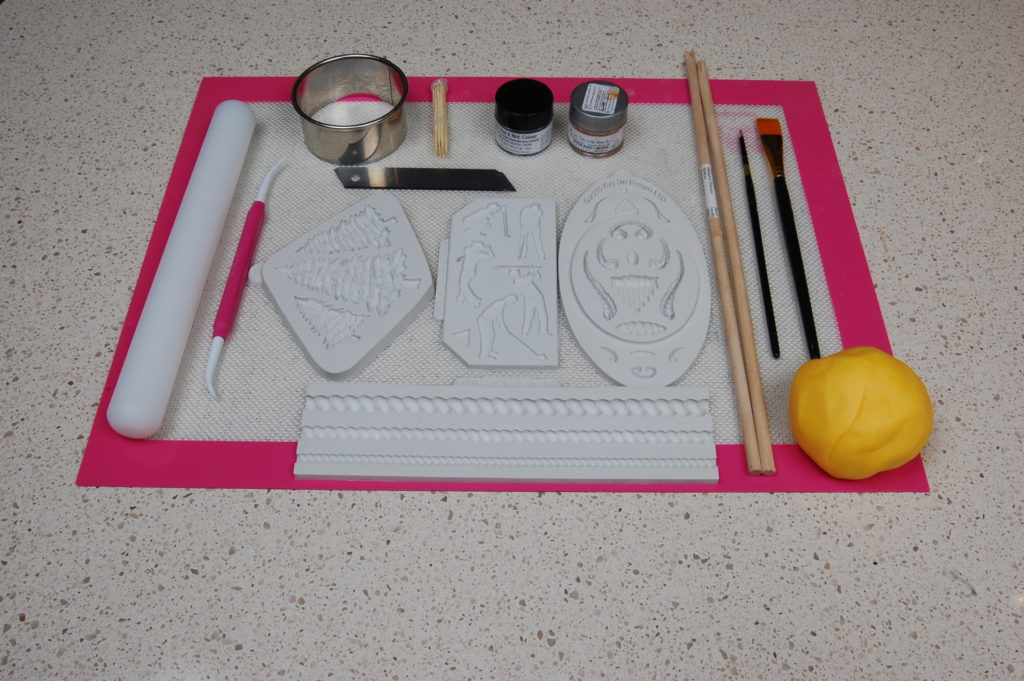
Here is a list of the material needed:
- Katy Sue Designs – Fir Tress Silicone Mould
- Katy Sue Designs – Golf Silhouettes Silicone Mould
- Katy Sue Designs – Creative Cake System – Mini and Micro Border Set Silicone Mould
- Katy Sue Designs – Creative Cake System – Rope Border Silicone Mould
- Small rolling pin
- Dresden tool
- 2.5 inches circle cutter
- Sharpe blade
- A bunch of toothpick
- Roxy & Rick black petal dust and Gold Hybrid lustre dust
- 2 X .25 inches wood dowel
- Paint brush
- Fondant
- Edible glue, Vodka, plastic food wrapper

Step 1
Let start by rolling some fondant to the thickness of the wood dowel.
Step 2
Removed a small piece and roll it to about 1/16 of an inch.

Step 3
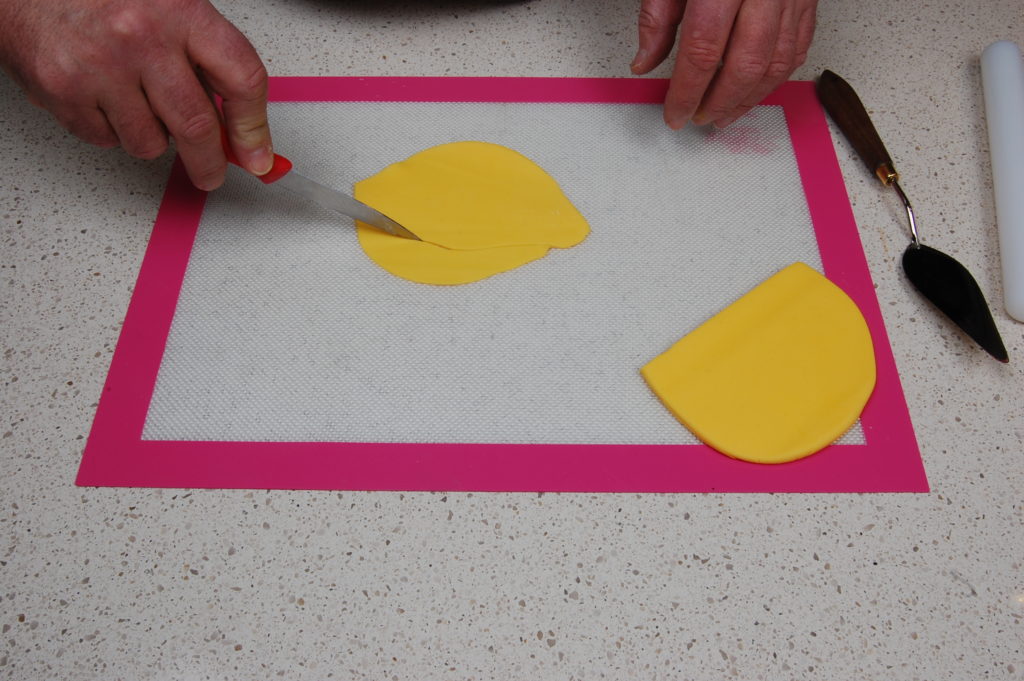
Cut the top part in a wavy motion.
Step 4
Then place the thin fondant over, in the middle the thicker piece.
Step 5
With the fir tree mould make some small trees and place them over the fondant as shown in the picture.
Step 6
Then make one of the golfer using the Golf Silhouettes mould and apply some edible glue.
Step 7
Place the mould over the fondant and align the golfer to the centre.
Step 8
Take the plastic film and wrap it tightly around the circle cutter.

Step 9
Then center it over your piece and press it down firmly
Step 10
Remove the excess of fondant before lifting your cutter.
Step 11
Using a bunch of toothpicks glued together, texture the part that would be grass.
Step 12
Then with your Dresden tool, remake some accent on the trees.
Step 13
At this point, put your piece on some parchment paper for easy manipulation.
Step 14
Using the Rope Border mould make a border using the smallest rope.
Step 15
Apply some edible glue around the piece and glue the rope on it.
Step 16
With the Mini Micro mould, make the small shell and flatten the tip.
Step 17
Also make a small Scoop and 2 S scrolls.
Step 18
Cut the S scrolls at an angle about half way.
Step 19
Put some edible glue on your piece and assemble the small pieces.
Step 20
Starting with the small Scoop followed by the Shell piece and a small fondant ball to the top.
Step 21
Glue the S scroll on each side. And voila your piece is ready for painting.
Step 22
Using Roxy & Rich Gold Hybrid dust mixed with some Vodka make some paint and paint your piece with an Airbrush.
Step 23
Let the paint dry and then dust it with some black petal dust.
Step 24
Then with a damp paper towel removed the excess of dust, be careful not to remove the gold paint.
Step 25
I like to finish by applying a coat of edible glaze to protect the finish.

 Cosmic Shimmer


Leave a comment