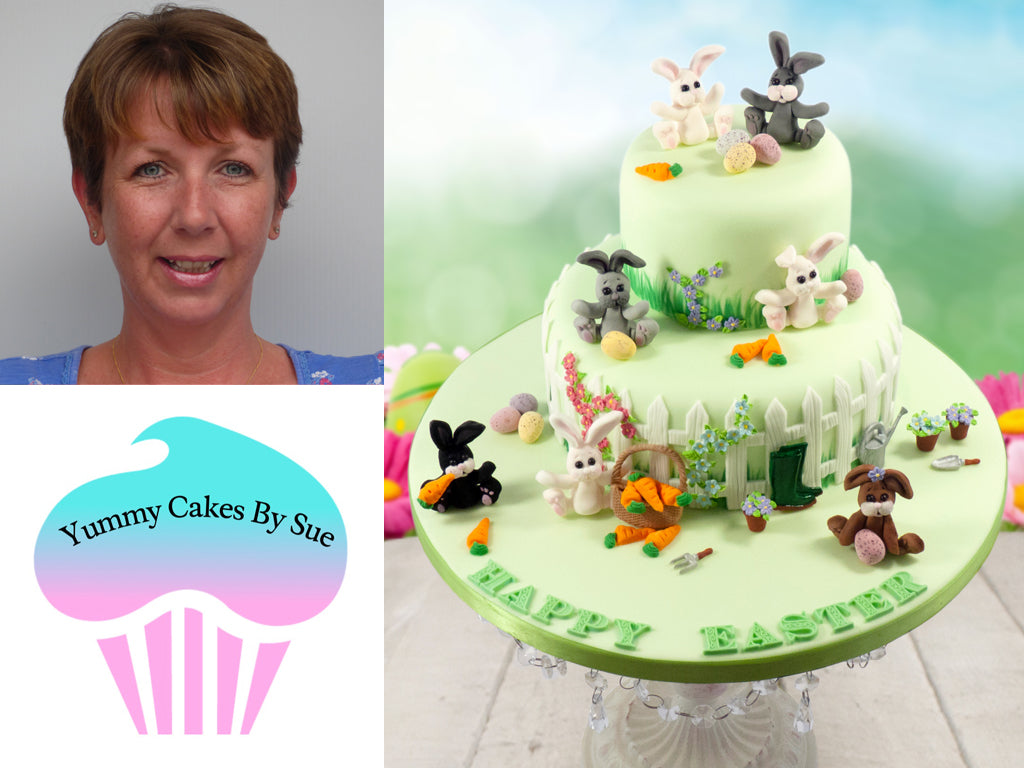
Fun Easter Cake Decorating Project by Sue Pinnick

If you’re making a cake for Easter this year why not use this super fun project from Yummy Cakes by Sue as your inspiration.
Here is a list of the material needed:
- Katy Sue Designs – Wood Panel Mould
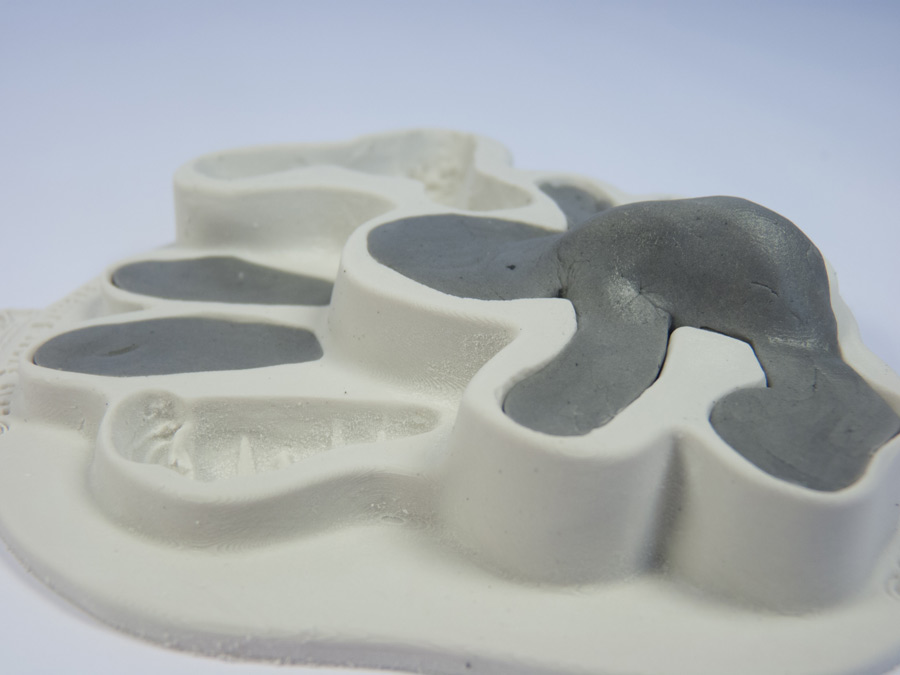
- Sugar Buttons – Rabbit Mould
- Katy Sue Designs – Basket and Flowers Mould
- Katy Sue Designs – Garden Accessories Mould
- Katy Sue Designs – Manuscript Alphabet
- 8” (20cm) Cake and a 5” (12cm) Cake on a 14” (35cm) Board Covered In Spring Green Sugarpaste
- FMM Picket Fence
- Modelling Paste
- Powder Colours and Clear Alcohol
- Edible Glue
- Royal Icing
- Small Black Pearls
- Mini Easter Eggs

Step 1

Cover cakes and board in a Spring Green sugarpaste. Dowel, stack and attach a ribbon. Stack the bottom tier to the back of the board and the 2nd tier to the back as well.
Step 2

Using a fine paint brush 00 and green powder colour mixed with clear alcohol, paint the grass at the bottom of each cake.
Step 3

To make the picket fence, roll-out some white modelling paste.
Using a rolling pin, press KSD Wood Panel firmly to get the wood effect and cut out approximately 10 picket fences and attach to the side of the bottom tier with some edible glue.

Step 4

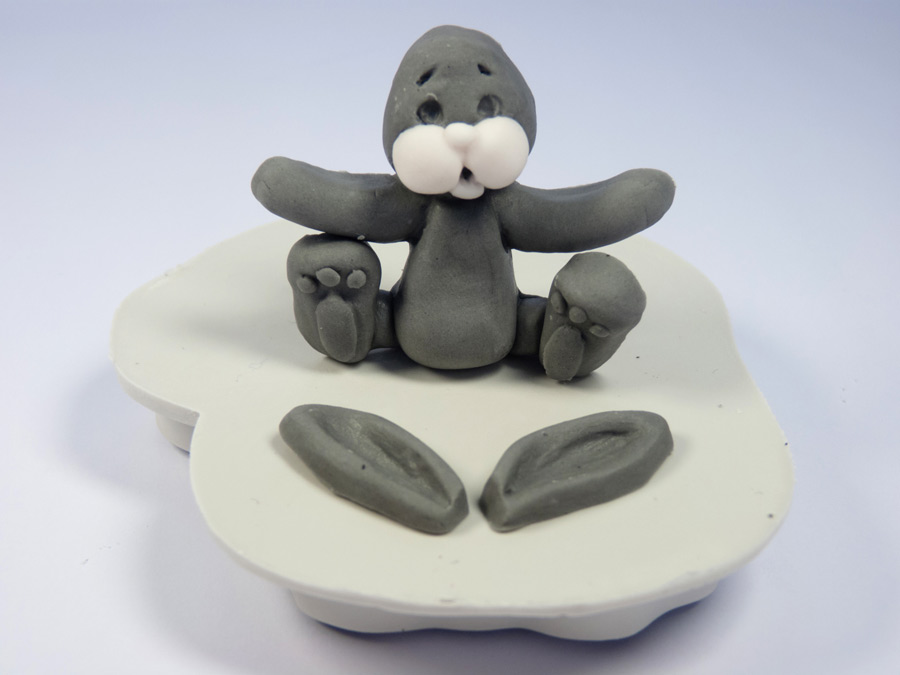
Make 7 rabbits using KSD Sugar Buttons Rabbit mould in different colours and attach the ears with edible glue. Dust the feet, ears and nose with pink powder colour and allow to dry before royal icing them to the cake.
Step 5
To get the rabbits to sit up, leave some excess paste at the back of the body.
Step 6

Using a small ball tool, indent marks for the whiskers.
Step 7
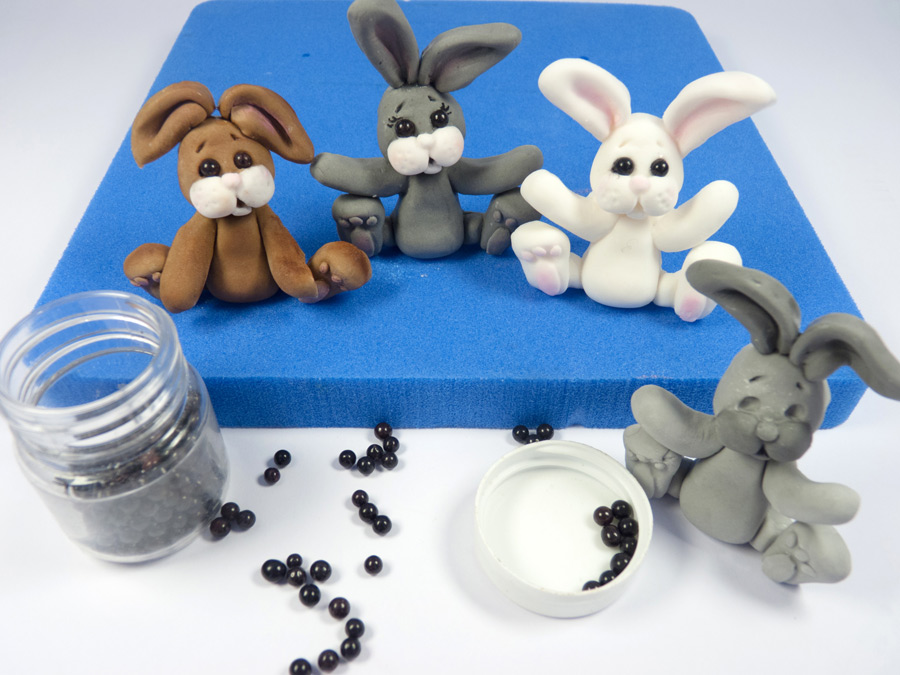
For easy animal eyes, glue 2 small black pearls for the eyes and then paint some eyelashes.
Step 8

Using the KSD Basket and Flowers mould, make a basket and dust with some powder colour. Leave this to dry overnight so it hardens.
Step 9


Using KSD Basket mould, make lots of tiny flowers and colour them before royal icing them onto the cake and up the picket fence. Save a few to put on the top of the plant pots.
Step 10

Make several carrots using the Sugar Buttons Rabbit mould by starting off with a small amount of green paste and then add orange paste. Attach to the basket and place them around the cake.

Step 11
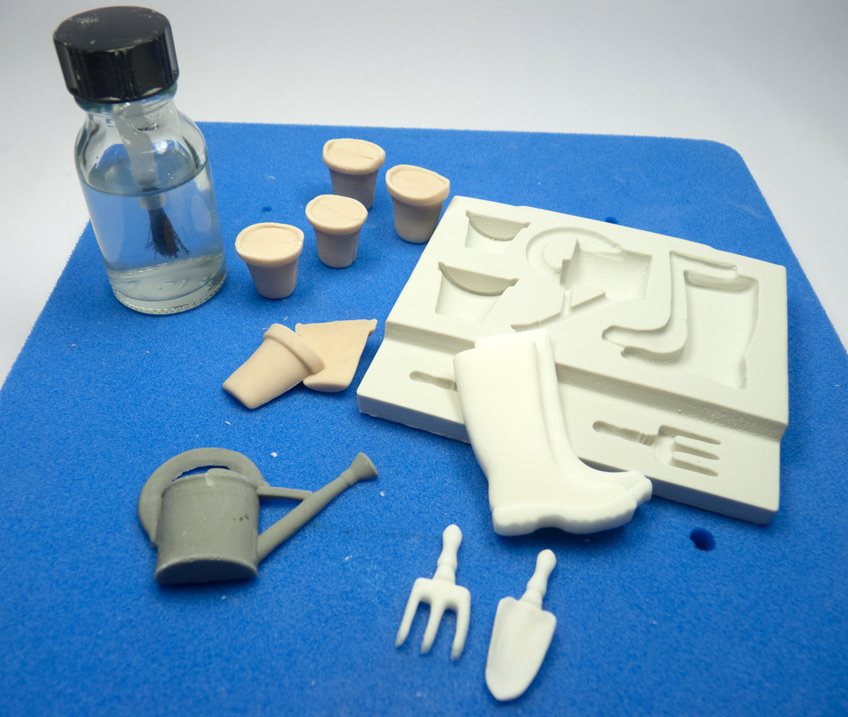
Using the KSD Garden Accessories mould, make a watering can, wellingtons, trowel and fork.
To make the plant pots stand up. Make 2 and glue them back-to-back. Roll your thumb and finger to get them more rounded.
Colour all of the accessories mixing powder colours and clear alcohol.
If you want a good shine on your wellingtons, paint some edible glaze once they are coloured.
Step 12
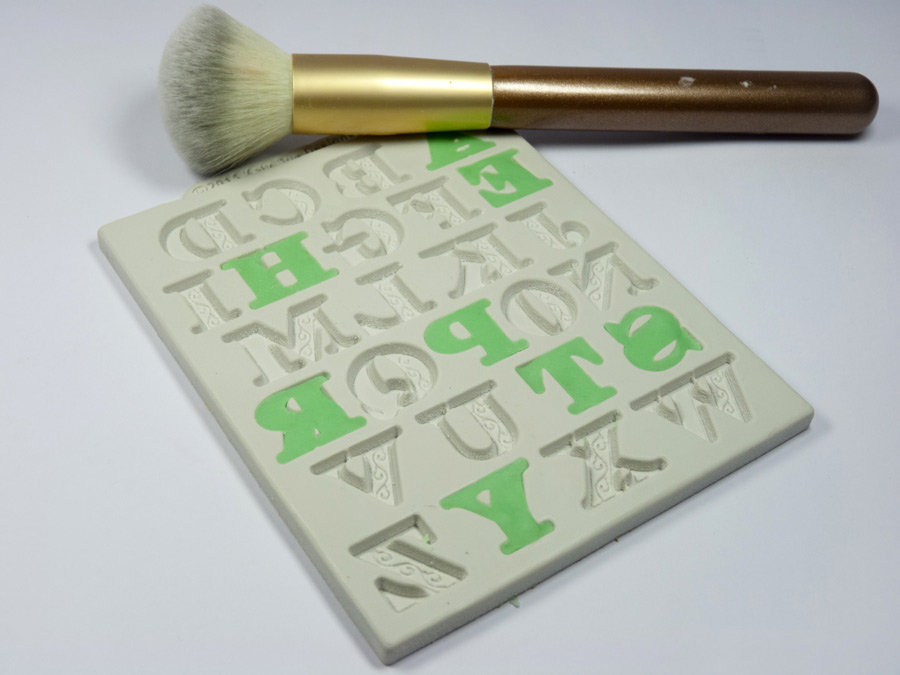
Make the lettering with KSD Manuscript Alphabet and glue to the base of the board.
Step 13
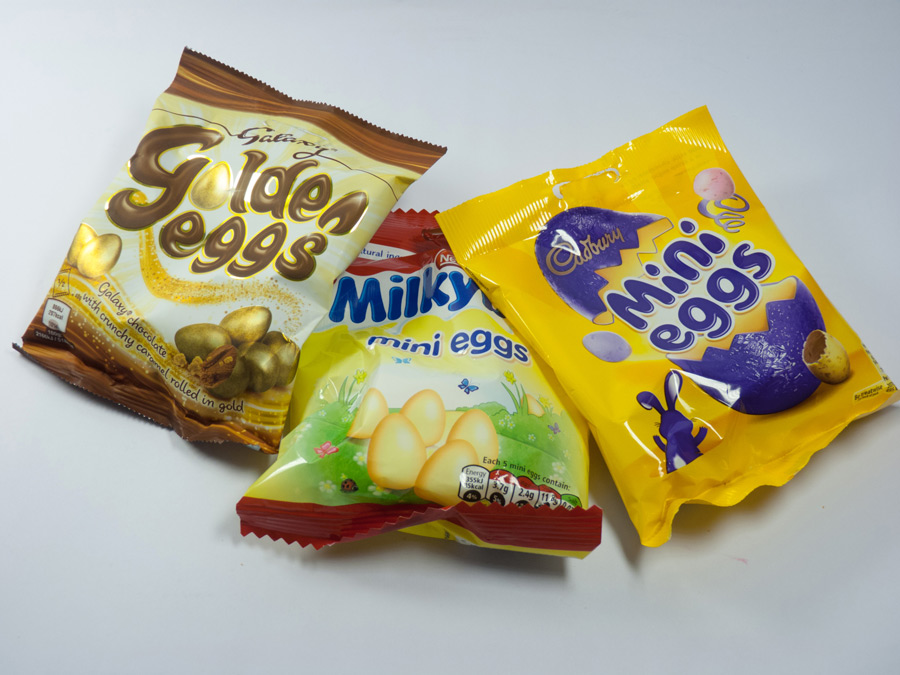
Lastly, place a few mini-Easter eggs with royal icing to make this a fun Easter cake.


Leave a comment