
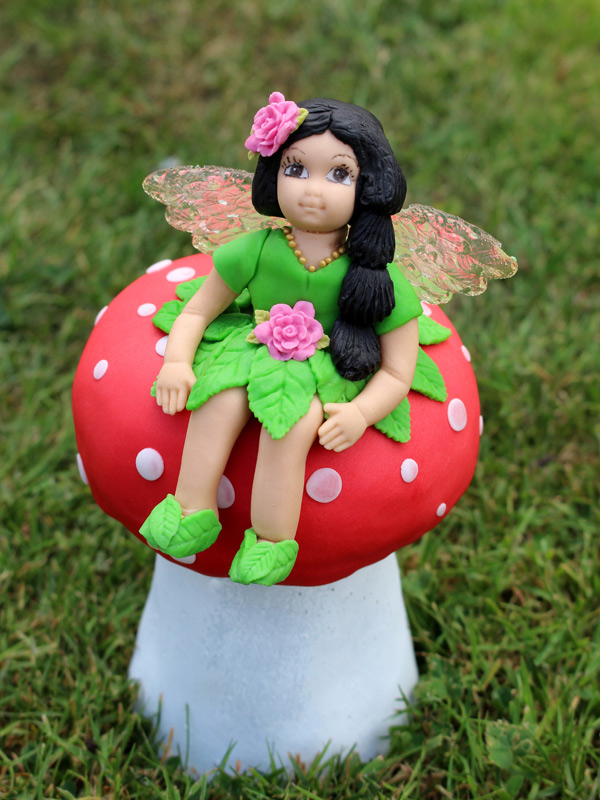
Fairy Model Tutorial using Head and Arms Moulds

Make a magical Fairy model using our Head and Arms Moulds perfect for the top of any cake! Simply follow this in depth tutorial by Sarah Harris from The Cupcake Range!
Materials List – Include fondant/colours
- KSD Head mould
- KSD Arms mould
- KSD Wings mould
- KSD Rose Leaves mould
- KSD Design a Hat mould for the roses in her hair and on her dress – optional
- Modelling paste – flesh coloured (I used Sugarflair gel colours in caramel and paprika to get the skin tone)
- Fondant for her dress and shoes (I used Renshaws Lincoln Green)
- Two clear boiled sweets for the wings (I used Fox’s Glacier Mints)
- Pestle and mortar to crush the boiled sweets in
- Two cocktail sticks
- Tiny amount of modelling paste in pink (I used Sugarflair claret colouring gel) and green for the two roses and leaves.
- Tiny amount of white modelling paste for her eyes
- Black edible food pen to mark the eye details including her eyebrows (or use a fine paint brush and black food colouring gel to paint the details on)
- Black fondant for her hair
- Tiny gold balls for her necklace/detail round the neck of her dress
- Shell tool to mark the strands of her hair
- Dresden tool
- Edible glue
- Oven to melt the wings in
- Foam drying mat
- Cake or toadstool to sit the finished fairy on
How to model the fairy and her wings.
Making the head:
Using approximately 10 to 12 grams of flesh coloured modelling paste make the head. Follow Head Mould video below:
Insert a cocktail stick part way into the head from the neck area and then set aside to dry.
Once dry add a tiny bit of white modelling paste to each eye socket and add in the eye details – eye brows, eye lashes and pupils – using an edible black marker pen or apply using a fine paint brush and some black gel paste.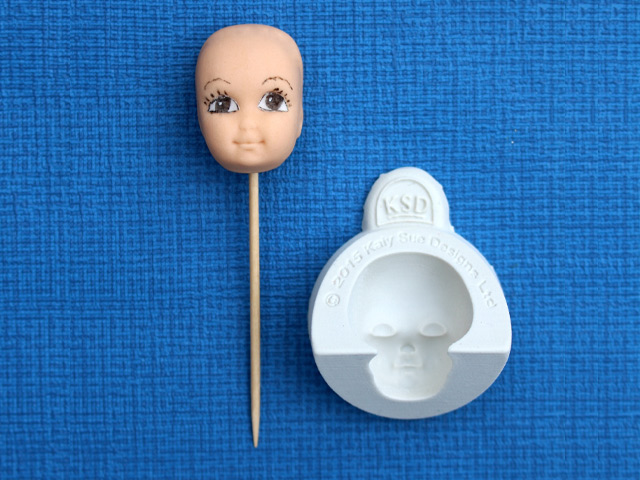
Making the wings:
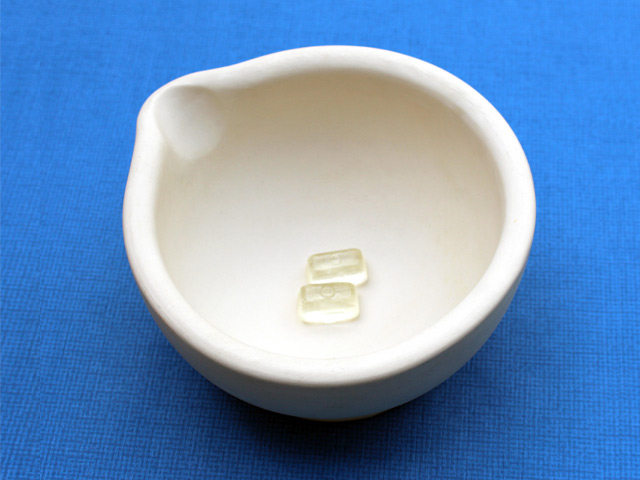
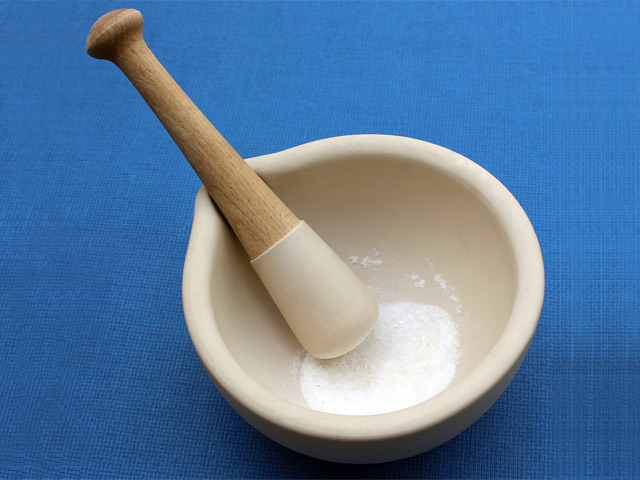
Crush one or two clear boiled sweets as finely as possible using a pestle and mortar.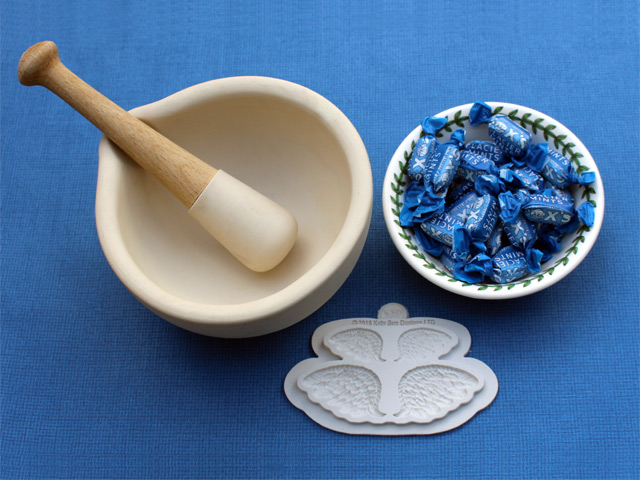
Place the KSD wing mould on a baking tray. Carefully spoon the crushed sweets into the two larger wings of the mould. Make sure all areas are covered and the crushed sweets fill the mould. Use a cocktail stick to work the crushed sweets into all areas of the mould; the more careful you are at this stage the better quality the finished wing will be.
Place in a preheated oven 180 degrees for approx. 5 minutes until melted. If when melted you can see some areas of the wings that have not been completely covered in the mould, carefully spoon in some more crushed sweets and return to the oven for a minute or two – I tend to watch them melt in the oven so they don’t become overcooked.
Leave in the mould to cool for about half an hour.

If you prefer not to make the wings this way, an alternative would be to make them using white modelling paste and dust with pearl lustre dust.
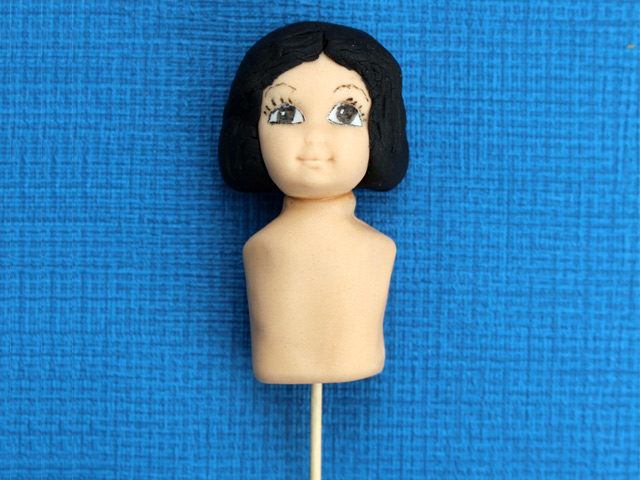
Making the hair:
Using about 8 grams of black fondant, roll into a ball and then flatten the ball out and mould around the head. Once happy with the size and rough shape, apply some edible glue to the back, top and sides of the head and attach the hair. Working with your fingers, a shell tool and a dresden tool create the hair style, use a knife to trim any excess and build up the sides of the hair so it is thicker at the sides and the bottom. Leave to dry. 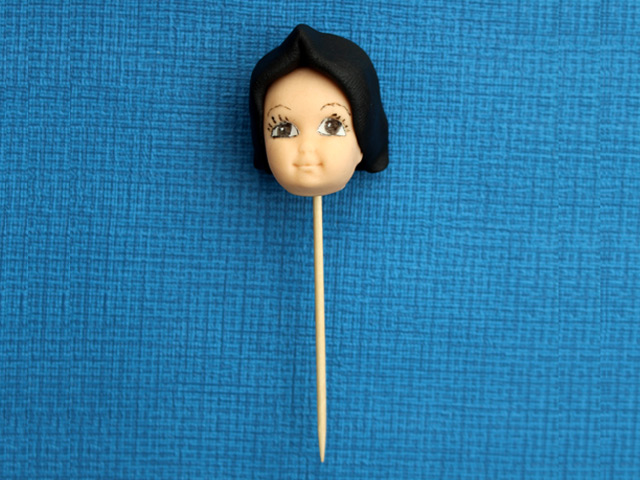

Making the body:
Using about 14 grams of flesh coloured modelling paste, roll into a short fat sausage shape, sit the shape on its end to flatten the bottom and start to pinch out the neck with your fingers, shaping the shoulders at the same time. Remove the cocktail stick from the head (that you inserted earlier) and offer up the head to check for size and that the head will fit onto the body, shape the waist slightly with your fingers – see finished image for size and shape. Insert a cocktail stick from the bottom of the waist through to the neck. Apply some edible glue to the top of the neck and the bottom of the head and attach the body to the head easing the cocktail stick up through to the middle of the head. Leave to dry on a foam drying mat.

Making the legs:
Using approximately 7 grams of flesh coloured modelling paste for each leg, roll into a long sausage shape and pinch out the foot, thin out the ankle and shape the knee. Once happy with each leg, glue in place on your cake or toadstool. Don’t worry too much about the feet as these will be covered with leaves. Then attach the body and head just behind the legs.
Making the dress:
Roll out some green fondant into a small rectangle shape to wrap around the body, make a slight v shape in the middle at the top and glue in place.
Make several leaves out of green fondant and drape around the bottom of the body to form the skirt.
Making the arms:
Using th KSD arms mould and approximately 4 grams of flesh coloured modelling paste (per each arm) make two arms as shown.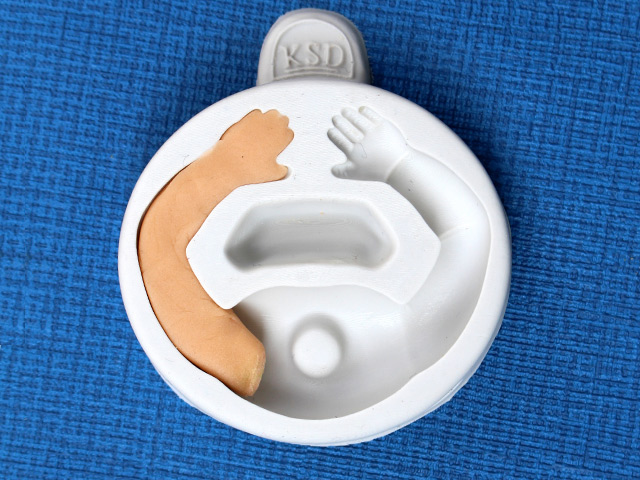

Cut out a small oval shape for the sleeves and cut in half, attaching one half to the top of each arm, then attach the arms to the body and position the hands so they rest on her legs or the toadstool/cake.

Finishing touches:
Attach small gold balls around her neck to form a necklace or dress detail.
Attach a pink rose to the middle of her dress and one for her hair.
To create the long stand of hair, use about 5 grams of black fondant and roll into a sausage shape approximately 5cm long, then with a shell tool and a Dresden tool create indentations to look like hair.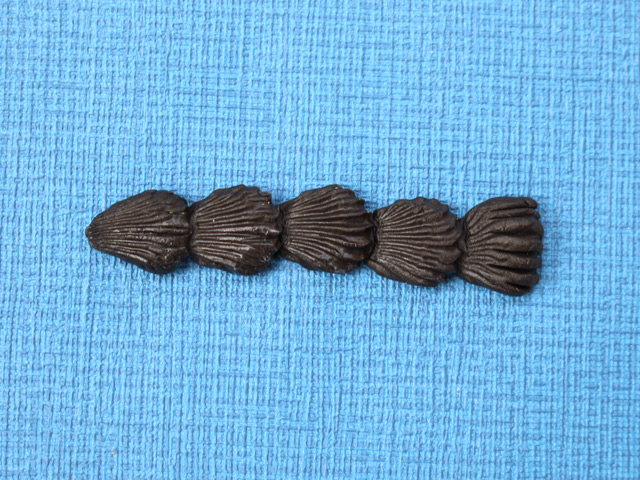
Attach to the head with edible glue, blending in the top using the shell tool.
Using the KSD rose leaf mould, attach two to three small leaves around each foot to form shoes. 
With a small amount of green fondant (the same colour as her dress), add a tiny drop of water and mix to a very thick paste or “gunge”. Use this to apply the wings to the back of the dress and leave to dry. Handle the wings as little as possible as they can pick up finger prints or go sticky in humid conditions.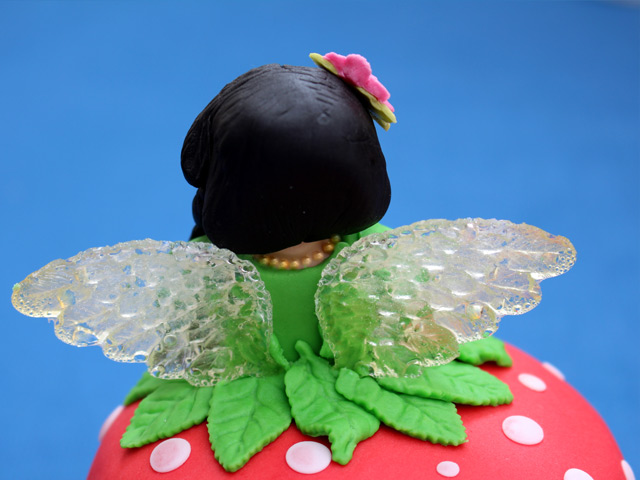
Comments
Leave a comment