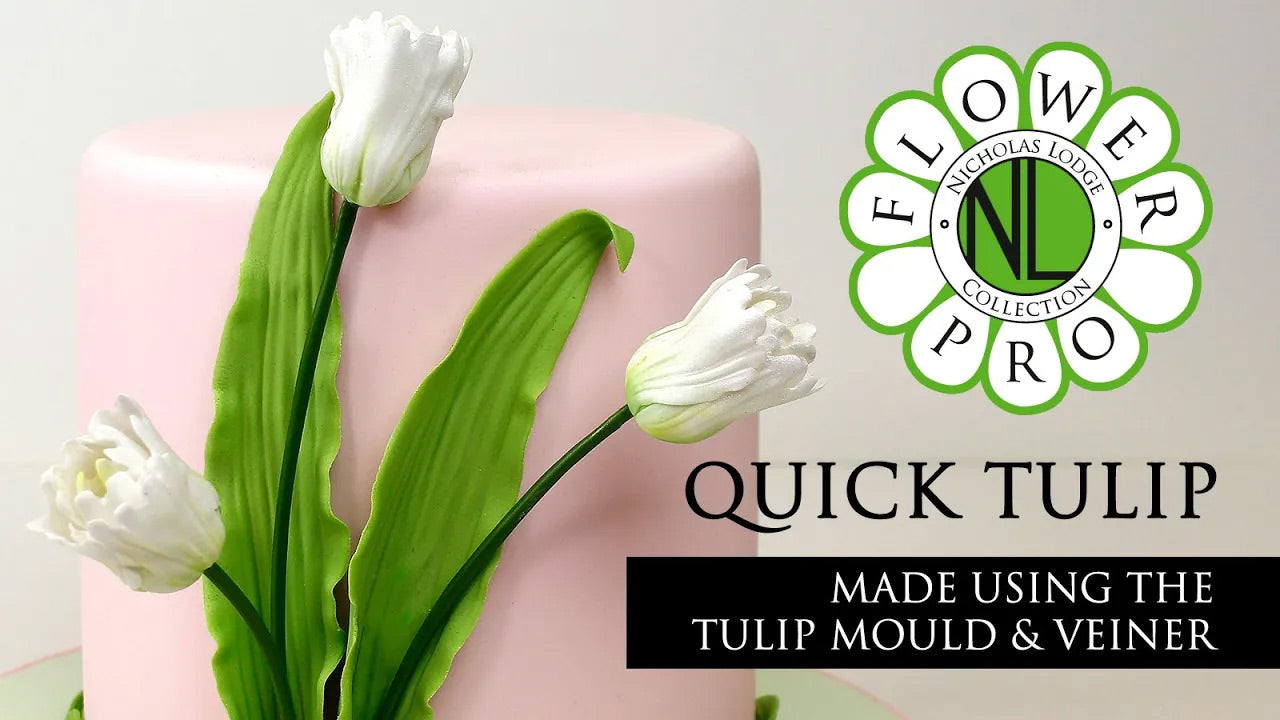
Flower Pro Parrot Tulip
This video provides a step-by-step guide on how to create a realistic parrot tulip using sugarcraft techniques. The process involves crafting the petals, the centre of the flower, and the leaf, followed by assembly and colouring. The detailed instructions ensure that even a novice sugarcraft artist can follow along and create a beautiful parrot tulip.
Begin by making the stigma. Cut a 26 gauge wire into three pieces . Starting 5mm from the end, tape down the wires together using ¼ width white floral tape. Open up the ends like a propeller. Take a number 5 ball of paste and press into the stigma mould. Brush egg white on the wire ends and insert into the paste. Flex the mould and remove. Take another number 5 size ball of paste. Brush egg white on the wire underneath the stigma. Slide the ball of paste up the wire to the egg white. Stretch the paste up to meet the base of the stigma, so it covers part of the wire. Leave to dry.
For the stamens cover a 30 gauge green wire with ¼ width green floral tape. Cut into 4 pieces. Measure a number 5 size ball of black paste. Dip the end of the wire into egg white and insert into the paste. Shape the paste into a sausage, dust with cornflour and press into the tulip stamen mould. Make six stamen in total. Leave the stamens to dry for 1 hour. Brush lightly with confectioners glaze and dip into black commercially available pollen. Assemble the stigma and stamans to complete the centre of the flower.
To make the petals take a number 11 ball of paste and place into petal section of the mould. Press into the mould using a cosmetic sponge. Form a slightly deeper ridge down the middle of the paste. Dip a white wire into egg white and push through the channel at the base of the mould, one-third of the way into the petal. Press the veiner on top then release from the mould. Using a Dresden tool, pull down from the edge to slightly ruffle the petal.
To dry the petals, use an egg former or a tablespoon. Once the petals and the centre are dry, proceed to colour them. Start with an American beauty colour for the petals, brushing it around the edges. Add some stripes of the same colour to the petals. Parrot tulips come in a variety of colours, so feel free to experiment with different hues.
Next, use a light apple green colour to add some stripes in between the pink ones. Finish off with some prairie green colour, brushing it from the bottom of the petal outwards. For the centre of the tulip, brush a little bit of light apple green colour and add a touch of prairie green at the top.
Now, it's time to assemble the tulip. Start by attaching three petals directly at the bottom of the centre part. The second petal should tuck inside the first one, and the third petal should go inside the second one and on top of the first one. This creates a closed-up effect. The next three petals should be attached at a slight angle.
Finally, steam the tulip lightly to set the colours and let it dry upside down. Once dry, the tulip is ready to be used as a decoration for a variety of cakes.
Related Products
More videos from this collection
Subscribe to our Newsletter
The latest news, events and stories delivered right to your inbox
Click here to subscribe
 Cosmic Shimmer

