
Ideas for Steampunk Craft Projects!
Steampunk is very popular right now and not just in the Craft world! Did you see this amazing car crash survivor who made her back brace incognito by creating Steampunk armour! Wow!
Anyway we thought we’d take this opportunity to share some amazing craft project ideas with you, using our new Steampunk Collection… so without further ado, here we go!
Cogs & Wheels Frame
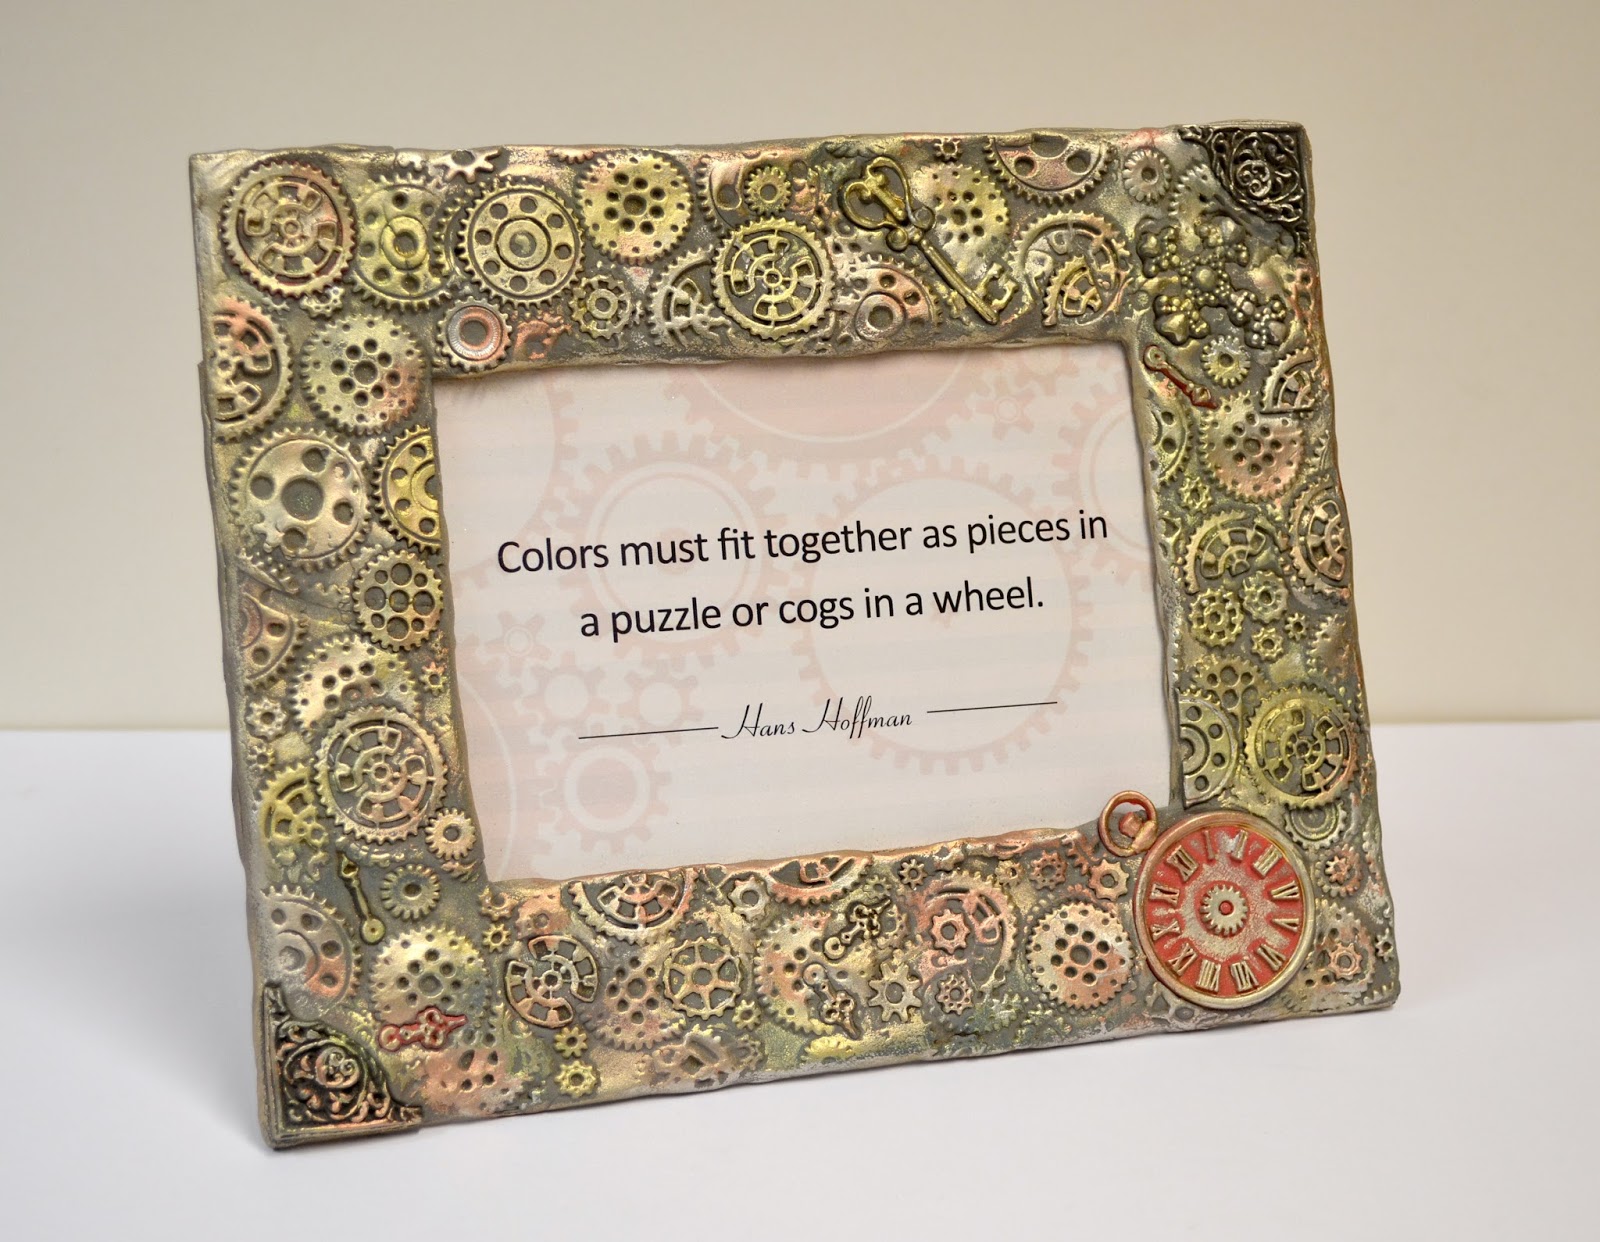
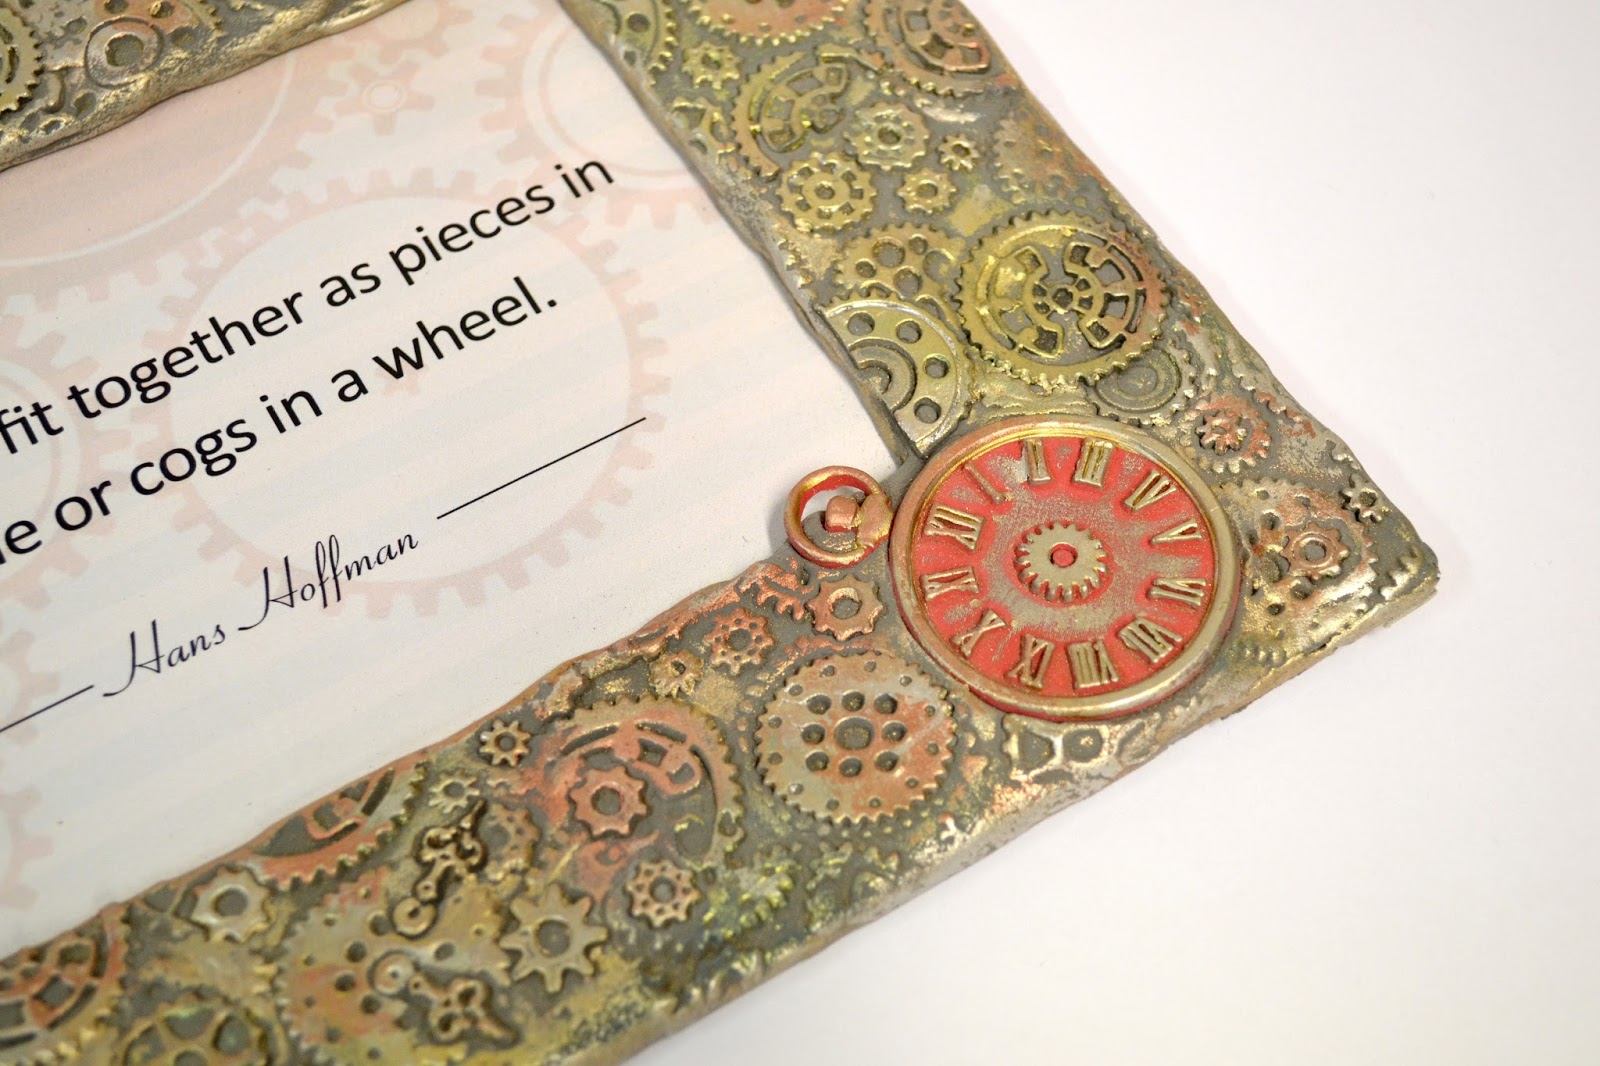
To create this Cogs & Wheels Frame, cover your frame with rolled out Hearty Clay (air drying clay). Next use your Cogs & Wheels mould to press a random pattern of Cogs all over the clay. When the clay is still damp, press other embellishments of your choice in to the clay – you may need to use Flower Soft glue or PVA to do this – we have used a Clock, Keys, Beaded Cross. When the clay is dry add Decorative Corners. Paint with Gold and Silver liquid leaf.
Top Tip >> It’s always a good idea to have made lots of clay embellishments the night before, speeds up the crafty process!

Decorative Journal
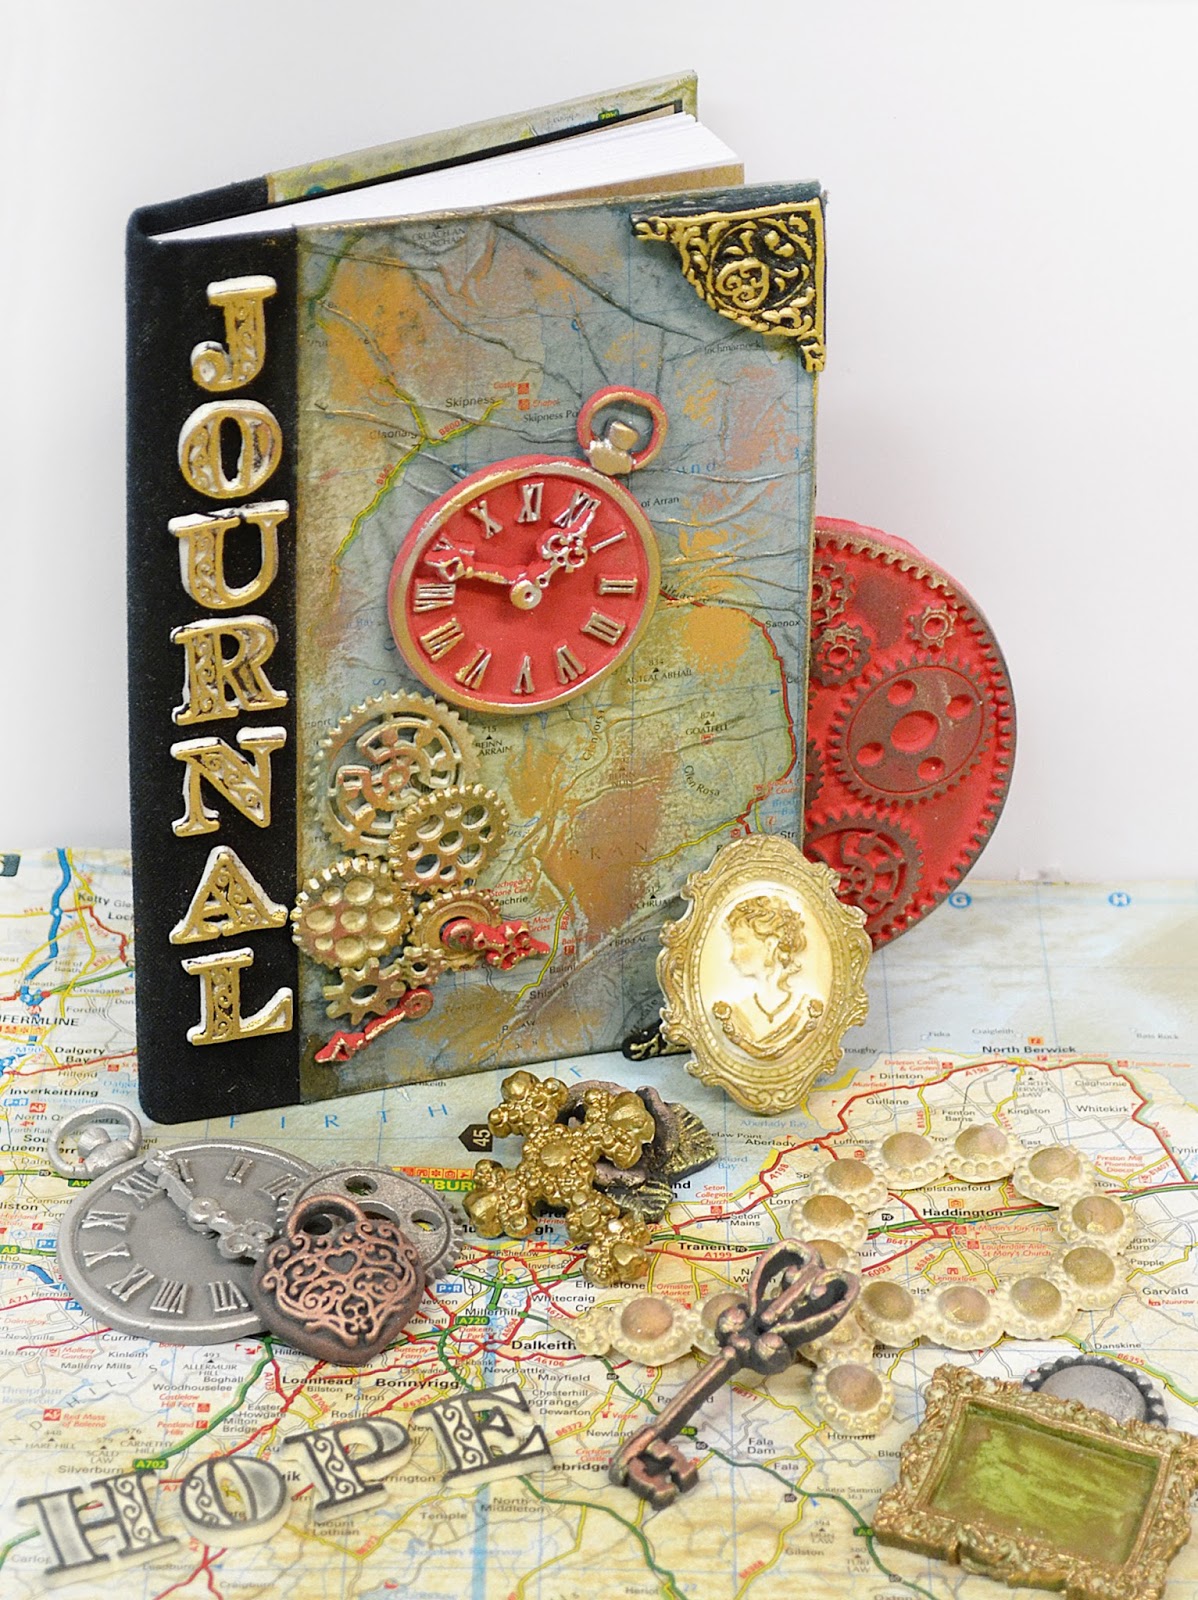
First cover your journal or notebook with an old map. Pages and illustrations from old books also work well for this. Leave to dry completely then add embellishments of your choice made from air drying clay! We have used the Clock, Cogs & Wheels, Decorative Corners and Manuscript Alphabet! The air dry clay adds very little weight to the journal, which makes this a practical DIY project!
Make Time for Adventures Canvas
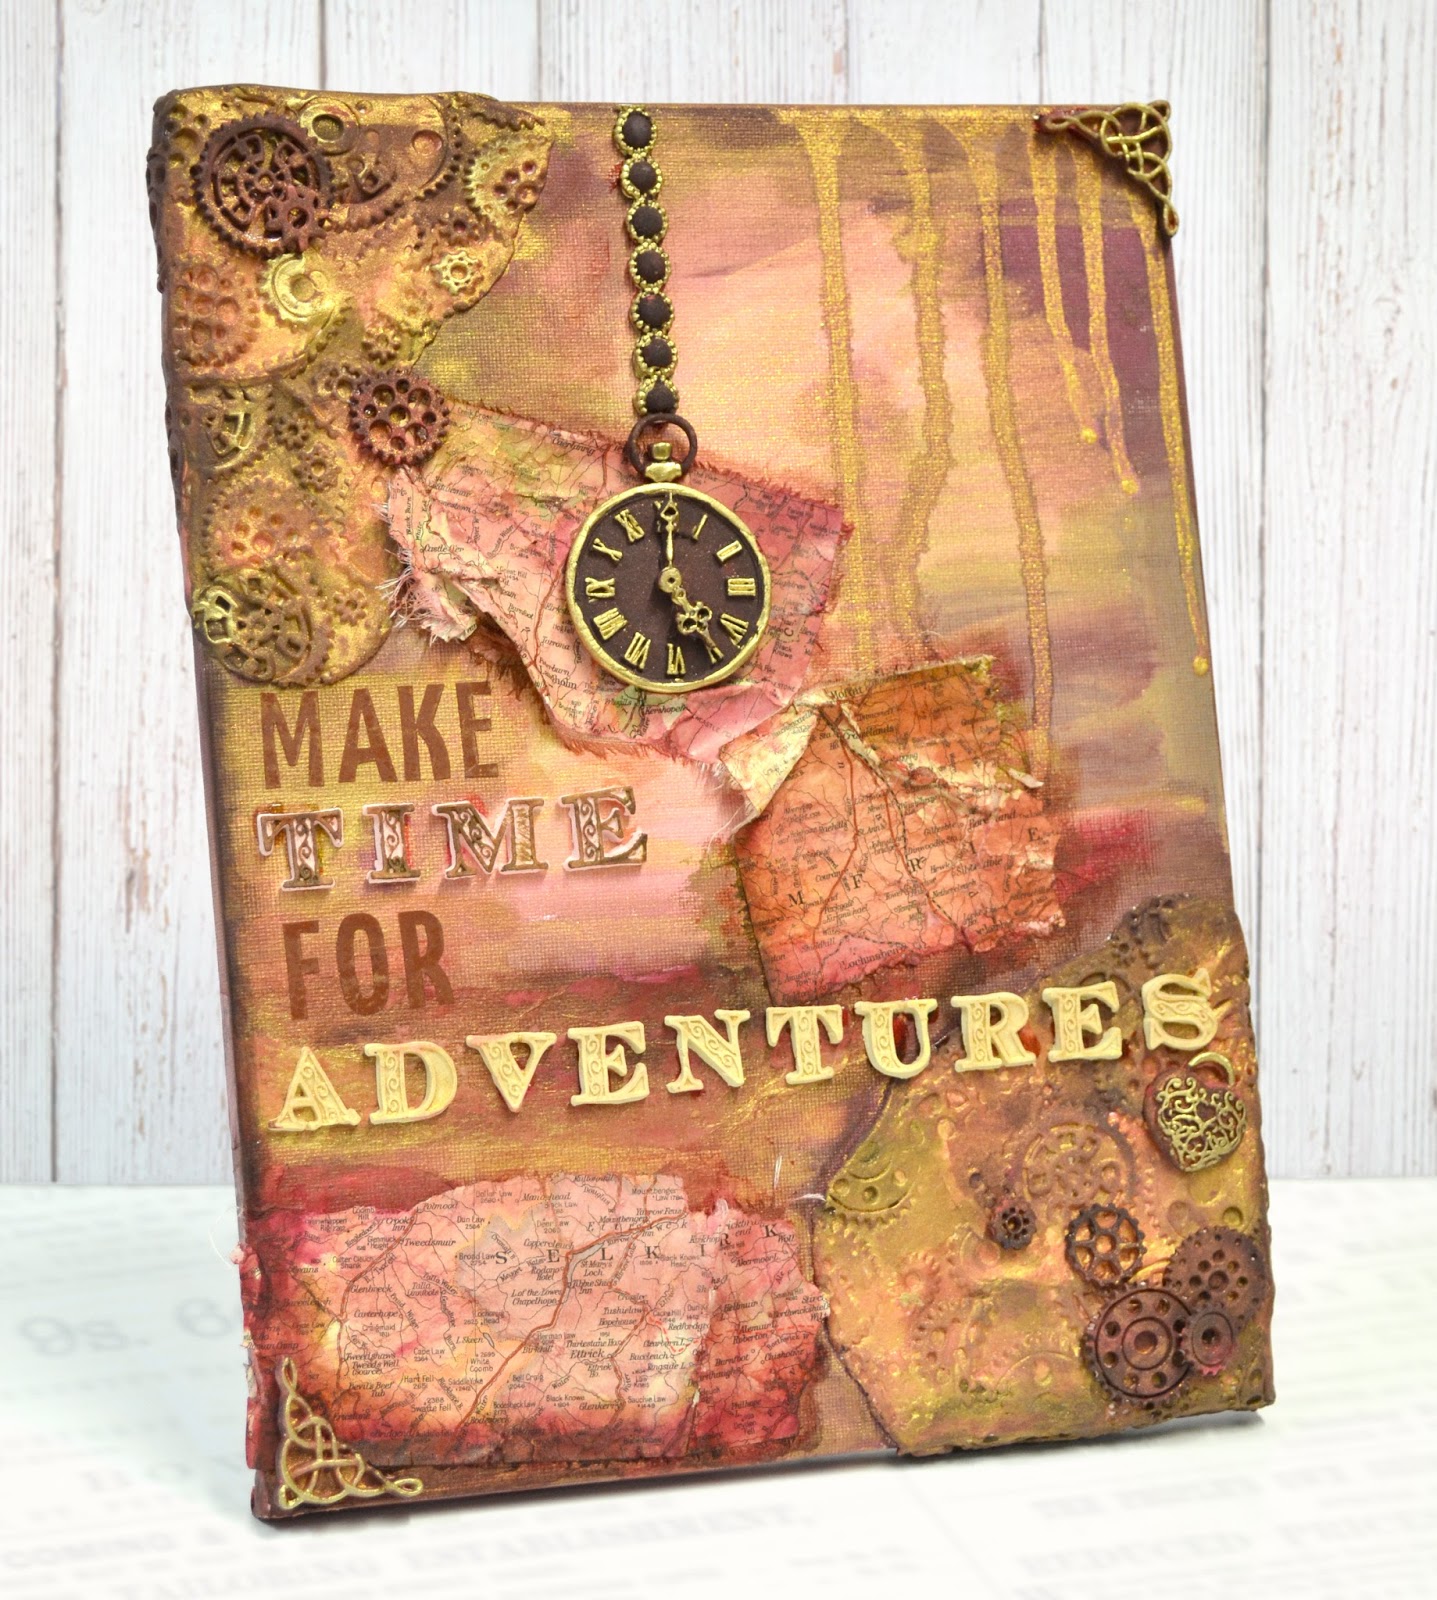
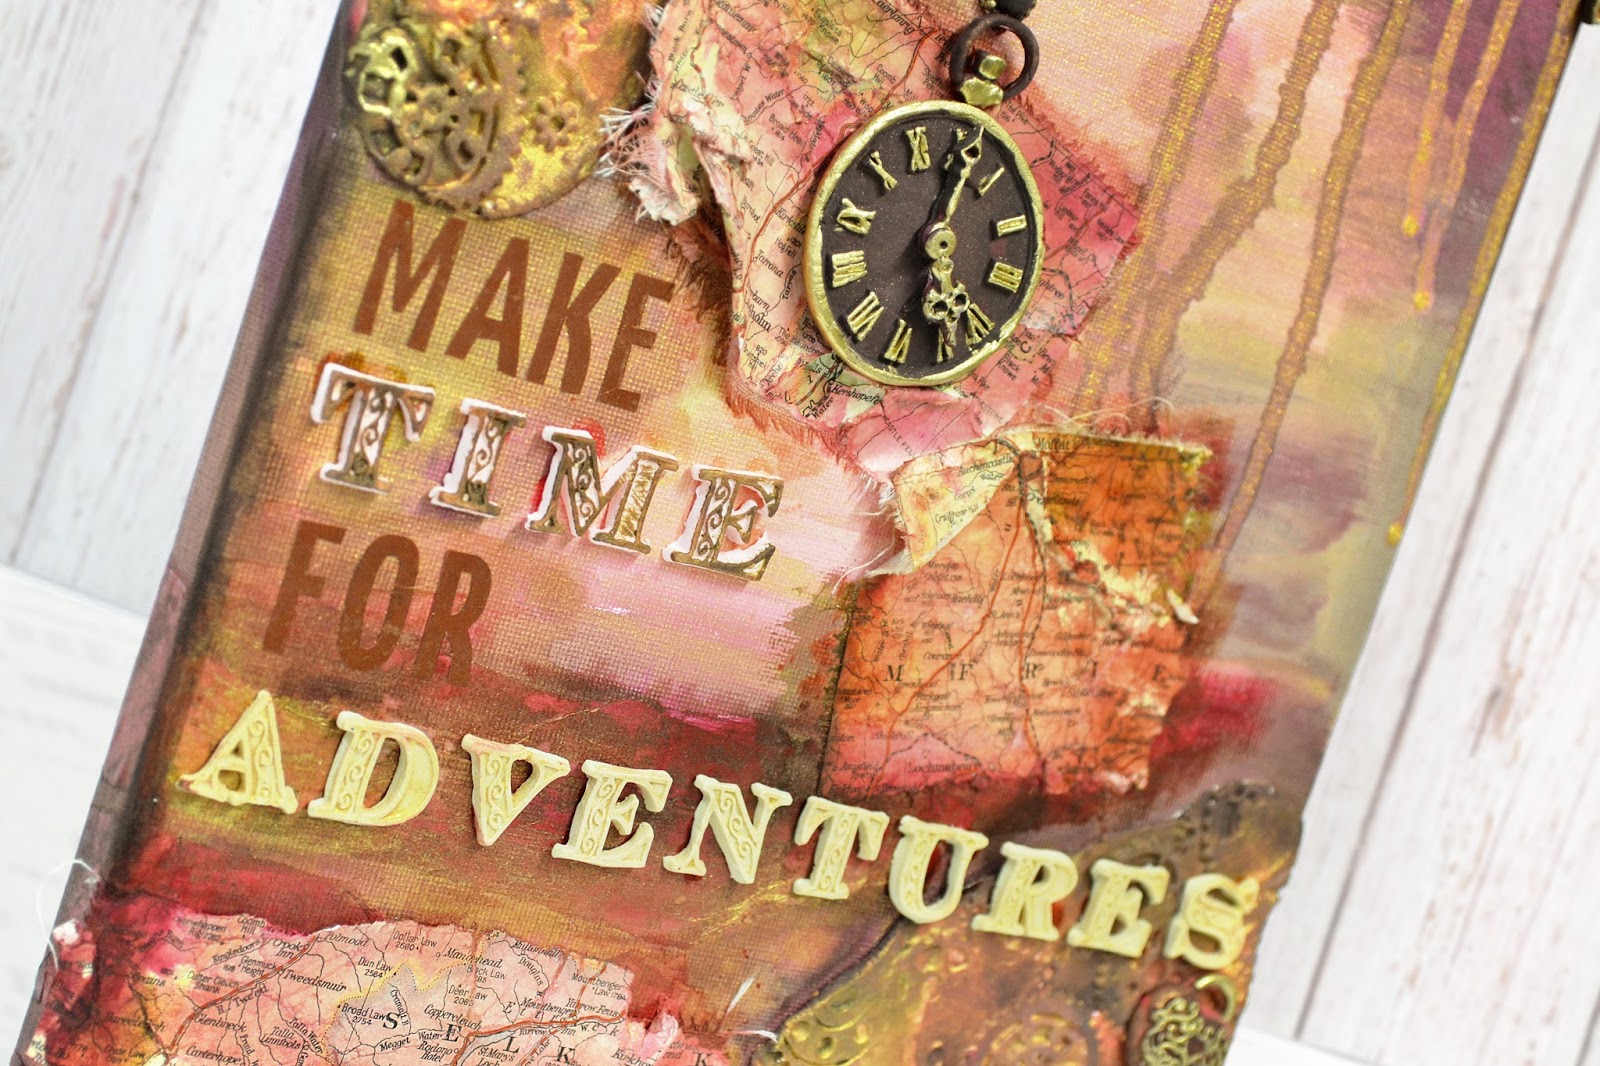
Add air dry clay to the corners of your canvas – you will need to glue this on while wet, use the Cogs & Wheels mould and press a random pattern of Cogs all over the clay to create the effect. Use torn up old maps and stick them to the canvas, you can leave the edges unstuck for a rustic frayed effect.
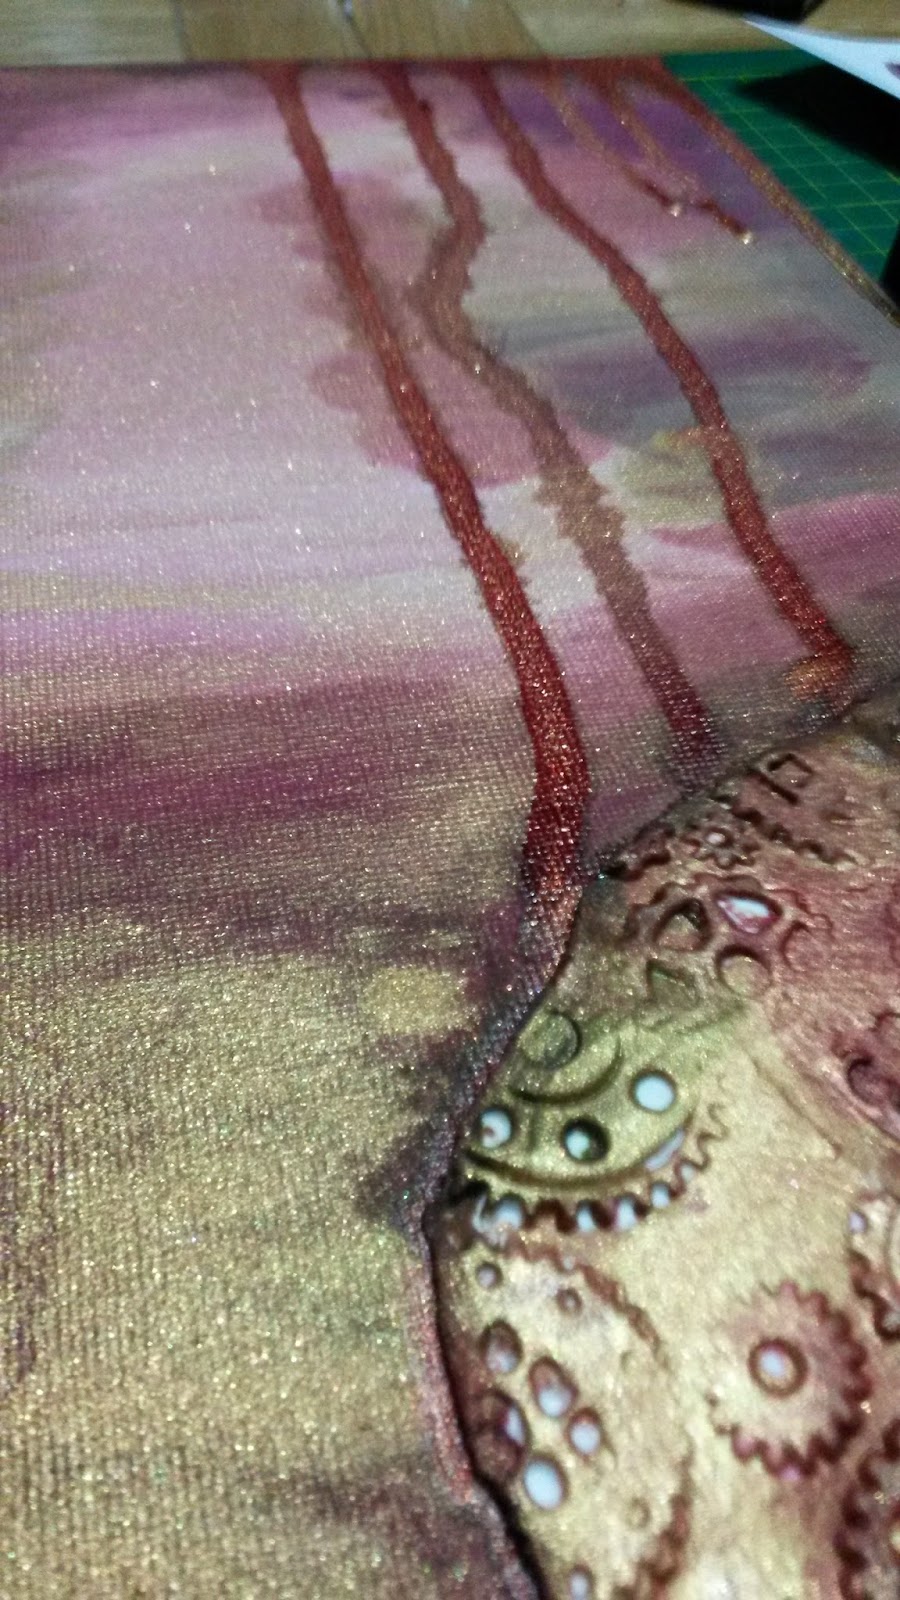
Next paint the canvas with inks, blending the colours on the canvas whilst still wet.
Top Tip >> Use a straw to blow on the ink to create a line (see below), otherwise, place ink blotches at the top of your canvas and allow gravity to work for you!
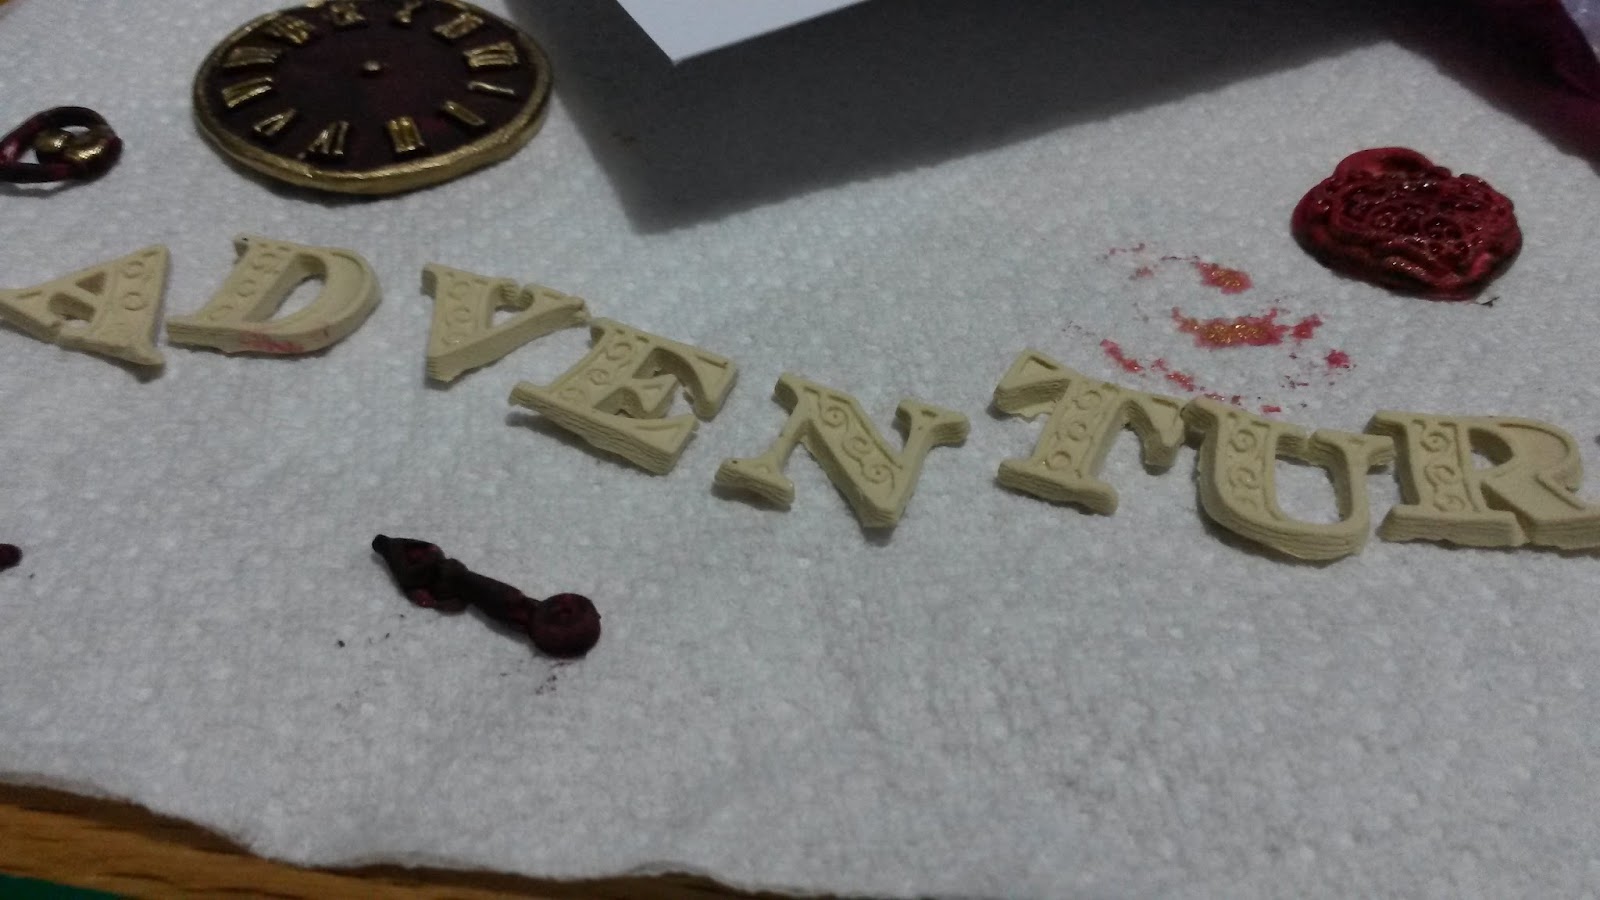
Paint additional embellishments before sticking to canvas. We have used the Clock, Cogs & Wheels, Decorative Corners, Manuscript Alphabet and Beaded Pearl Border!
Top Tip >> Leave your clay to dry on a paper towel, this absorbs some of the liquid and helps the clay to dry quicker!
We hope you have enjoyed these ideas, please comment below if you have any questions or ideas of your own!
Like Katy Sue Designs on Facebook!
See How to Decorate a Cupcake with the Cogs & Wheels mould
Leave a comment