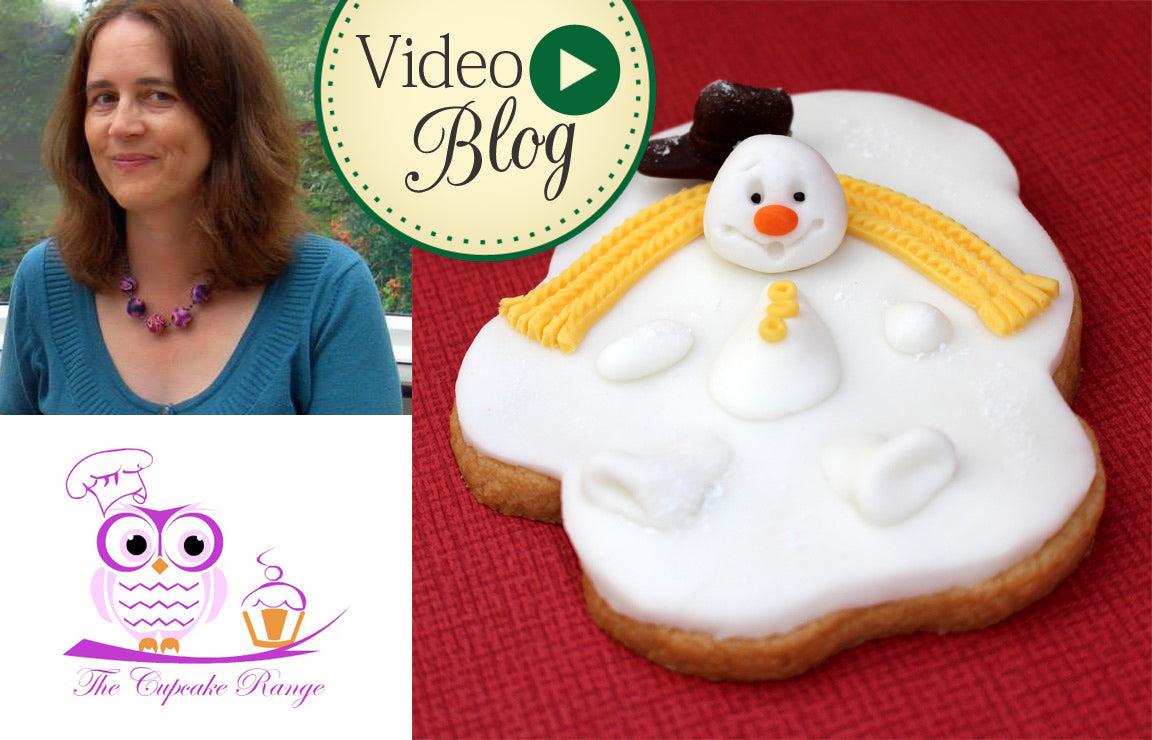
Melting Snowmen Cookies Tutorial Video by Sarah Harris

Watch this video by Sarah Harris at The Cupcake Rage and create a variety of cute snowmen cookies using the Sugar Buttons mould. Includes materials list, cookie recipe and method and decorating instructions. Skill Level: Easy
Materials List:
- KSD Sugar Buttons snowman mould
- KSD knitted cable texture mould
- Cornflour to dust the moulds with
- Cookies (use your favourite recipe or see recipe below)
- Sieved apricot jam to act as glue to stick the fondant to the cookies.
- Fondant in the following colours – white, brown, green, red, yellow, navy blue
- White modelling paste for the snowmen’s heads
- Tiny amount of orange modelling paste for the snowmen’s noses
- Small knife
- Rolling pin
- Edible glue
- Icing sugar to dust
- Tiny black non-pareils for the snowmen’s eyes (or if not available use a tiny ball of black fondant instead)
Cookie Recipe:
I used the No Fail Sugar Cookie Recipe widely available on the internet as the cookies keep their shape well when baked. You will need a cookie that is flat when baked.
Ingredients Makes about 12 to 15 snowmen
- 200g caster sugar
- 200g unsalted soft butter
- 1 medium egg, lightly beaten
- 1 teaspoon of vanilla extract (*or other flavouring of your choice)
- 400g plain flour, plus a little extra for dusting
Method:
- Cream the softened butter, sugar and vanilla extract together until well mixed and creamy in texture but take care not to overmix as this will cause the cookies to spread during baking.
- Add in the egg, then mix in the flour until a firm dough forms. Shape into a ball, wrap in cling film and refrigerate for about 1 hour.
- Take care not to overwork the dough so roll out small pieces at a time on a floured surface and to an even thickness. If the dough becomes too soft, place back into the refrigerator for a short time.
- You can cut the melted snowmen shapes freehand with a knife making them roughly the same size to ensure even baking.
- Carefully place the cookie shapes onto a lined baking tray. Chill again for about 30 minutes to 1 hour. Preheat the oven to 180 C / 160 C fan / 350F / gas 4.
- Bake in the oven for 10 to 12 minutes, depending on size and thickness, until just turning golden brown at the edges. Set aside to cool on a wire cooling rack.
Top Tip:
I drew around the KSD Father Christmas mould onto some thick clear acetate to create a reusable template for my cookie shapes.
* Alternative flavour options:
- Omit the vanilla extract and add the finely grated zest of 1 lemon or lime instead
- Add the finely grated zest of 1 orange instead of the vanilla extract
Decorating the cookies:
- Roll out some white fondant to cover each of the cookies with and if you made a template earlier, use this to cut out the correct shape and smooth the fondant over each cookie using a light covering of apricot jam to secure in place. (You may find your fondant is sticky enough without needing to use any jam).
- Dust the snowman mould with a little cornflour and tap out the excess. Insert a tiny piece of orange modelling paste into the mould for the nose. Add in a ball of white modelling paste to cover the head area. If you want the snowman to have a completely rounded head overfill the mould slightly instead of levelling it off at the back of the head, but if it is to lay flat on the cookie, the back of the head should be level with the top pf the mould. Add a tiny black non-pareil to each eye and glue in place on the cookie leaving enough space behind the head for the scarf and hat.
- Now start to make various different snowmen body parts with white fondant – separate legs, arms and tummy, under filling the mould to give a slightly melted effect. Position in place on the cookie.
- Roll out some fondant in your chosen scarf colour, use one of the KSD knitted effect moulds to get the texture and trim to the desired length and width. Use a knife to fringe the ends and glue in place as shown.
- Add 3 buttons to match the colour of the scarves along the tummy area.
- Make some hats using chocolate brown fondant and a tiny piece of green and red fondant for the holly and berries. Attach some of the hats to the snowmen’s heads at jaunty angles and or place behind the heads to give the appearance of being stuck in the snow.
- Lastly, dust each cookie lightly with icing sugar to represent a recent dusting of snow.

Sarah Harris, The Cupcake Range

 Cosmic Shimmer
Leave a comment