
Angel Figure Cake Project by Cakey Bake
One of the hardest things to get right in cake decorating is making a character from scratch. Our new figure moulds take the hard part out by giving you a perfectly sculpted face every time as well as perfectly scaled arms and hands. Using these moulds as a basis, Kirsty from Cakey Bake has used her own incredible talents to bring this Angel figure to life. If you would like to see the basics on using our head and arms figure moulds before starting this project click here to watch a short tutorial video and don’t forget to visit Kirsty’s Facebook page Cakey Bake.

Step 1
Weigh two balls of modeling paste approx 7g each
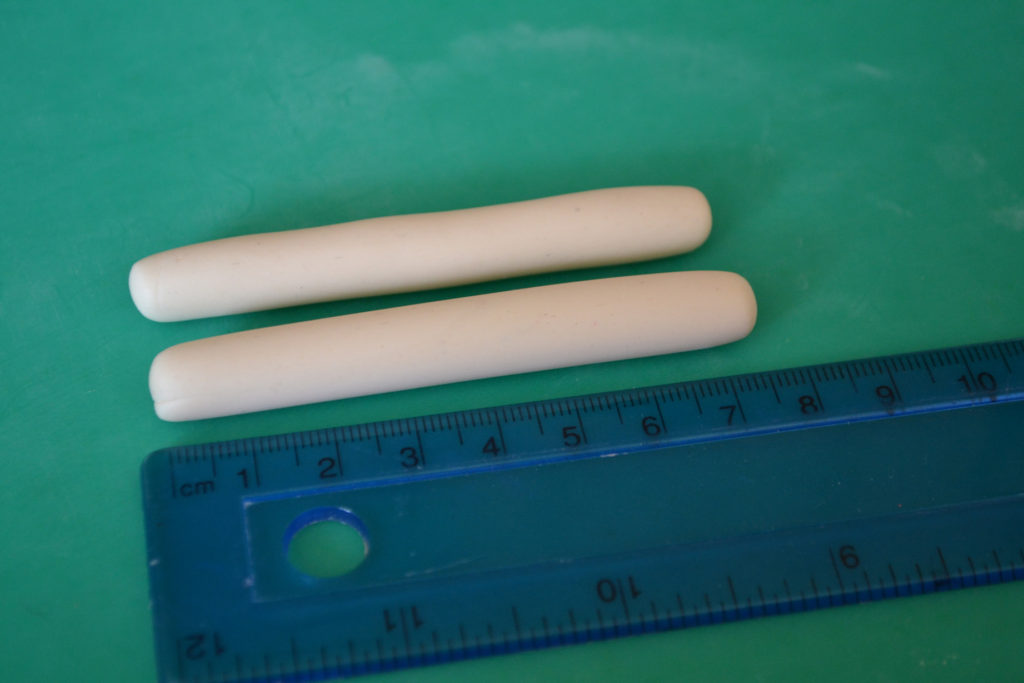
Step 2
Roll two modeling paste sausage shapes 7.5cm in length.
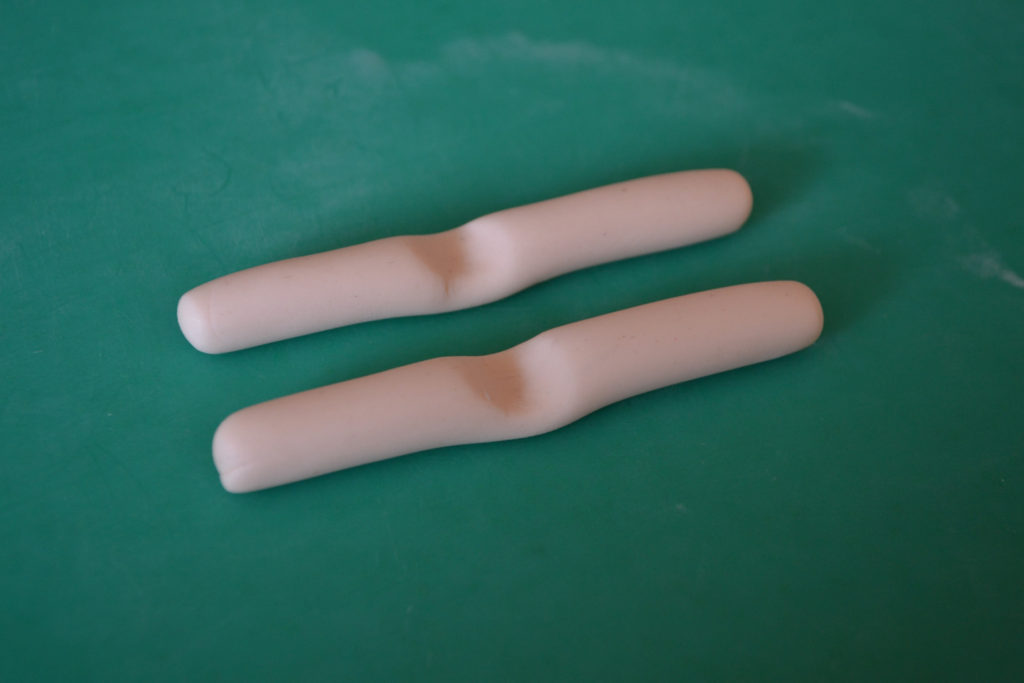
Step 3
These will act as your characters legs. Begin by indenting where the backs of the knees would be.
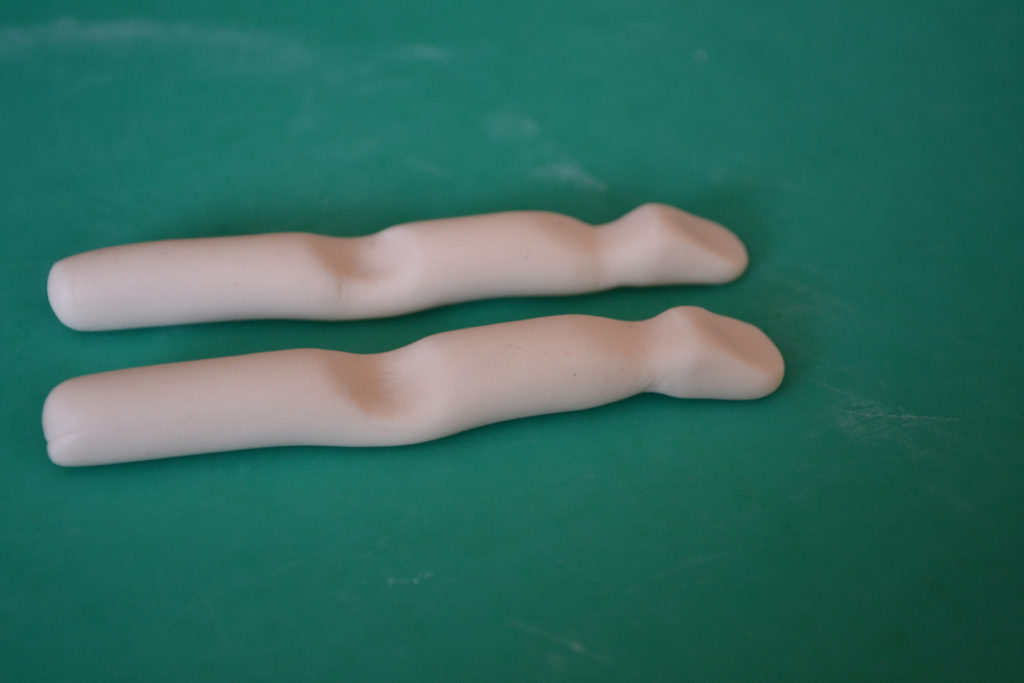
Step 4
Sculpt simple feet.

Step 5
Bend the legs at an approx 90 degree angle.

Step 6
Position in place.
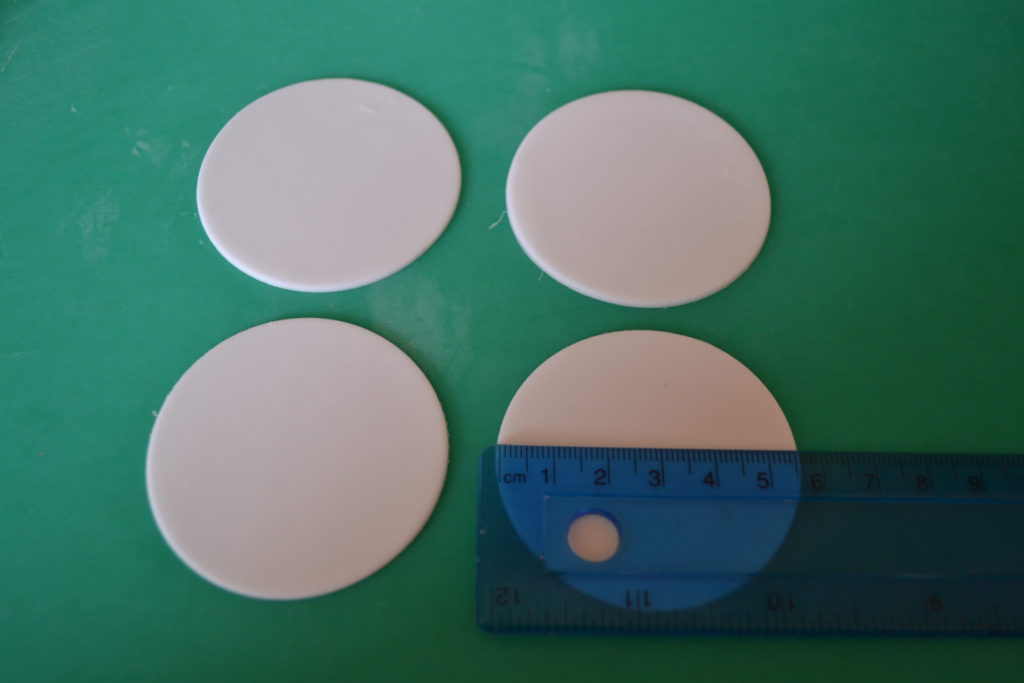
Step 7
Cut out four modeling paste circles 5.5cm wide.
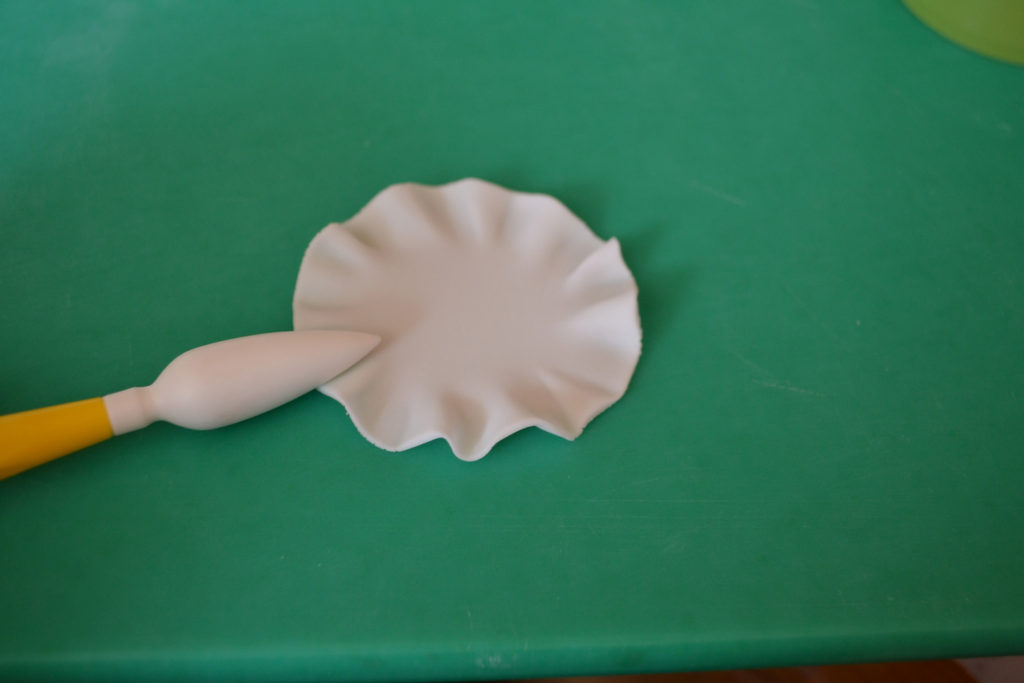
Step 8
Create ruffle effect using a cone tool.

Step 9
Layer up to create the bottom part of the dress.

Step 10
Fill the Katy Sue Designs Arms Set A mould with modeling paste.
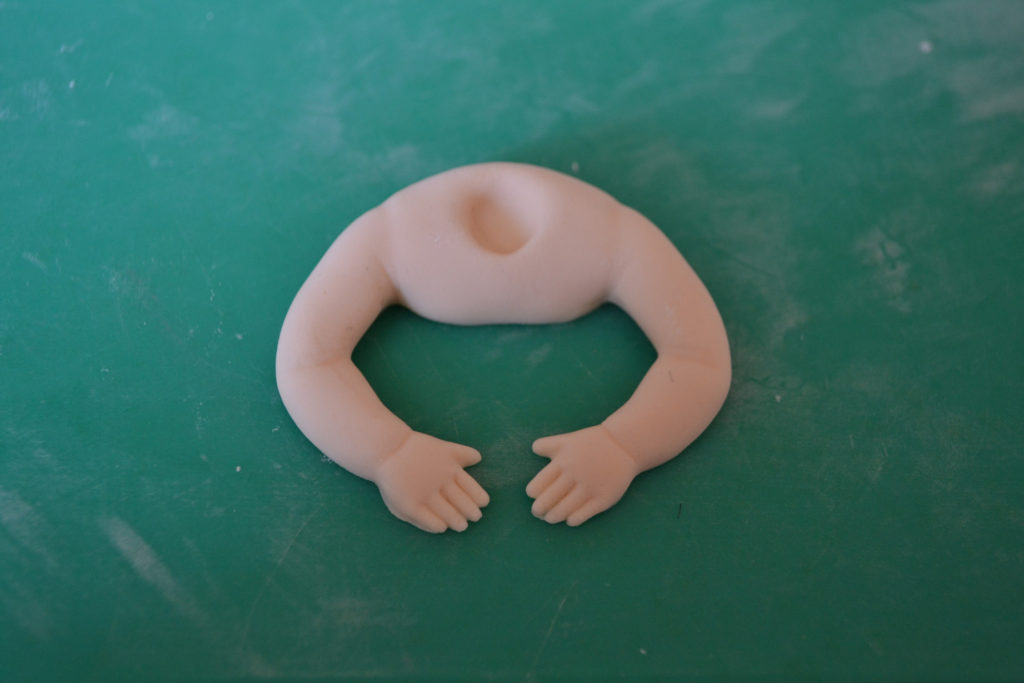
Step 11
Carefully release from mould.
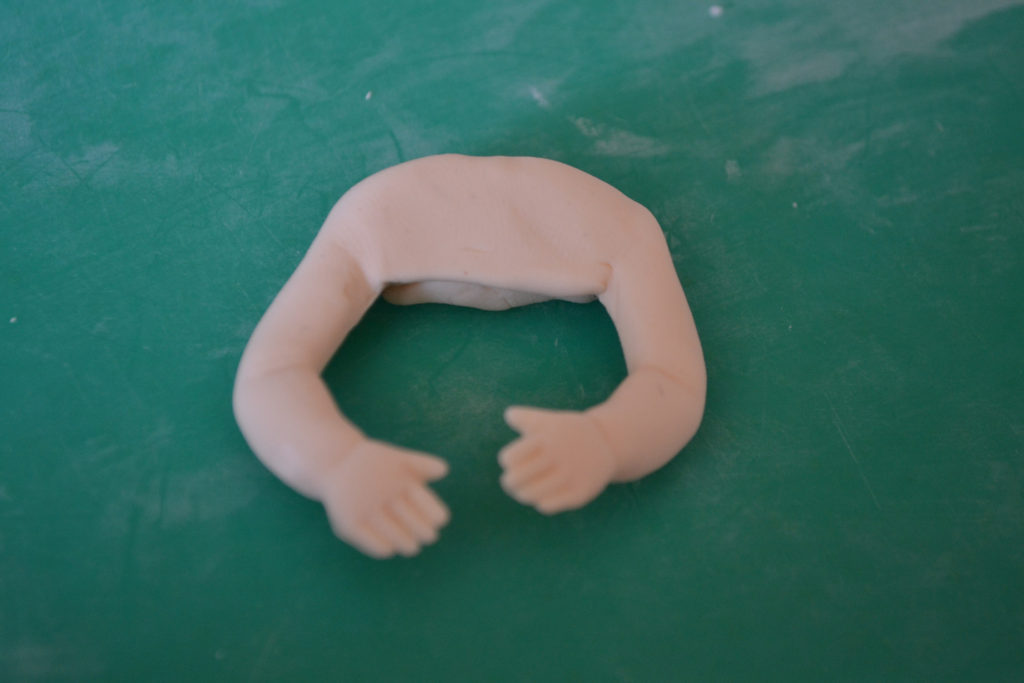
Step 12
Re-position the arms as desired.
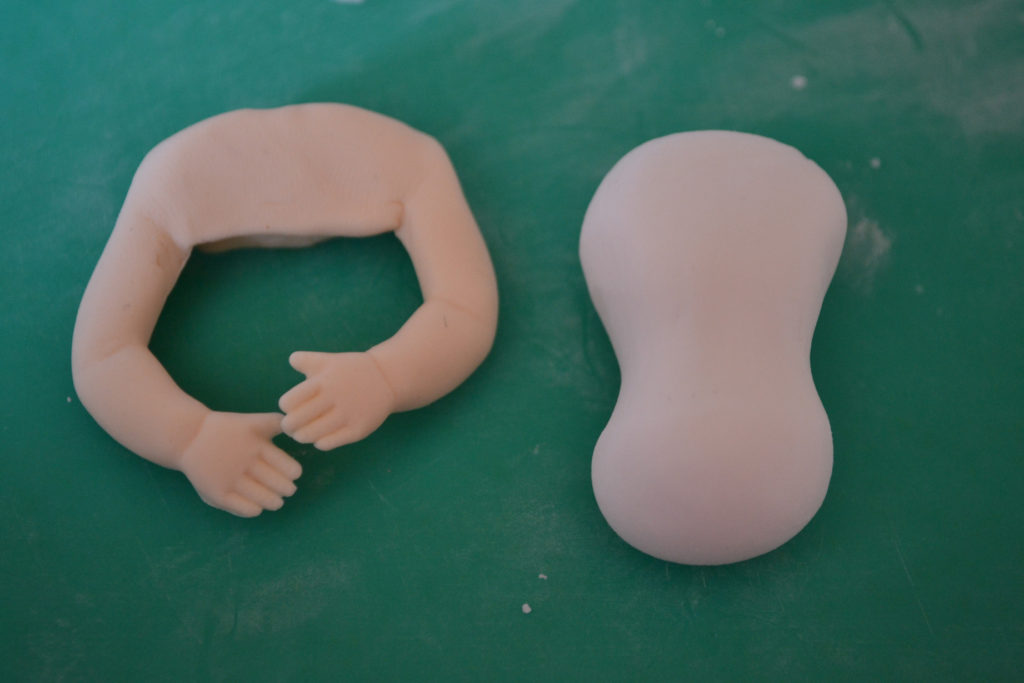
Step 13
Pinch in the centre of the modeling paste that will create the abdomen.

Step 14
Cut away the upper and lower sections.
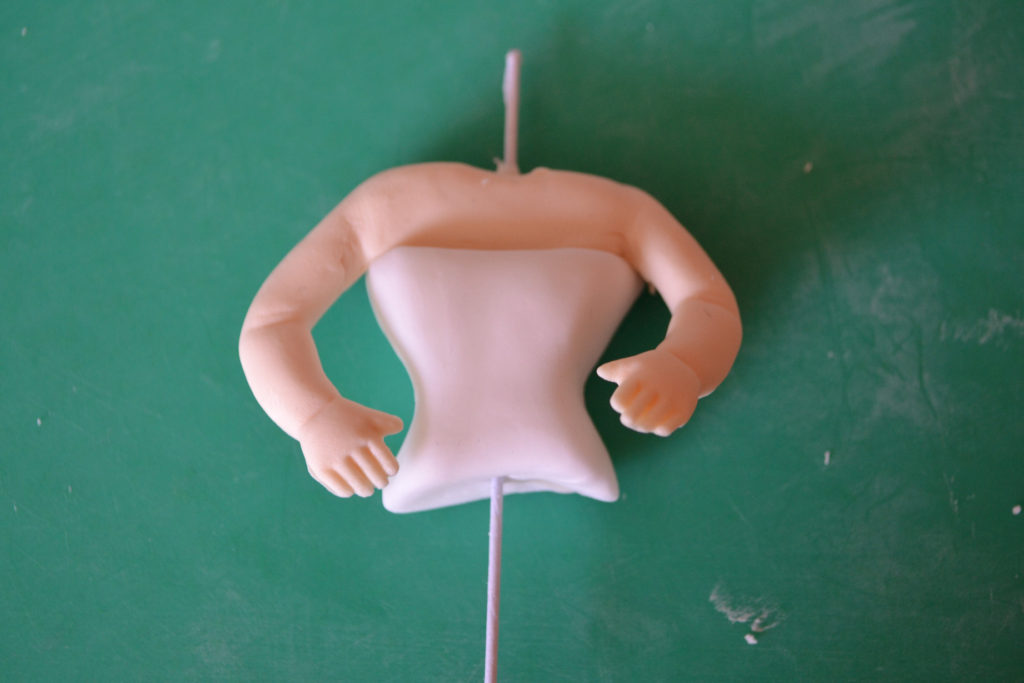
Step 15
Combine with arms to complete the torso using a support to keep in place.
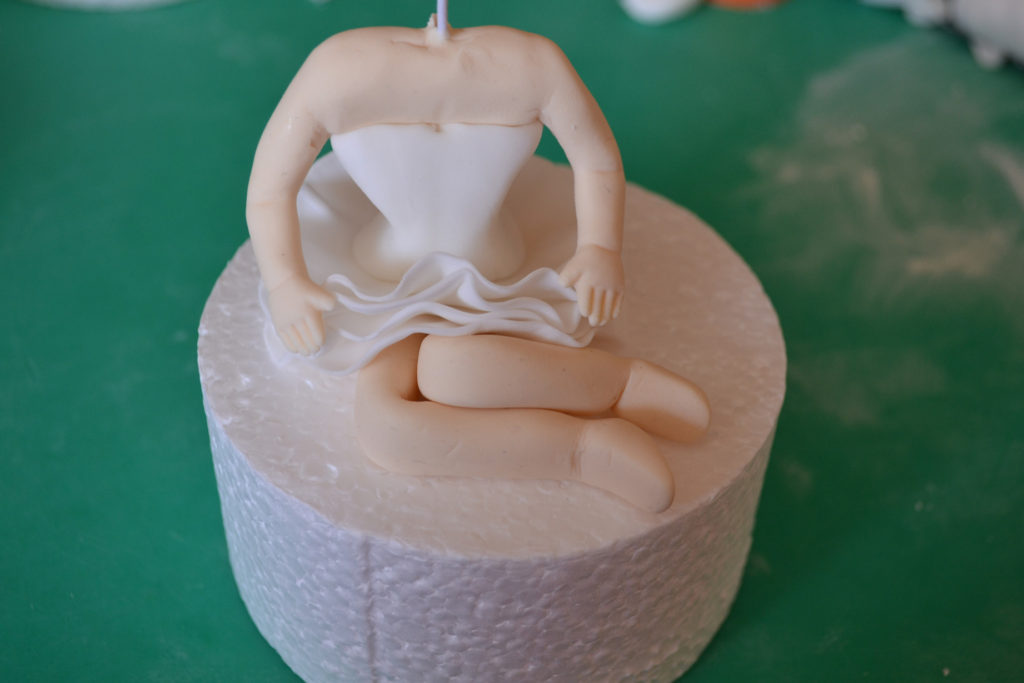
Step 16
Position on top of the legs you created earlier.
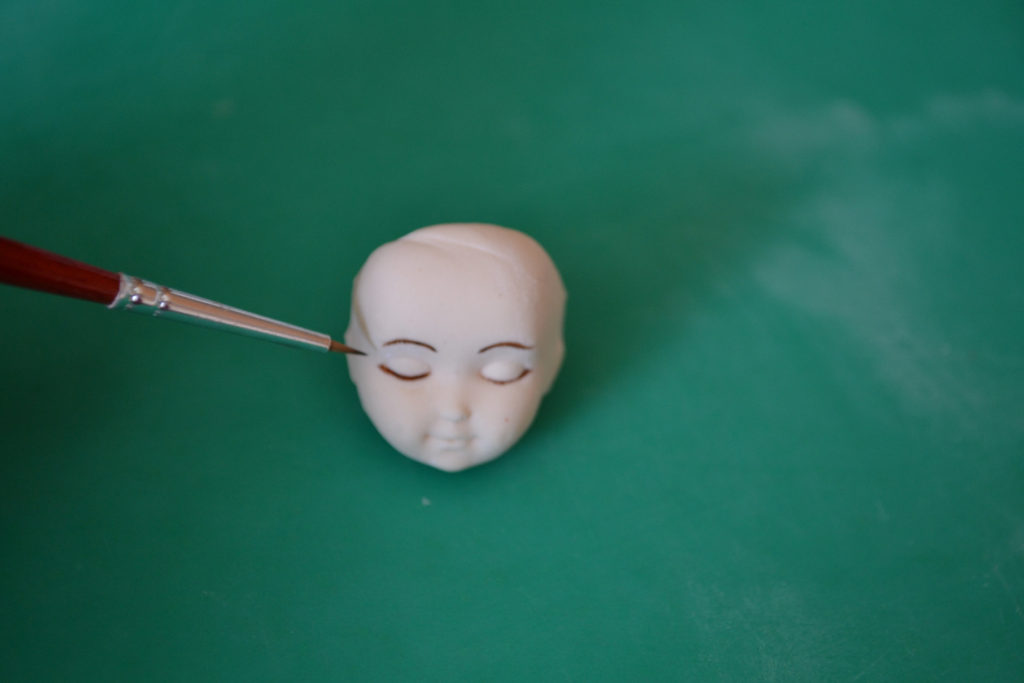
Step 17
Use Katy Sue Designs Head Set A mould to create a perfectly sculpted head. Begin to paint in eyebrows and eyelashes.

Step 18
Add some blush.

Step 19
And some colour to the lips.
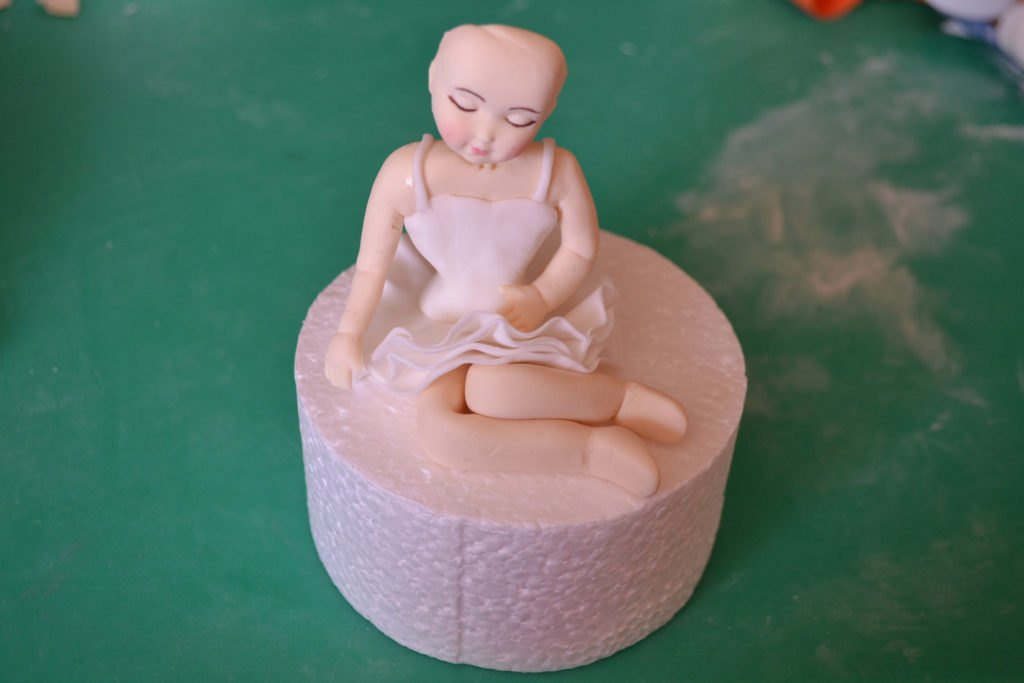
Step 20
Attach the angel characters head to the body.
Step 21
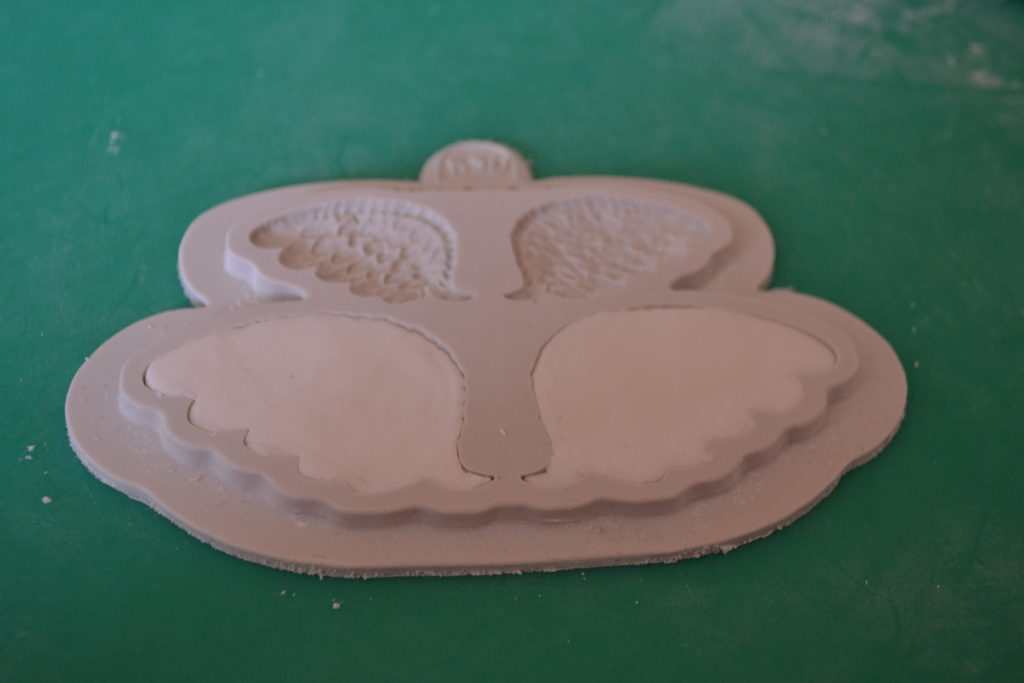
Use the large set of wings on the Katy Sue Designs Wings embellishment mould.

Step 22
Carefully release the wings from the mould and make thin strands of modeling paste.

Step 23
Attach wings using edible glue.

Step 24
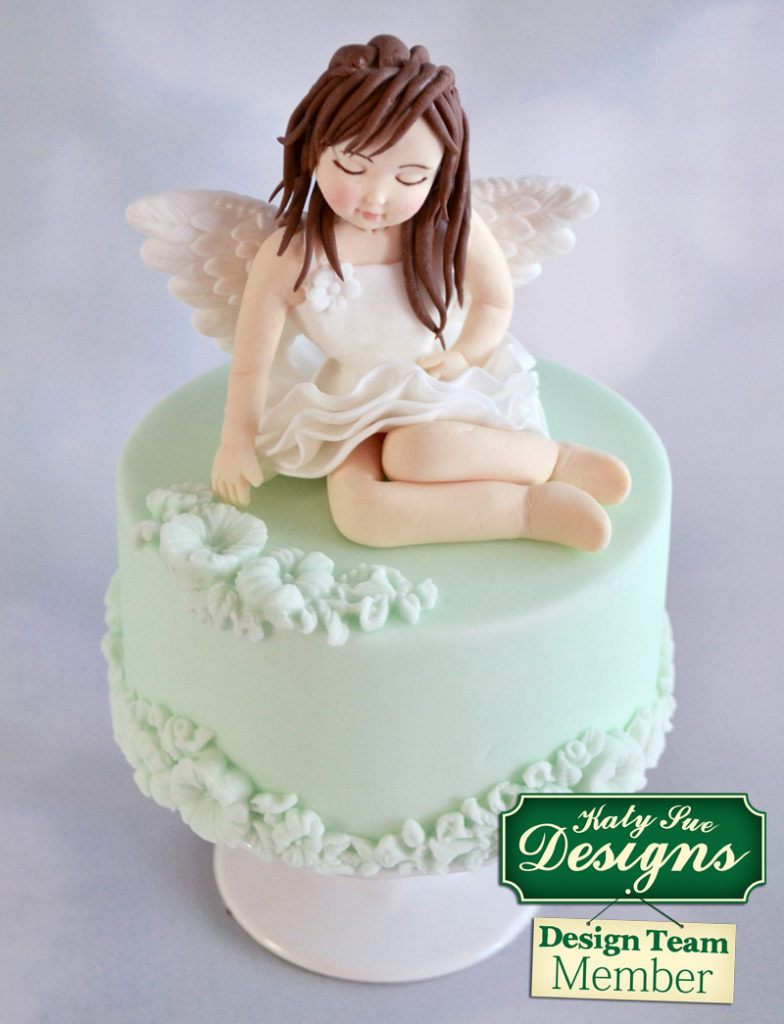
Add strands of modeling paste hair to complete your character and leave to dry. Your figure will then be ready to display on your cake.
And here is the finished cake! Isn’t it beautiful? We hope this has inspired you not to be afraid of making figures for your own cake decorating projects and that you give it a go yourself. Take a look at more ideas using these moulds on our website http://www.katysuedesigns.co.uk/cake-decorating/head-set-a-1inch/
Comments
Leave a comment