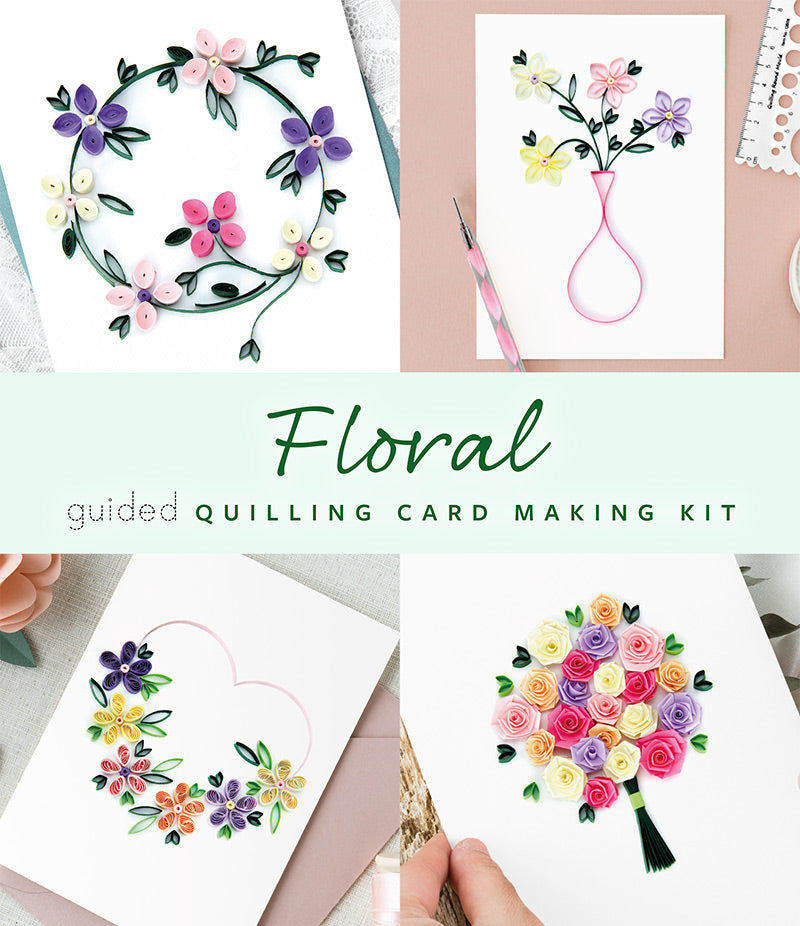
The videos on this page are made to accompany your Floral Guided Quilling Card Making Kit instructions.
O U R T O P T I P S
- Watch our short video clips showing the techniques below.
- Don’t use too much glue.
- To stick a quilling strip down on its edge gently run the edge through a little glue smeared on a plate or plastic sheet OR apply a fine line of glue directly to the template.
- Work on your project in good lighting.
- Use sharp scissors to cut your paper.
- Fine nosed craft tweezers help make it easy to place your strips down.
- Have fun!
Quilling Technique Videos
When reading your instructions you will find detailed descriptions of quilling techniques needed to complete your project. The following videos show you these techniques demonstrated to make it easier for you to learn the art of quilling.
Peg / Tight Coil
Roll strip tightly around quilling tool, apply a little glue to the end and close. Carefully remove from tool and neaten centre with a cocktail stick.
Pointed Petal
Fold the strip in half, at each end fold a tab towards the centre. Apply a little glue to one tab and attach to the other tab, use tweezers to close the shape tightly. Very lightly pinch either side of the petal to give a slight triangle shape.
Traditional Leaf
Fold the strip in half, using the quilling tool score each side to give a slight curve to the petal. Add a little glue to the tip and close the shape.
Arrow Leaf
Fold the strip in half, at each end fold in half again towards the centre. Once both sides are folded, very gently squash down both sides separately to give a triangle shape.
Oval Dome Petal
Roll the strip tightly around the quilling tool, apply a little glue to the end and close. Carefully remove from the tool, this makes a tight coil shape. Using the blunt end of your quilling tool, paintbrush or something similar, carefully push the tight coil into a dome shape. Once in a dome shape place on a flat surface (dome side touching the surface) and gently flatten the top to give a flat edge. Pinch each side with as much pressure as you can to give a subtle point at either end. Apply a layer of glue to the domed side, this will keep the petal in a 3D dome shape. The dome side is the back of the petal.
Teardrop Leaf / Petal
Roll the strip around the quilling tool and carefully let the shape unwind to the instructed diameter (you can use a quilling board to help with this). Once you have the right size, add a little glue to the paper edge to close the shape.
Rose
Hold the quilling tool in your dominant hand and slot the quilling paper into the quilling tool. Wind the strip 3 or 4 times towards you, this will form the centre of the rose. Hold the strip in place with your index finger, using your other hand make a fold in the strip. The strip should now run parallel to the quilling tool. Wind the tool to absorb the fold and a little extra, leave a couple of millimetres and make another fold. Repeat the process until the entire strip is quilled. Go slow and take care to ensure the rose stays on the tool, once you reach the end of the strip, add a little glue to close the shape.
Bouquet Stem
Fold a strip of paper in a concertina style making a fold every 2.5cm, do this until the entire strip is folded. Pinch together to form a fan shape and wind the Stem Wrap around, add a little glue to fix in place.
You may also like

Miniature Flower Pots Quilling Kit
|
 |
 Party Time Quilling Card Making Kit |
|
 Calla Lily Quilling Template Kit |
|
 Lion Quilling Template Kit |
|
