Gesso Resist Backgrounds Technique
This instalment of the Cosmic Shimmer Education Series explores three versatile gesso resist techniques that turn simple cardstock into richly textured backgrounds. Using white gesso and Cosmic Shimmer water-based inks, Sheena shows how to create:
• A mottled paint effect
• Faux wood grain effect
• A soft woodland glow over stencilled trees
Each background is ideal for tags, card fronts, die-cut shapes or mixed media panels. High-quality gesso is recommended for this project as it is strongly pigmented and clingy, giving better coverage and grip, so less product is needed.
Watch the full length tutorial
What Is Gesso – and Why Use It?
On a mixed media piece where you might have plastic, wood and paper all on one surface, a coat of gesso “levels the playing field” so colour goes on evenly. In these techniques, that same property is used more creatively: gesso is applied unevenly so it will resist colour in interesting, patchy ways.
Technique 1: Mottled “Old Plaster” / Oxidised Background
This version gives a soft, chalky, slightly distressed look that works beautifully behind vintage images or metal-effect embellishments. Cut mixed media card into smaller panels (e.g. tag or card-front size). Dampen a kitchen sponge, then squeeze out most of the water. Pick up a small amount of white gesso. Dab it randomly over the card, some areas should have more gesso and some areas very little. Leave a few bare patches of card. The goal is a thin, uneven, slightly patchy coat – not a solid, painted layer. Allow to dry.
Decant a few drops of chosen inks (for example Dark Walnut, Buff, French Mustard and a touch of blue) onto a craft mat or palette. Add a tiny droplet of vegetable glycerin next to each colour. Glycerin increases viscosity and slows drying, so the inks can be blended smoothly like pad inks. Load a blending foam first with a little glycerin, then pick up ink. If the foam looks very wet or heavily loaded, blot lightly onto kitchen paper. Apply the pale neutral colours first in soft circles. Build up the darker colours in patches for age and depth. As the colour moves over the gessoed areas, some parts of the card absorb ink strongly while others resist, revealing a beautiful mottled, chalky pattern where the gesso sits underneath. This panel now looks like old plaster or oxidised paint – ready to stamp over, die-cut, or turn into a tag.
Technique 2: Faux Wood Grain with Gesso
This technique builds a realistic wood effect by combining linear gesso streaks with layered inks. On a fresh panel of mixed media card, load a flat brush or sponge with a little gesso. Draw straight, parallel lines from top to bottom of the card. Use a light touch so the gesso forms streaks, not a solid block. Keep the motion vertical and consistent. Allow to dry.
Place Dark Walnut and French Mustard inks on the mat with a droplet of glycerin beside each. Load a blending tool with glycerin, then ink. Pull colour vertically, following the direction of the gesso lines. The bare card absorbs more ink and appears darker whilst the gessoed streaks resist slightly, creating lighter “grain” lines. To cool and deepen the tones, add a very small amount of charcoal black ink, again blending vertically. The background begins to resemble aged wood, complete with uneven streaks and variation in tone.
Technique 3: Woodland Stencil Glow
Here, gesso is stencilled first, then tinted with inks to create a glowing, forest-like effect. Place a woodland stencil over mixed media card. Using a sponge and white gesso, dab lightly through the stencil. Remove the stencil and allow to dry completely. The design is barely visible at this stage – just a subtle raised pattern in the light.
Choose a mix of greens, blues and browns, plus a warm yellow such as Marigold. Add a dot of glycerin for each colour on the mat. Load a blending tool with glycerin and green ink, then apply in soft, broken patches. Avoid covering the whole panel in one colour. Blend in blue ink in selected areas so it merges with the green. Keep darker tones towards the bottom and outer edges, suggesting shadow and depth, and leave the central area lighter for a “light through the trees” feel. Using a clean foam and glycerin, pick up the yellow ink and gently blend it into the centre of the scene for a soft light source. Because the stencil was done in gesso, the ink catches differently over the trees and background, revealing a subtle, textured woodland pattern with a glowing centre.
Gesso is no longer just a primer – it becomes an active, creative tool for building texture, pattern and vintage-style depth in all kinds of projects.
Create Gesso Resist Backgrounds
Watch Next
Creative Textures with Fluffy Stuff
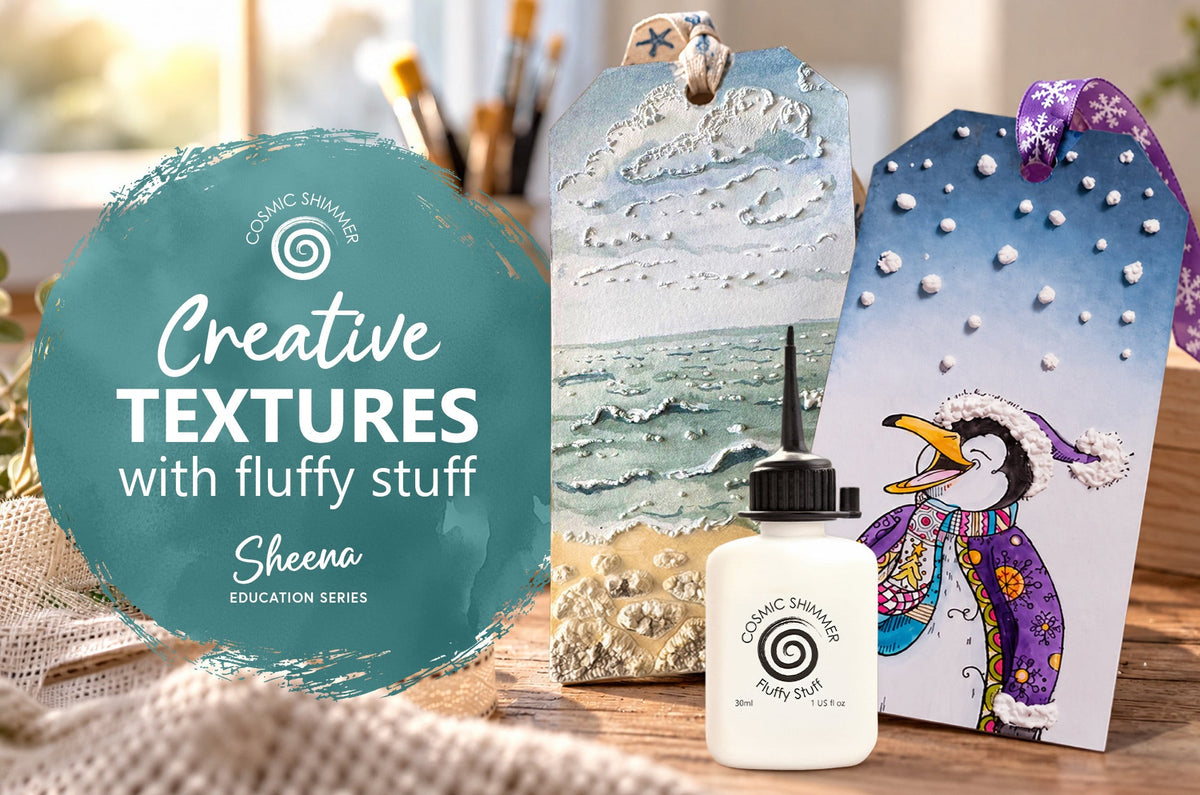
Cosmic Shimmer Fluffy Stuff is brilliant for creating soft, dimensional effects such as snow and fur, but it can do far more than that. In this project, Sheena starts with those familiar festive uses before taking Fluffy Stuff in a completely different direction – using it as a dimensional base for a painted mixed media beach scene.
Card Making with the Flippin' Awesome Penguin Stamp | Sheena Spotlight
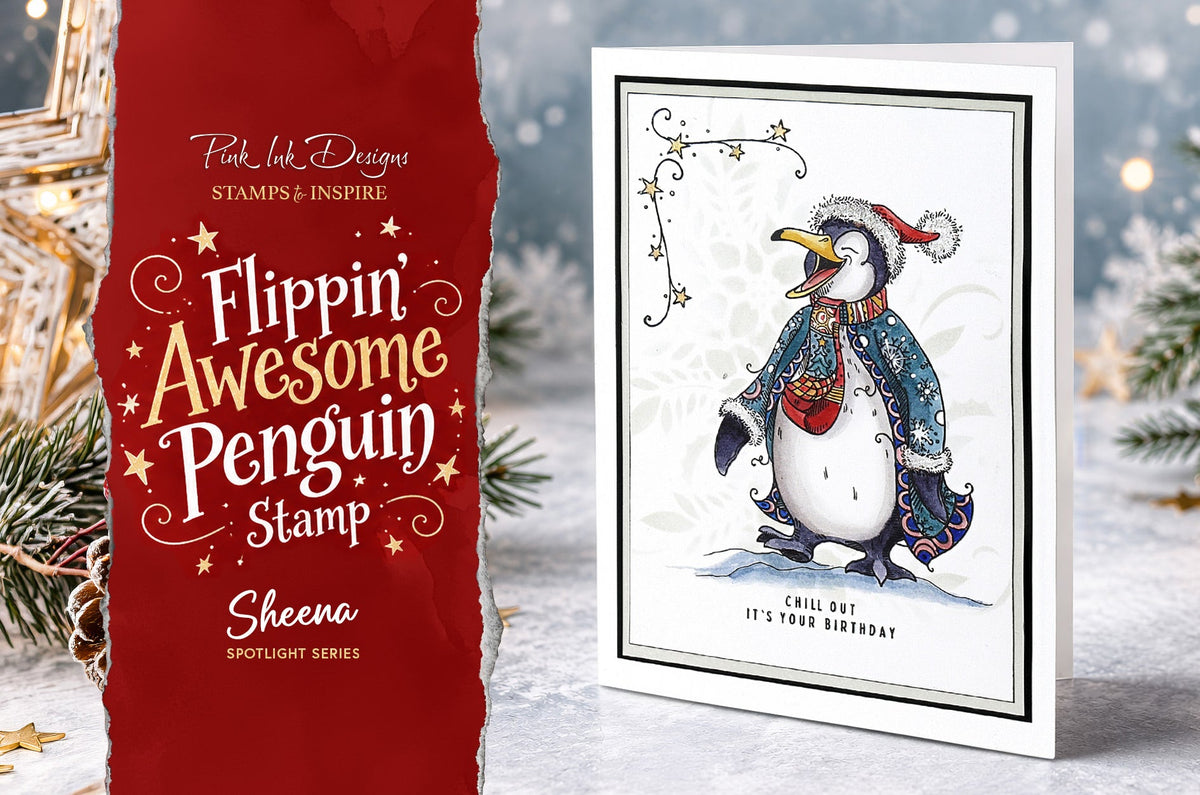
For this Spotlight, the focus is on the wonderfully characterful Pink Ink Designs – Flippin' Awesome Penguin, DL Stamp Set. With his winter coat, playful expression and quirky illustrated details, the penguin makes a strong focal point for festive card making, while the coordinating sentiments and decorative elements give you plenty of ways to build a complete design around him.
Choosing the Right Cardstock for Inks, Stamping & Mixed Media
Choosing the right cardstock can make a real difference when you’re stamping, painting and working with water-based inks. But once you have the right surface, there’s also plenty of scope to experiment with how your inks behave on it.In these two informative videos, Cathie from Pink Ink Designs puts Cosmic Shimmer Ready to Stamp White Cardstock and Cosmic Shimmer Water-Based Inks through their paces. First, she explains why the properties of your cardstock matter, before experimenting with different ways to use our highly pigmented water-based inks to create colourful, one-of-a-kind backgrounds.

Christmas Card Making with Duck the Halls Stamp | Sheena Spotlight
In this product Spotlight, Sheena is getting creative with the wonderfully characterful Pink Ink Designs – Duck the Halls, DL Stamp Set. With its quirky festive duck and playful coordinating details, it’s a design that offers plenty of scope for creating something a little different for Christmas.
Discover Crafting with Moulds | Woodland Stag Decoration
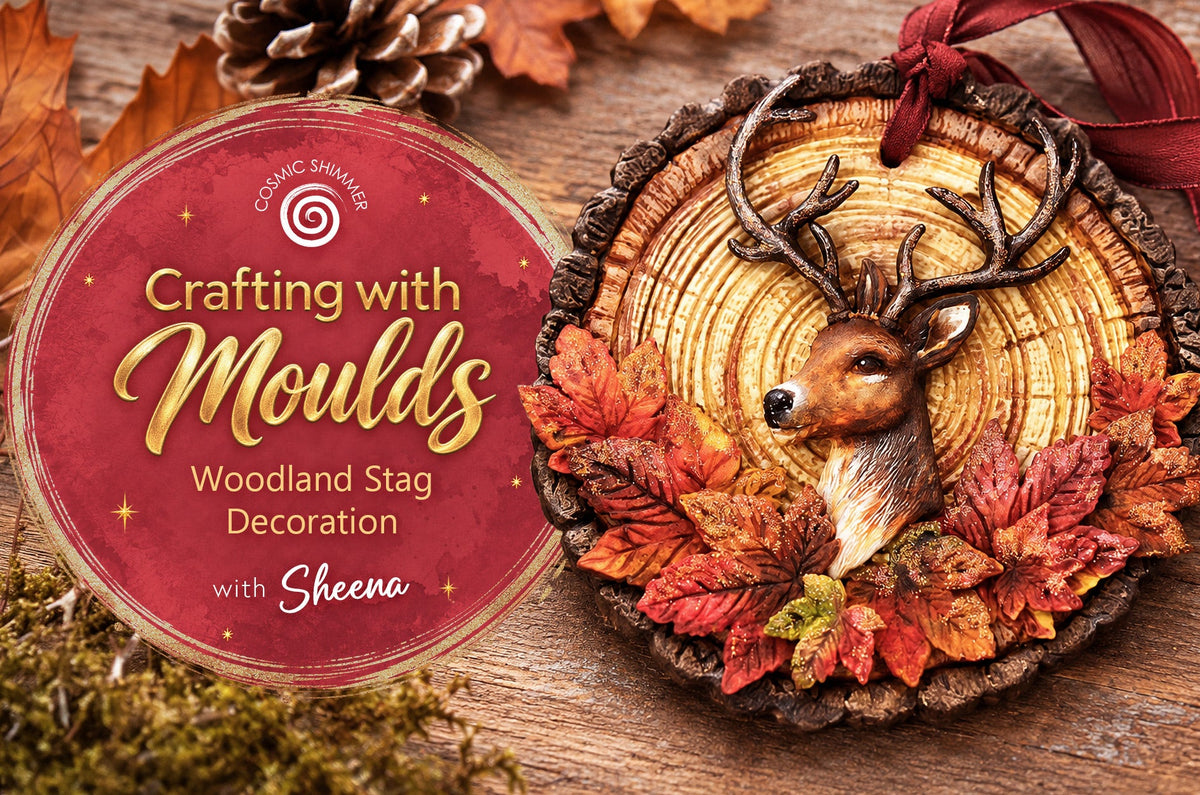
Bring a touch of the woodland indoors with this richly textured hanging decoration, created from air dry clay using the Cosmic Shimmer Medium Log Slice, Stag Head and Maple Leaves Silicone Moulds. Layered leaves, realistic bark detail and the striking stag centrepiece come together to create a piece that feels wonderfully tactile and full of seasonal character
Subscribe to our Newsletter
The latest product launches & offers delivered to your inbox
Click here to subscribe