

Caught in Crystal Backgrounds Technique
Create mesmerising backgrounds with Sheena using the Caught in Crystal technique – a wonderfully unpredictable way to trap colour, shimmer and texture under a glossy acetate surface. Every piece you make will be completely unique; the way the inks move through the “crystal” layer is all part of the magic. You can keep the look soft and ethereal, or add mica and gilding flakes for dramatic, high-shine panels – perfect for turning into quick statement cards, tags or art panels.
This tutorial also introduces an updated, ultra-simple version of Caught in Crystal. By swapping floor polish for inkjet printable acetate and a little water, you can create the same glassy, jewel-like backgrounds with fewer steps and less mess!
Watch the full length tutorial
What is the Caught in Crystal technique?
Caught in Crystal is a mixed media background created by bonding tissue paper to acetate with a clear medium, then flooding it with Cosmic Shimmer Watercolour Inks and optional inclusions such as mica powders or gilding flakes. Once dry, the back looks like crumpled tissue, but when you turn it over you get a glossy, fractured, jewel-like surface – as if the colour and sparkle are suspended in glass.
Sheena demonstrates two versions:
Original floor polish method – using clear acrylic floor polish as the bonding medium.
Water & inkjet transparency method – using the printable coating on inkjet acetate and just water.
Method 1 - Classic Caught in Crystal with Floor Polish
Take a regular tissue and separate it into single plies – each layer will make one background. Lightly scrunch each piece and set aside. The creases are what create the crackled, crystalline look. Place a piece of acetate on scrap copier paper. Pour a generous puddle of clear floor polish onto the acetate. It needs to be a proper puddle, not a thin smear. Use a flat brush to push the polish out into a rough rectangle making sure it does not run over the edge of the acetate.
Method 2 - Caught in Crystal with Inkjet Transparency
This updated version skips the floor polish and uses the coating on inkjet transparency film as the bonding medium. Water activates the coating and turns it slightly gel-like, which grabs the inks and tissue. Some inkjet transparencies slightly rough side – that’s the printable side you want. If both sides look similar, lightly touch with a damp fingertip; the sticky side is the coated side. Work on that side and place the transparency on scrap paper. Generously spritz the surface with water and use your flat brush to spread it into a puddle, just as you did with the floor polish. You’ll feel it start to go slightly thick and gummy – that’s the coating activating and becoming your “glue”.
Add Colour with Cosmic Shimmer
Choose 2–3 Cosmic Shimmer Watercolour Inks that will blend nicely (e.g. French Mustard, Olive Green and Dark Walnut for an autumn look). Using the pipette, drip tiny amounts of each colour into the polish puddle. A little goes a long way. Gently swirl the colours with your brush. Don’t over-mix– you want streaks, marbling and soft transitions, not one flat colour. With a dry brush, tap small amounts of mica powders or gilding flakes, following the lines of colour like mineral veins.
Trap everything with Tissue
Take a single ply piece of scrunched tissue, open it slightly and lay it onto the wet surface. With your flat brush, gently pat the tissue down into the polish, encouraging it to make contact everywhere while keeping the creases and folds. If you see dry or very white areas, add a touch more polish (or water depending on your technique) and tap it through the tissue so it bonds. Aim to keep the shape fairly rectangular, trimming stray edges with the brush. Be gentle, you want to avoid tearing the tissue. Leave flat on the copier paper and allow to dry naturally – ideally 1–2 hours or overnight.
Reveal the Crystal Effect
Once your panels are fully dry lift the acetate/tissue piece away from the scrap paper. Turn it over – on the front, the inks, mica and gilding flakes appear as if trapped under glass, with all the tissue creases forming delicate crackles and “facets”. Use a guillotine (rather than a rotary trimmer) to slice through all the layers cleanly, keeping the acetate and tissue bonded together. You now have your Caught in Crystal background ready to turn into card fronts, tags or art panels.
If you’d like to try this yourself, gather your acetate, tissue and Cosmic Shimmer inks, and give both versions a go.
Create Caught in Crystal Backgrounds
Watch Next
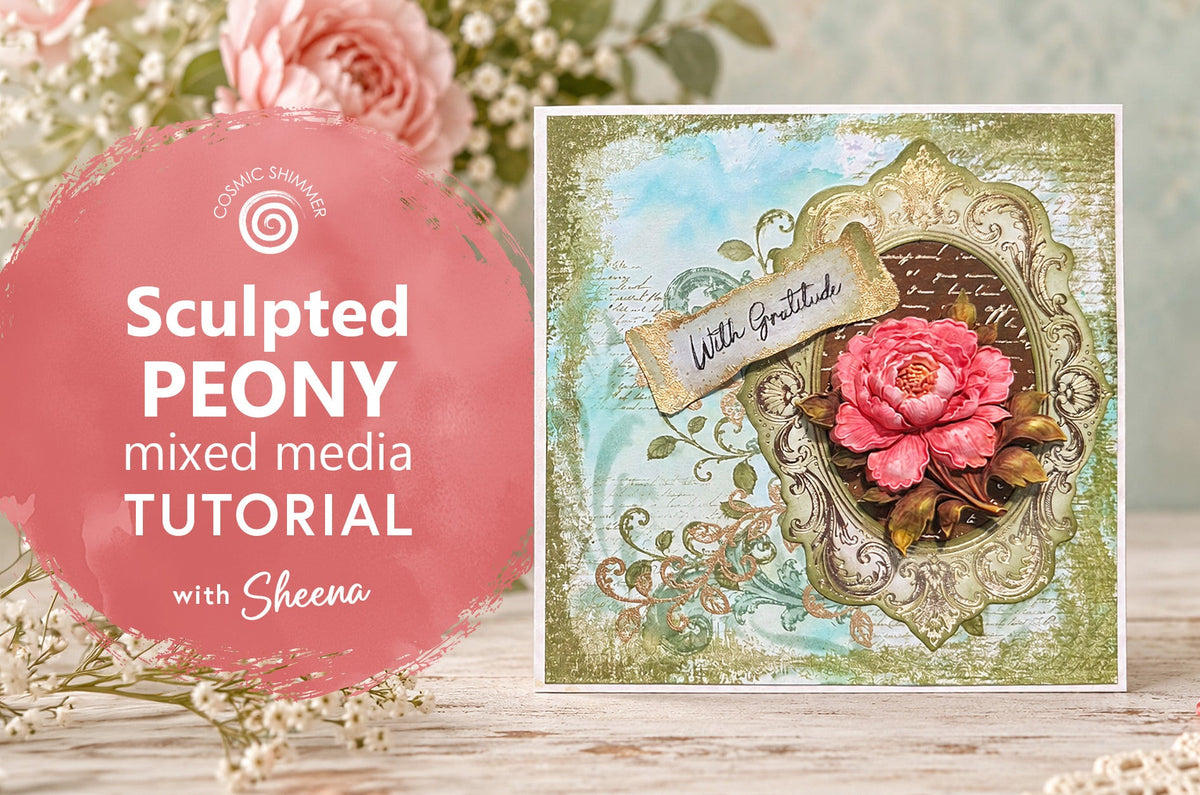
Create a Mixed Media Peony Card with Moulded Floral Details
Beautiful florals, aged textures, touches of gold and stunning dimension come together in this Vintage Heirloom mixed media card. Using the Cosmic Shimmer Sculpted Peonies Silicone Mould as the striking focal point, co-ordinating stamps and stencils, and our unique Gilded to Grunge Frames & Flourishes.
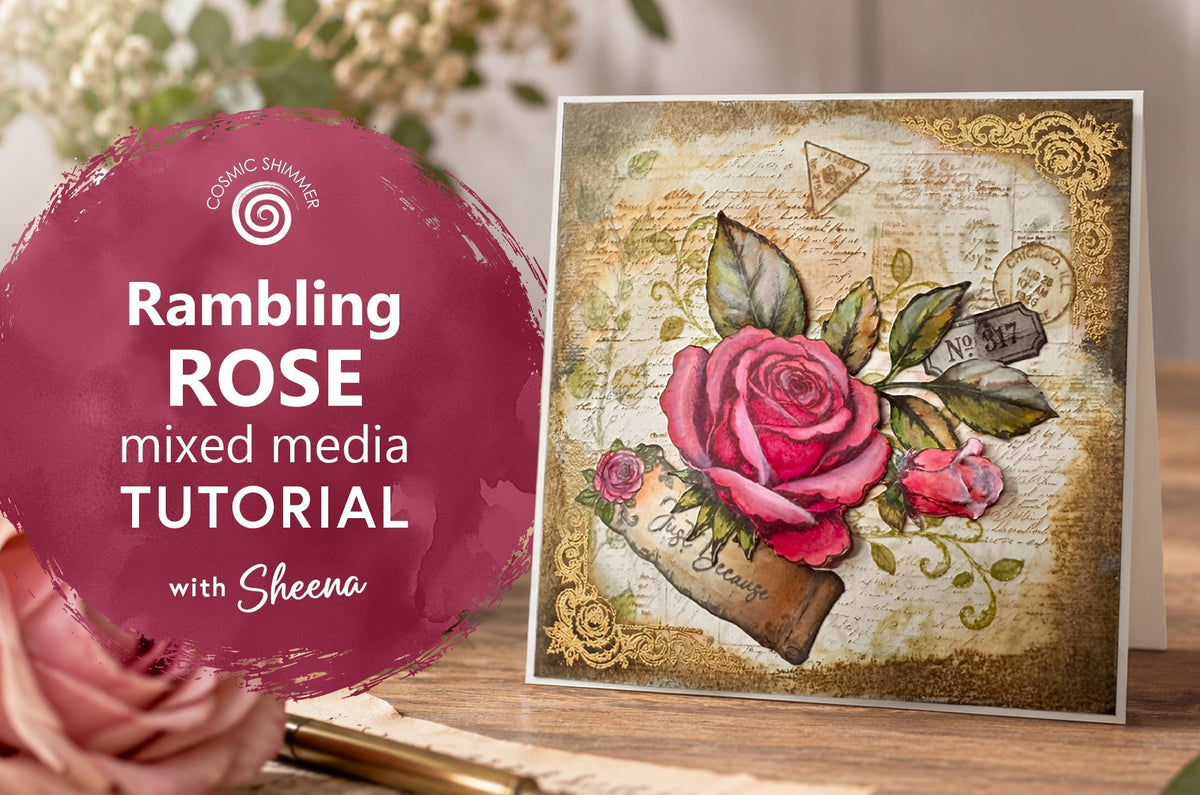
Create a Vintage Rose Card with the Cosmic Shimmer Rambling Roses Stamp
Discover how to create a stamped floral card topper, then combine more stamping, stencilling, painting and embossing to create a beautiful vintage-inspired card using the Cosmic Shimmer Vintage Heirloom Collection. In this real-time tutorial, Sheena Douglass uses the Cosmic Shimmer Rambling Roses DL Stamp Set to create the dimensional floral focal point, building the background with the Past & Postal DL Stamp Set, Finishing Touch DL Stamp Set and Heritage Rose Stencil.
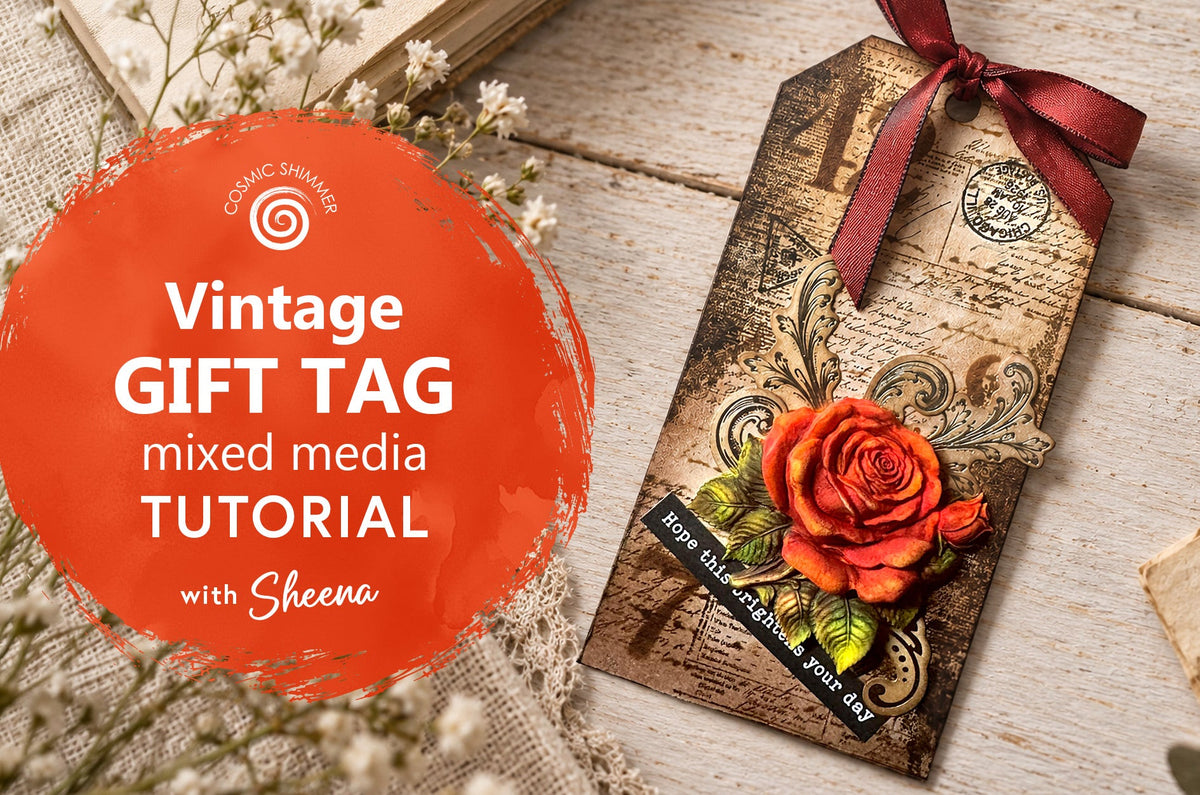
Decorate a Mixed Media Tag with Vintage Stamping and a Sculpted Rose
Discover how to turn a beautifully dimensional moulded rose into the focal point of a vintage-inspired mixed media tag using the Cosmic Shimmer Vintage Heirloom Collection. In this real-time tutorial, Sheena Douglass uses the Cosmic Shimmer Sculpted Roses Silicone Mould with air dry clay, then paints the finished rose with Cosmic Shimmer Water-Based Inks to accentuate the sculpted petals and leaves.
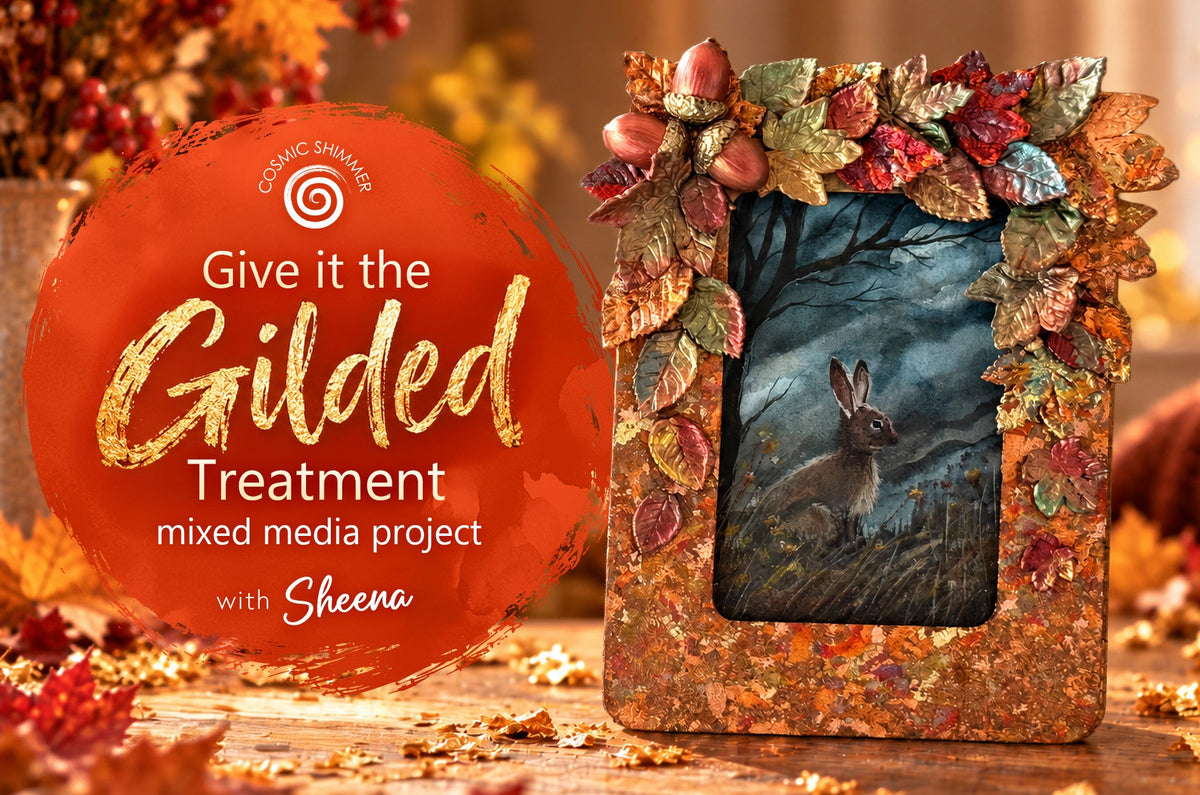
Transform a Frame with Cosmic Shimmer Gilding Flakes
Turn a simple wooden frame into a richly textured mixed media project with Cosmic Shimmer Gilding Flakes, metallic Polishes and dimensional moulded leaves. Follow Sheena's step-by-step tutorial to create the beautiful autumnal finish.

Create a Festive Robin Hanging Decoration with Cosmic Shimmer Moulds
Add a handmade touch to your Christmas decorating with this dimensional robin hanging decoration, created using Cosmic Shimmer silicone moulds and lightweight air dry clay. An ornate frame, snowy winter background and layered moulded details come together to create a traditional festive decorative keepsake.
Subscribe to our Newsletter
The latest product launches & offers delivered to your inbox
Click here to subscribe