Skip to content
🚚 FREE DELIVERY ON ORDERS OVER £30
2023-Oct-Make-Mitten-Earrings-blog-image.jpg__PID:cb7b2b13-4805-4350-90c0-883d40f91208

Handcraft Christmas earrings with this step-by-step guide

Make magical mitten earrings complete with knitted texture – perfect to wear with your favourite Christmas jumper or gift to friends and family!

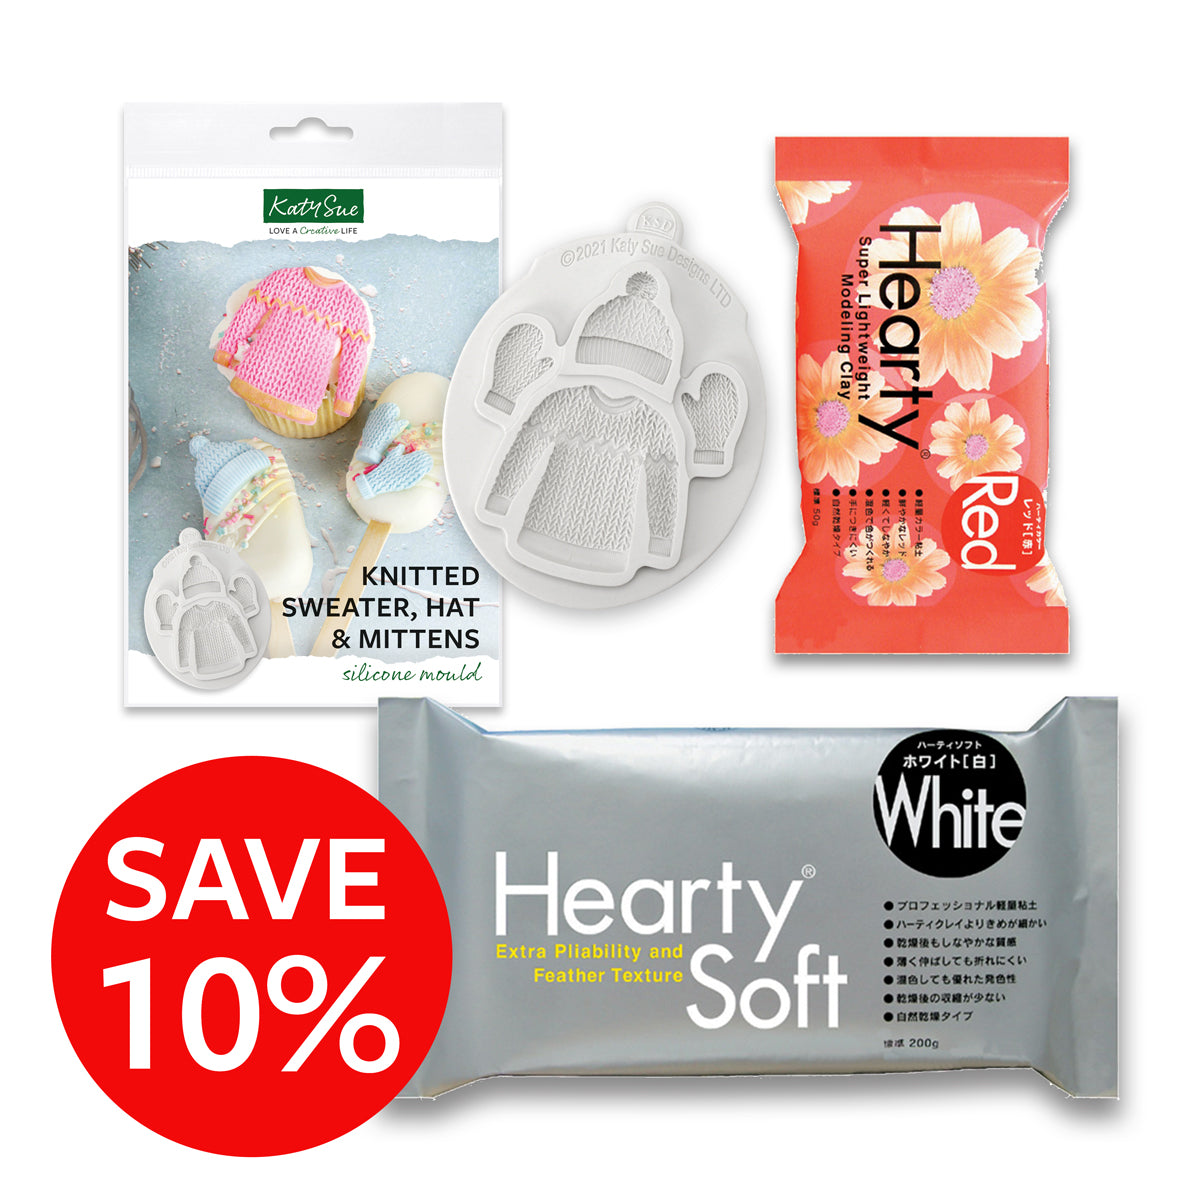
Jewellery designer The Glam Bijoux guides us through making these sweet winter earrings using Air Drying Clay and the Katy Sue Knitted Sweater, Hat & Mittens Mould. Our lightweight clay and detailed mould makes it easy to create mini wooly textured knitwear so everyone can try this fun Christmas craft project!

What you'll need:

• Katy Sue Knitted Sweater, Hat & Mittens Silicone Mould
Red Hearty Air Drying Clay
White Hearty Air Drying Clay
• Red powder colour (eg. Rainbow Dust)
• Satin glaze (eg. Sculpey), or hair spray
• Two hypoallergenic surgical steel earring bases
• Hypoallergenic ear hooks
PVA white glue
• Paintbrush
• Cornflour, or vegetable fat (eg. Trex)
• White pearls (optional)
• Dresden tool (optional)
Flower Pro Size Guide (optional)

Knitted Sweater, Hat & Mittens Mould with Red and White Clays Bundle
SAVE 10% with this Bundle OFFER!
SEE OFFER

Step-by-Step Mitten Earrings Instructions

STEP 1 – MITTEN CUFF: Begin by dusting the mitten cavity on the Katy Sue Knitted Sweater, Hat & Mittens Mould with cornflour and tap out any excess, or lightly brush with vegetable fat such as Trex. 

Select a small portion of white Hearty Clay (if using a Flower Pro Size Guide, this is a number 4 size ball). 
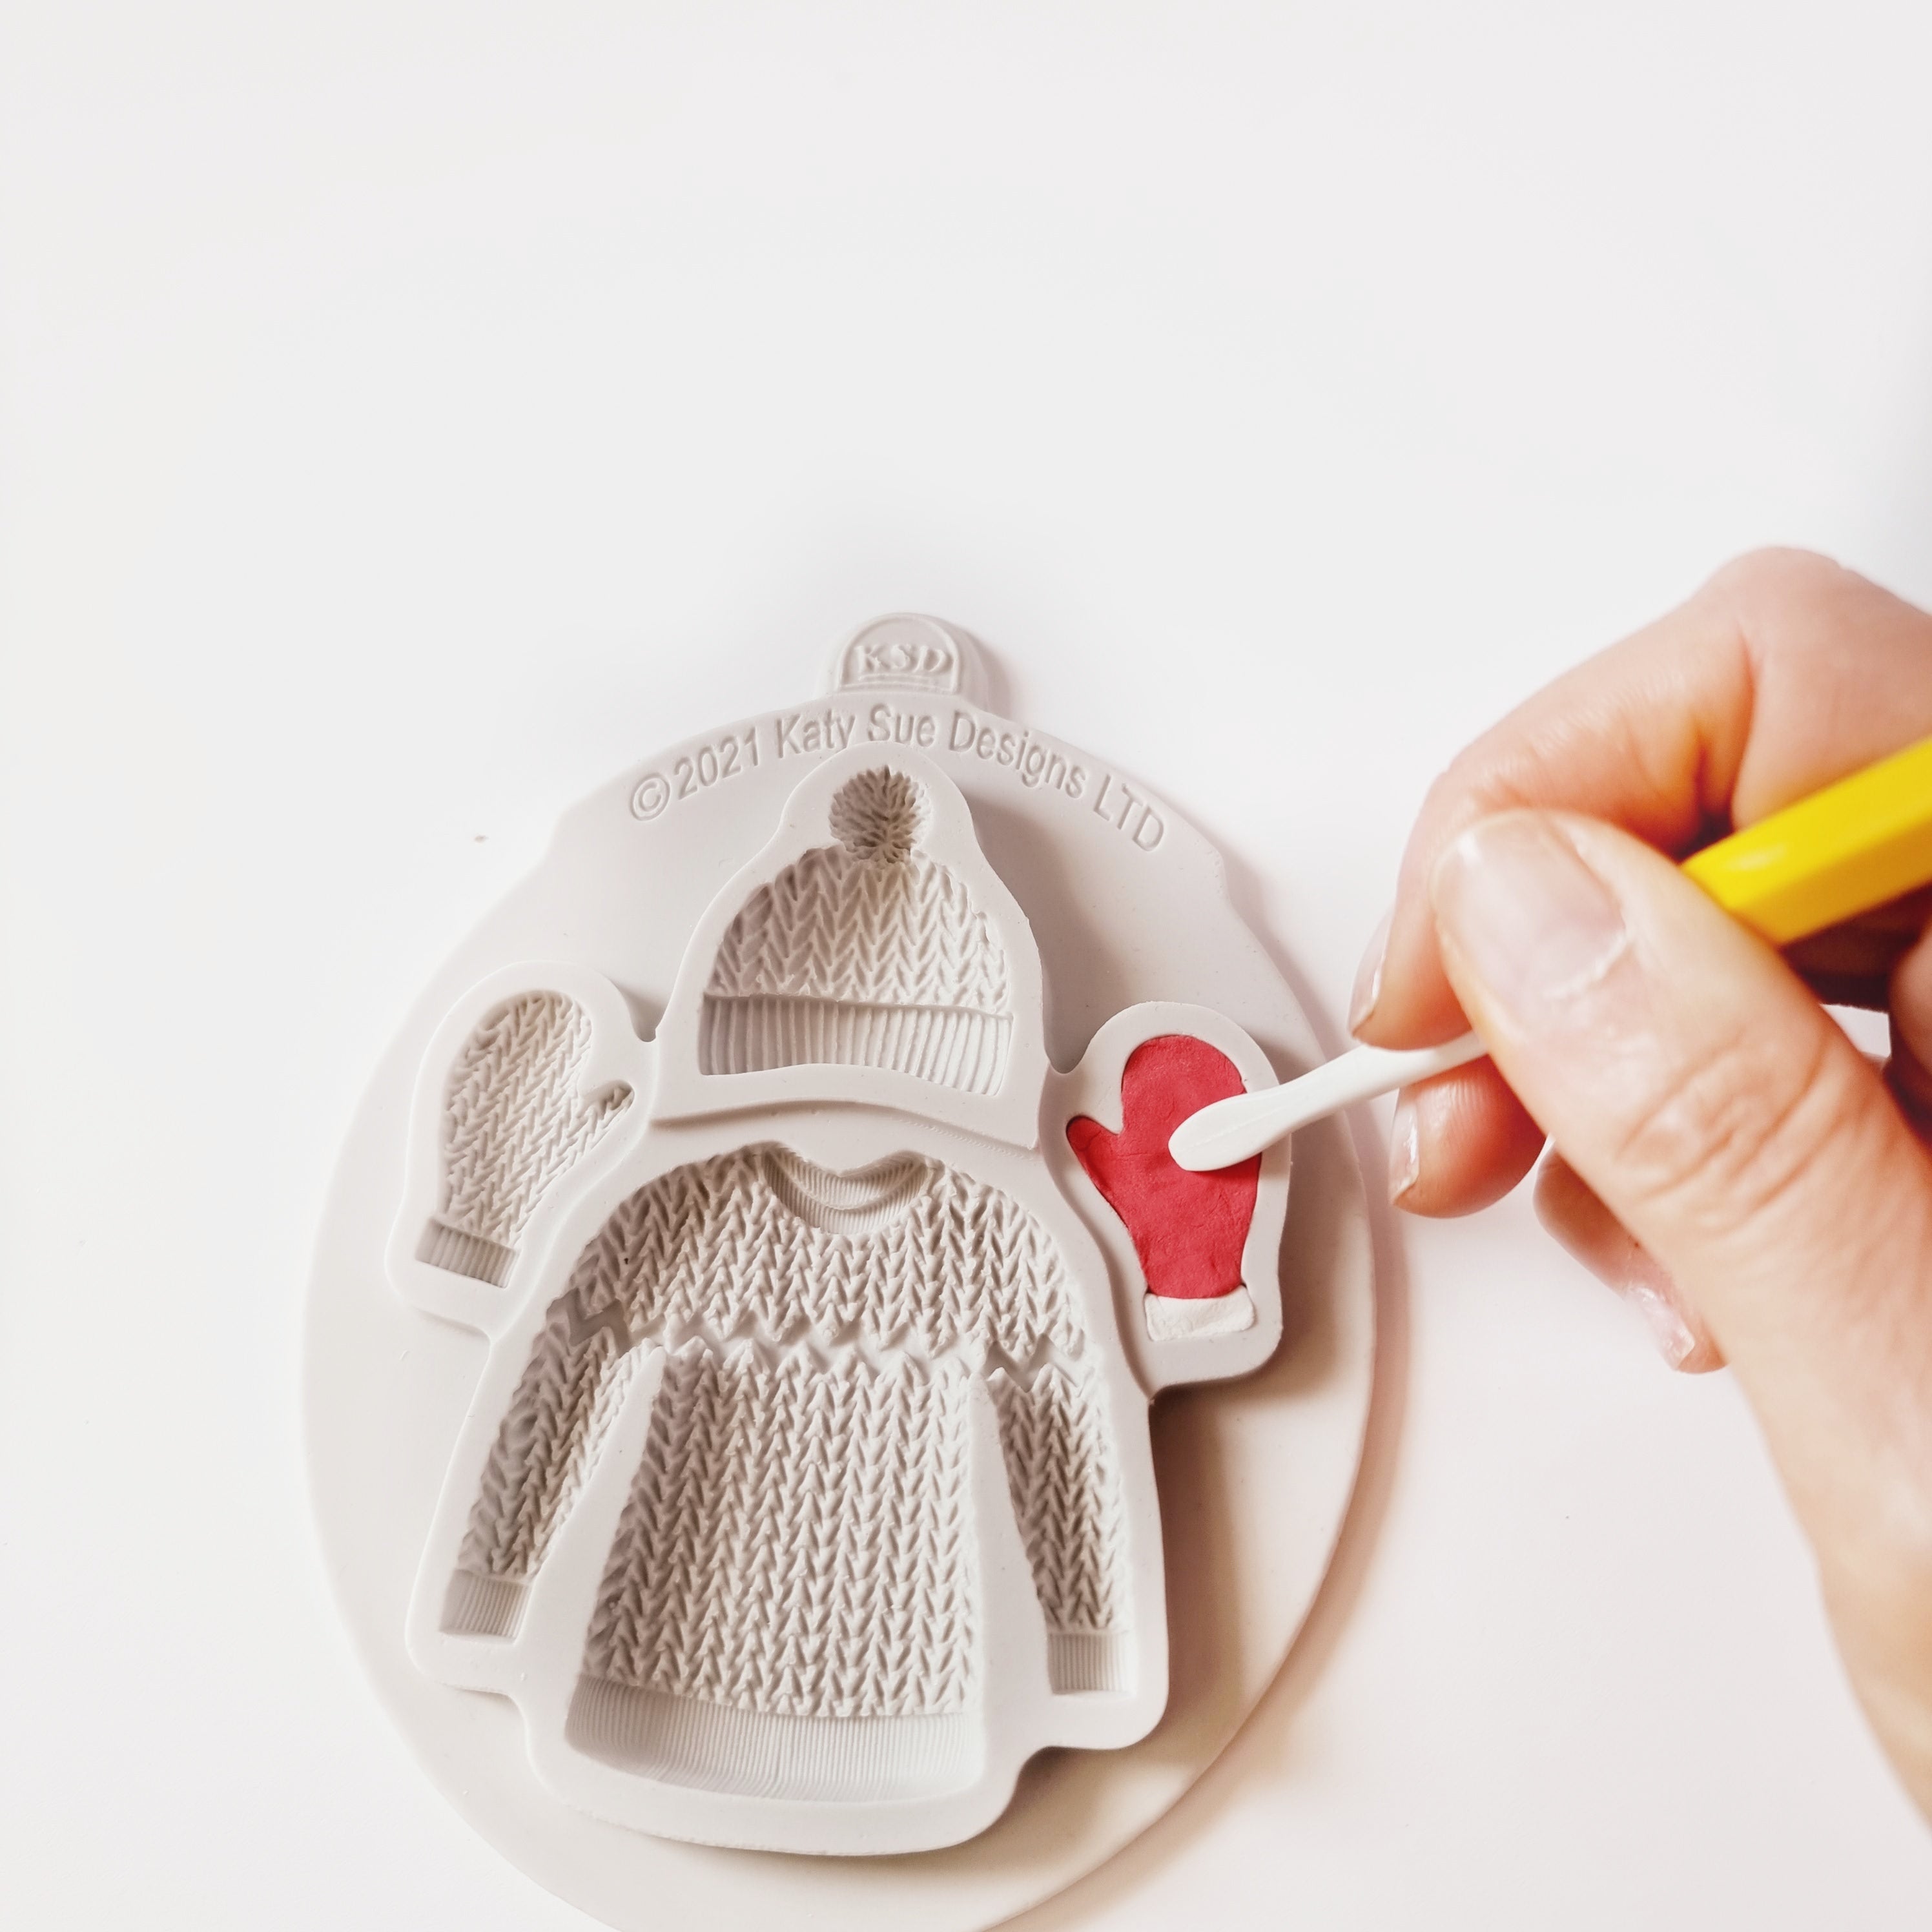
Place the white clay into the mitten cuff cavity on the Katy Sue Knitted Sweater, Hat & Mittens Mould and press in with your finger or use a Dresden Tool – this tool helps positioning and shaping the clay to achieve a snug fit.

20230915_131749-01.jpeg__PID:e03a2621-95a3-4a1a-bdc3-980d507eb529

STEP 2 – MITTEN HAND: Now, take a portion of red Hearty Clay, (number 7 ball if using a Size Guide) and add it to the remaining part of the mould cavity where the mitten's thumb and fingers are formed. Similar to the white clay, you can employ the Dresden tool to aid in shaping and smoothing the red clay. The goal here is to ensure a precise fit within the mould's cavity, creating a defined distinction between the red and white sections of the mitten.

20230915_131516-01.jpeg__PID:f1ab104a-6dac-485b-808b-1562b3177749
20230915_131859-01.jpeg__PID:690ff1ab-104a-4dac-885b-808b1562b317

TOP TIP: For an extra touch of texture, consider this pro tip: Craft two additional white mitten shapes using Hearty Clay. Allow them to dry thoroughly. Once dry, these will serve as textures for the back of each mitten earring. When you have the main mitten shape within the mould, gently press one of the previously dried white mittens onto the back of the mitten within the mould to transfer the texture. By incorporating this additional texture, you'll achieve a more realistic finish for your mitten earrings.

20230915_132021-01.jpeg__PID:3093ef45-aefd-48c6-8659-d8d5473e6300
20230915_133116.jpg__PID:9ba63f8b-fe71-468e-a3c4-fc08fde8304b

STEP 3 – REMOVE FROM MOULD: Flex the mould to release the clay mitten.

Repeat the process with the opposite mitten then leave both to dry.

20230915_133214-01.jpeg__PID:0786294a-432f-45f4-b90d-401bd4b5da39
20230915_132315-01.jpeg__PID:c26c0786-294a-432f-a5f4-b90d401bd4b5

STEP 4 – PAINTING: Using a paintbrush, dust the clay mittens with red powder colour (such as Rainbow Dust), ensuring an even and vibrant colour. Once you've achieved the desired red hue, it's time to set the paint. Hold a can of satin glaze or hairspray approximately 10cm away from the painted mittens and give them a light spray. This helps fix the paint in place. Allow the mittens to dry while you prepare the assembly.

STEP 5 – ASSEMBLY: Now, let's gather the components for assembling the earrings. You'll need two mini hypoallergenic steel bases. Inside the cavity of each base, add a small amount of PVA glue and attach a tiny ball of red clay to create a secure foundation within the steel base.

If desired, thread a pearl onto a wire and attach to the base hook.

Apply a layer of PVA glue over the red clay base you've created and then affix the base to the back of the mitten. This serves as the support for attaching the earring hooks.

Repeat with the other mitten.

Lastly, attach the earring hooks to the bases.

20230915_133738.jpg__PID:4be684b6-83df-463b-976c-dba8287f005920230915_135012-01.jpeg__PID:ddae9c12-31e7-44f4-94c8-2bf9dcea6077
20230915_134823-01.jpeg__PID:4bc13b79-8d44-421e-8a4e-f38fc7c2d0d920230915_125640-01.jpeg__PID:c0fe5a40-d700-4102-a39f-a757197cc935

Voilà! Your handmade festive mitten earrings are ready to wear!

Enjoy wearing your very own hand-crafted Christmas earrings, or gift to lucky friends or family! Happy crafting and happy holidays!

20230915_125342-SML.jpg__PID:cf41f5e0-b645-460d-8bb8-deac840a20cb

You might also like...

https://youtu.be/2q7b-lRHl2c
Miniature Christmas Gingerbread Silicone Mould
https://youtu.be/2q7b-lRHl2c
Miniature Christmas Gingerbread Silicone Mould

Miniature Christmas Gingerbread Silicone Mould

£9.99
https://youtu.be/22tECO--Hic
C&D Reindeer Silicone Mould
CD - Reindeer Cake Decorating Mould
C - Reindeer Craft Mould
C - Reindeer Silicone Mould
C - Reindeer Craft Mould
https://youtu.be/22tECO--Hic
C&D Reindeer Silicone Mould
CD - Reindeer Cake Decorating Mould
C - Reindeer Craft Mould
C - Reindeer Silicone Mould
C - Reindeer Craft Mould

Reindeer Silicone Mould

£11.99
https://youtu.be/g-3MhnePGpU
Christmas Signposts Silicone Mould
C&D - An idea using the Christmas Sign Posts Silicone Mould product
CD - An idea using the Christmas Sign Posts Silicone Mould product
C - An idea using the Christmas Sign Posts Silicone Mould product
CD - An idea using the Christmas Sign Posts Silicone Mould product

Christmas Signposts Silicone Mould

£11.99
https://youtu.be/9e9LXDz4_PA
C&D - Polar Bear Silicone Mould
CD - Polar Bear Cake Decorating Mould
C - Polar Bear Craft Mould
CD - Polar Bear Cake Decorating Mould
C - Polar Bear Craft Mould
CD - Polar Bear Cake Decorating Mould
C - Polar Bear Craft Mould
Polar Bear Silicone Mould
https://youtu.be/9e9LXDz4_PA
C&D - Polar Bear Silicone Mould
CD - Polar Bear Cake Decorating Mould
C - Polar Bear Craft Mould
CD - Polar Bear Cake Decorating Mould
C - Polar Bear Craft Mould
CD - Polar Bear Cake Decorating Mould
C - Polar Bear Craft Mould
Polar Bear Silicone Mould

Polar Bear Silicone Mould

£11.99

Net Orders Checkout

Item Price Qty Total
Subtotal £0.00
Shipping
Total

Shipping Address

Shipping Methods