Make Your Own Wedding Invitation
Hi

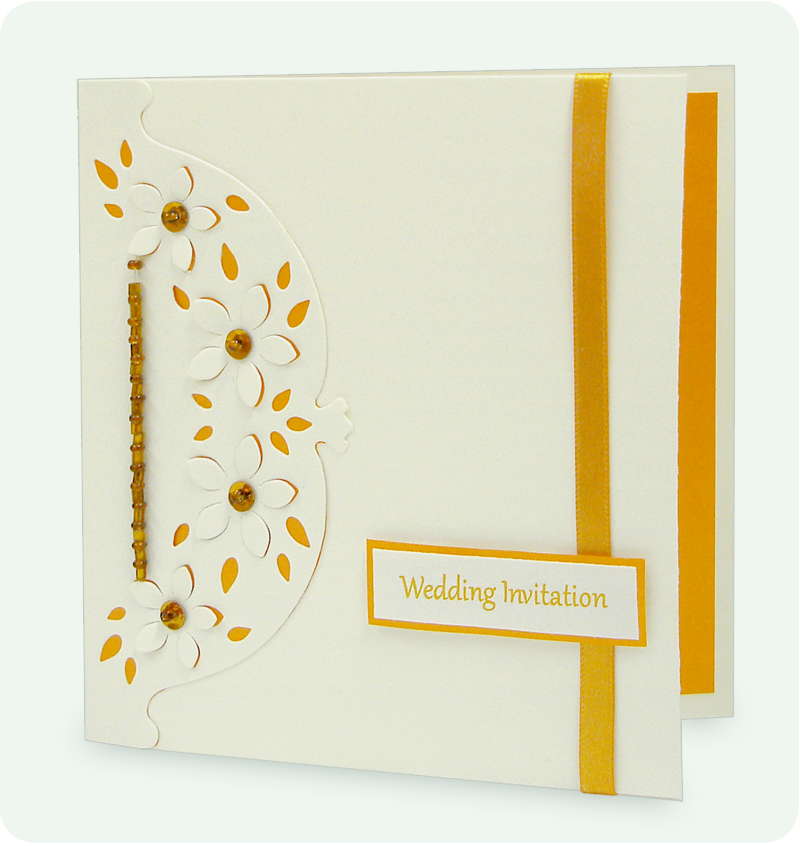
Today I will show you how I created this Wedding Invitation using Flower Soft Multi Function Die Cuts.
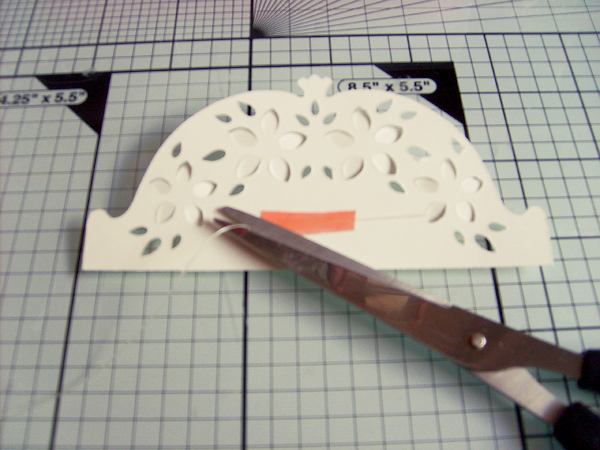
The invitation, which can be for day or evening is made by cutting off the patterned edge about 4mm away from the bottom leaf of the cut out section. The remainder of the card is then folded in half making a card about 4 1/2 inches by 4 3/4 inches. Not quite square but acceptable.


Take your invisible thread, I find it easier to work with it still attached to the spool this stops beads falling off the other end and allows you to vary the length as you are working. Thread your chosen beads onto the thread. I used beads of two designs, but it would look just as good with one or more shaped bead, or even two colours. Thread sufficient beads to reach from the bottom inner petal on the left of the card to the same petal on the right. (The next bit it could be said is the most fiddly, so when you have done one, each item in your stationary will be completed exactly the same with the exception of the RSVP.) Carefully lift the petal and slide the end of the invisible tape under it securing at the back with some of the really stick red tape. Take the other end of the beads and cut the invisible thread leaving enough for you to handle and complete in the same way.
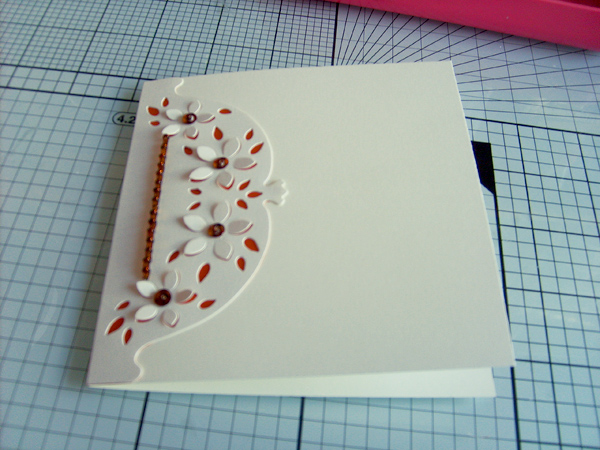
Make sure you have pushed out all of the die cut shapes (best from the back of the card) and then back with a piece of your chosen paper, using a wet glue. Make sure you do not stick down any of the flower petals which you can slightly raise when all is dry. Cut around the card so that the backing paper does not show around the edges.
Glue a sequin and seed bead to the centre of each flower and leave to dry completely. When dry attach this decorative edge to the left hand side of your card butting the end up level with your base card.
Some people like to complete one stage of each card rather like a assembly line, you get into a rhythm that way and I think it works out quicker.
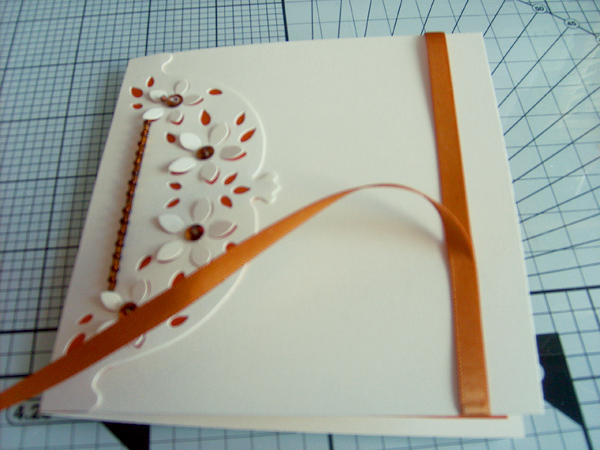
Next take a piece of ribbon and wrap it round your card securing on the front about 1 3/4 from the bottom. Again use a high tack tape as ribbon takes some holding. This is where you place your sentiment i.e. Wedding Invitation, Evening Invitation, and the same procedure is used for each item of stationary, its just its location that differs.
Now you’re nearly finished your first card, all that remains to do is cut a piece of your backing paper and glue securely to the inside right of your card, leaving a very small border around the outside to show the colour of your card. Don’t forget this stationary set can be made from any of the die cut sets, however how many cards you need to complete the set may vary slightly.
When you have printed your invitation simply stick it onto the backing paper, making sure you have it central. I would do a trial card of each type initially to make sure that the size of font you use will fit into your card.
When you type your sentiments do several to one page, but remember to leave sufficient space around each sentiment to allow you to cut them up, mount them onto another piece of your backing paper, leaving a small edge around to contrast with the cream or white card and with double pads place over the edge of the ribbon at the join.
Your first card is now completed, the rest is easy! Check back tomorrow for another step by step.
Yvonne
Leave a comment