
Princess Figure Cupcake Project by The Cupcake Range
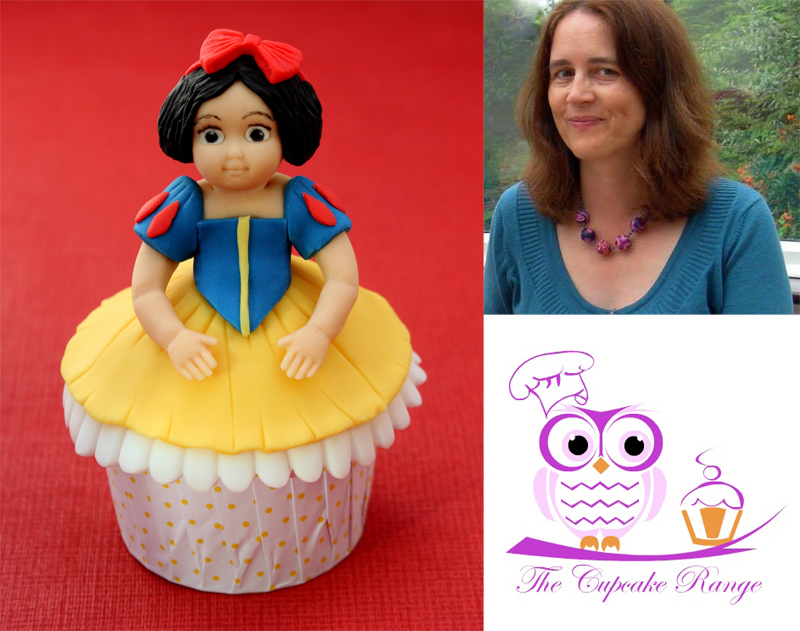
Sarah Harris from The Cupcake Range has put together a very helpful step by step project using our head and arms figure moulds to make a princess cupcake. We love this idea and hope it inspires you to make your own character cupcakes. Visit Sarah’s Facebook page here The Cupcake Range.
Step 1
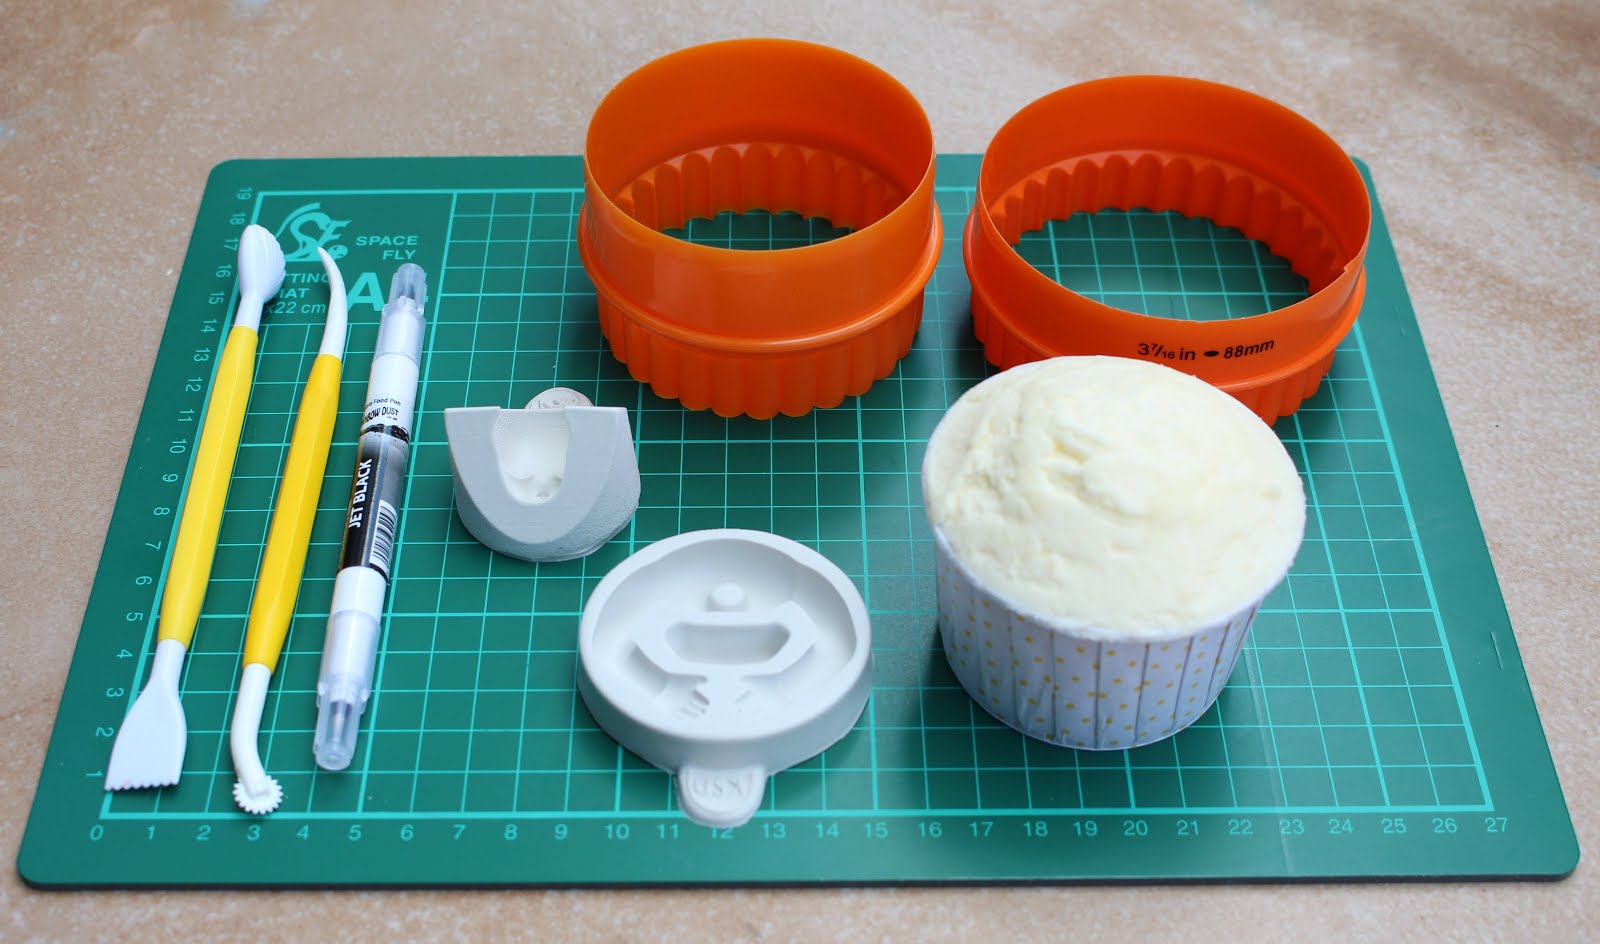
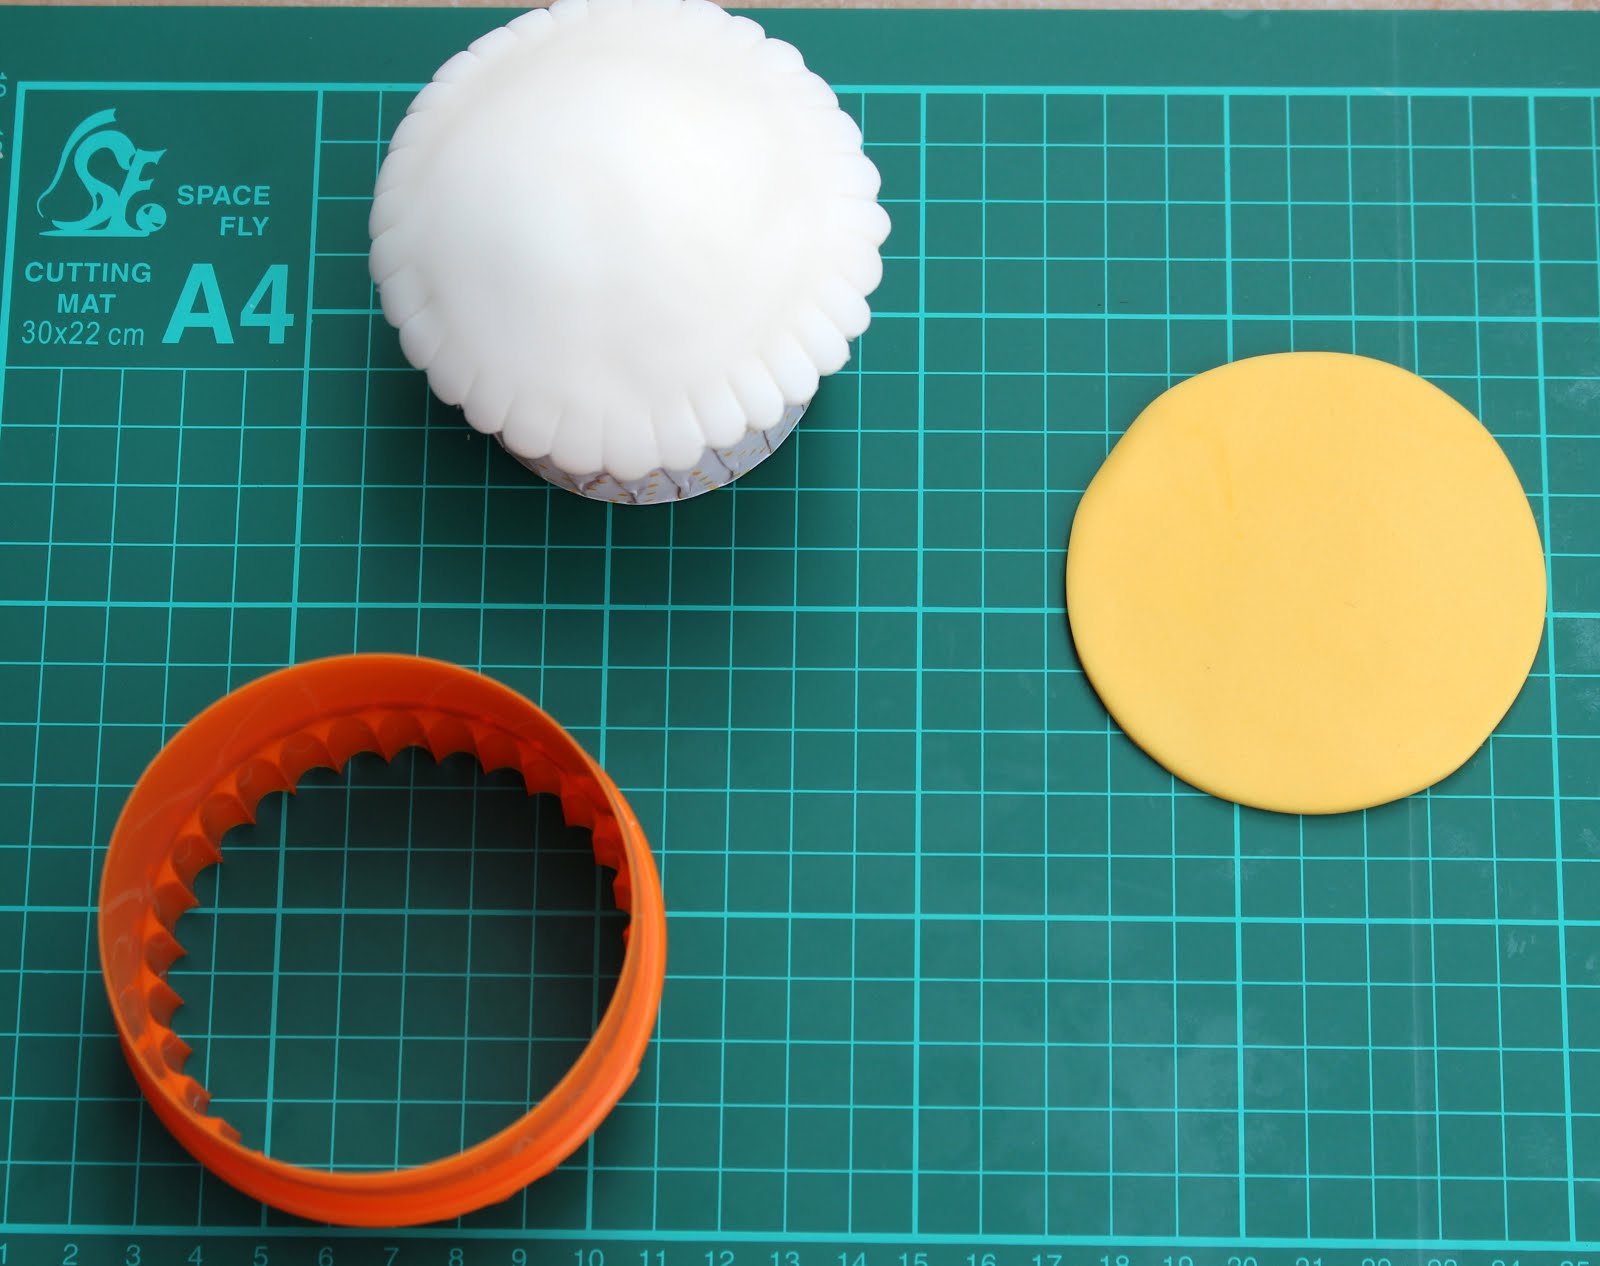
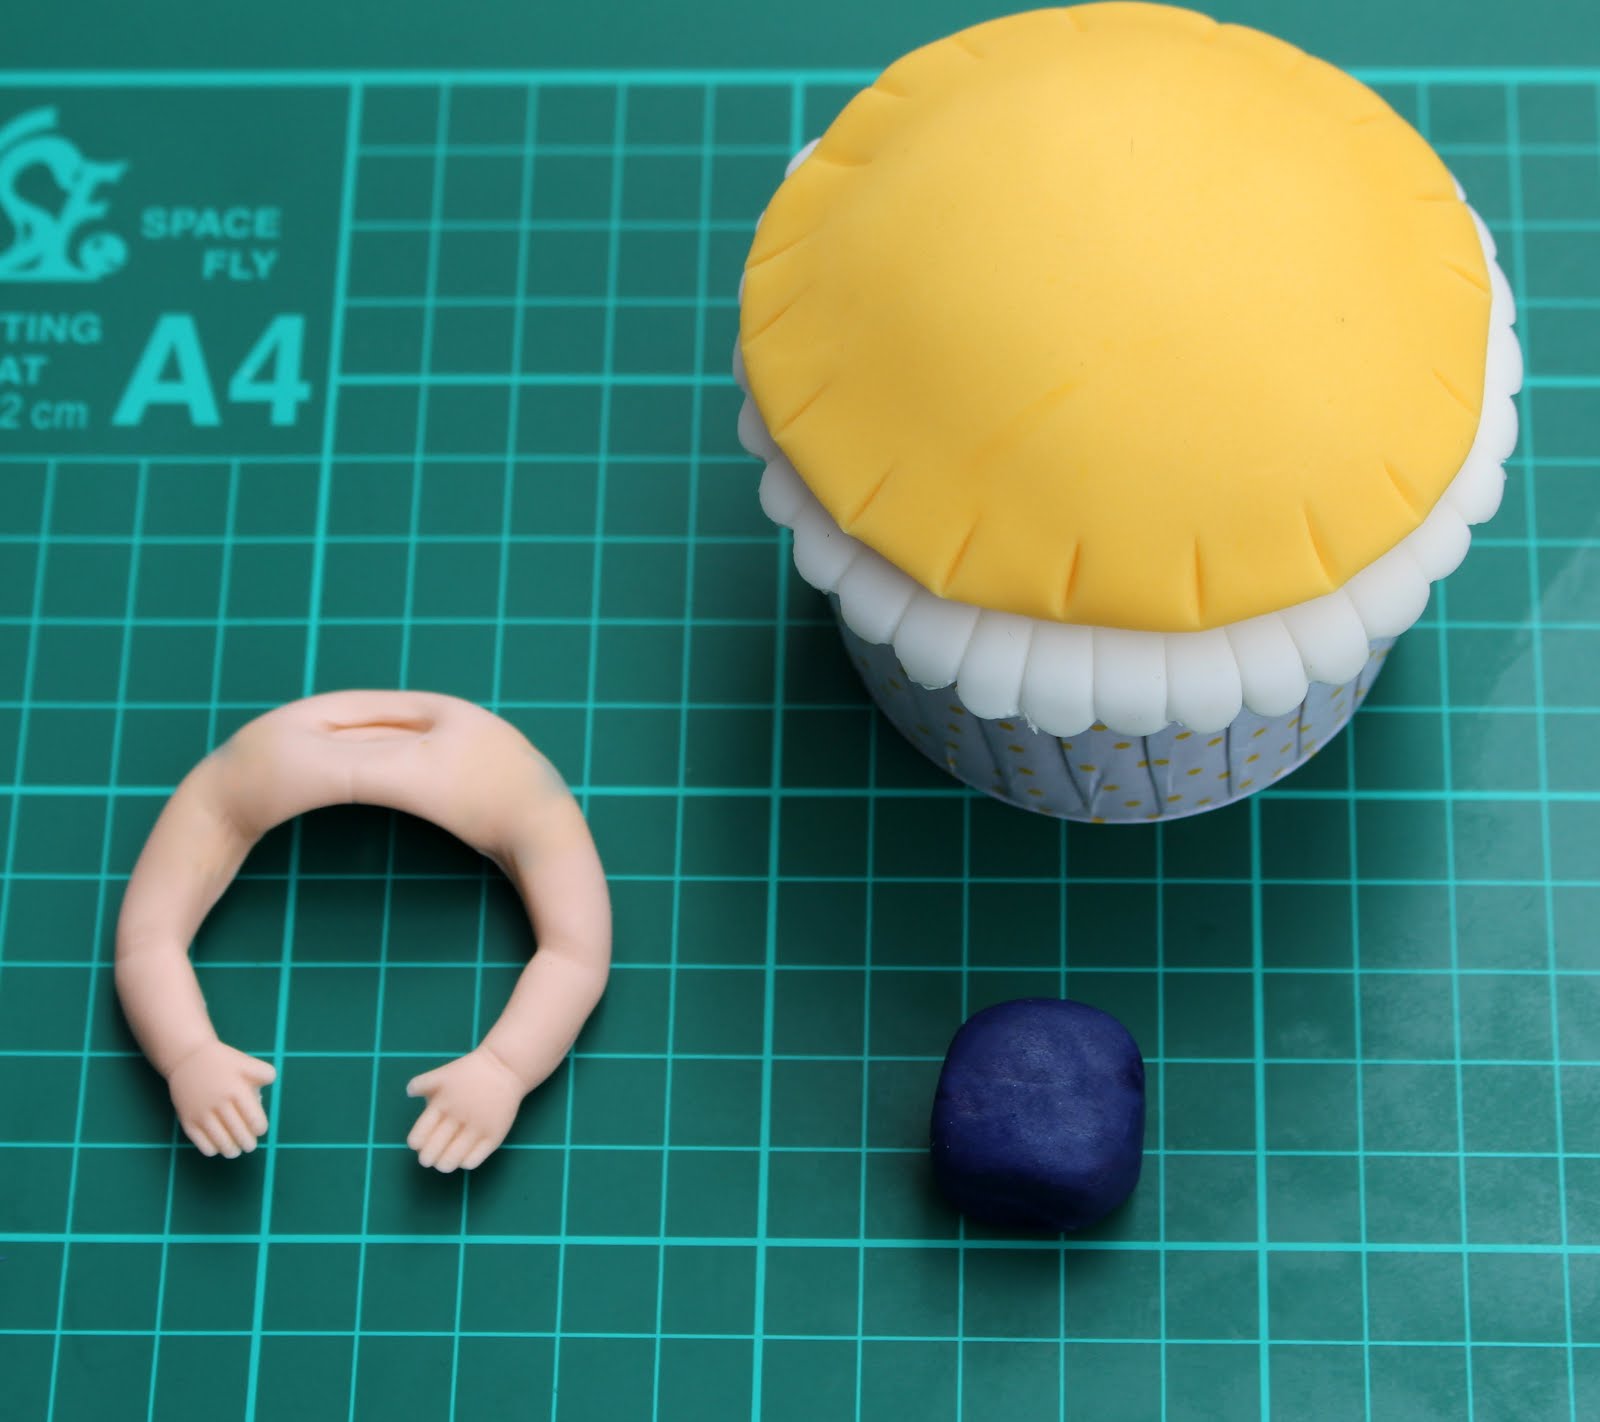
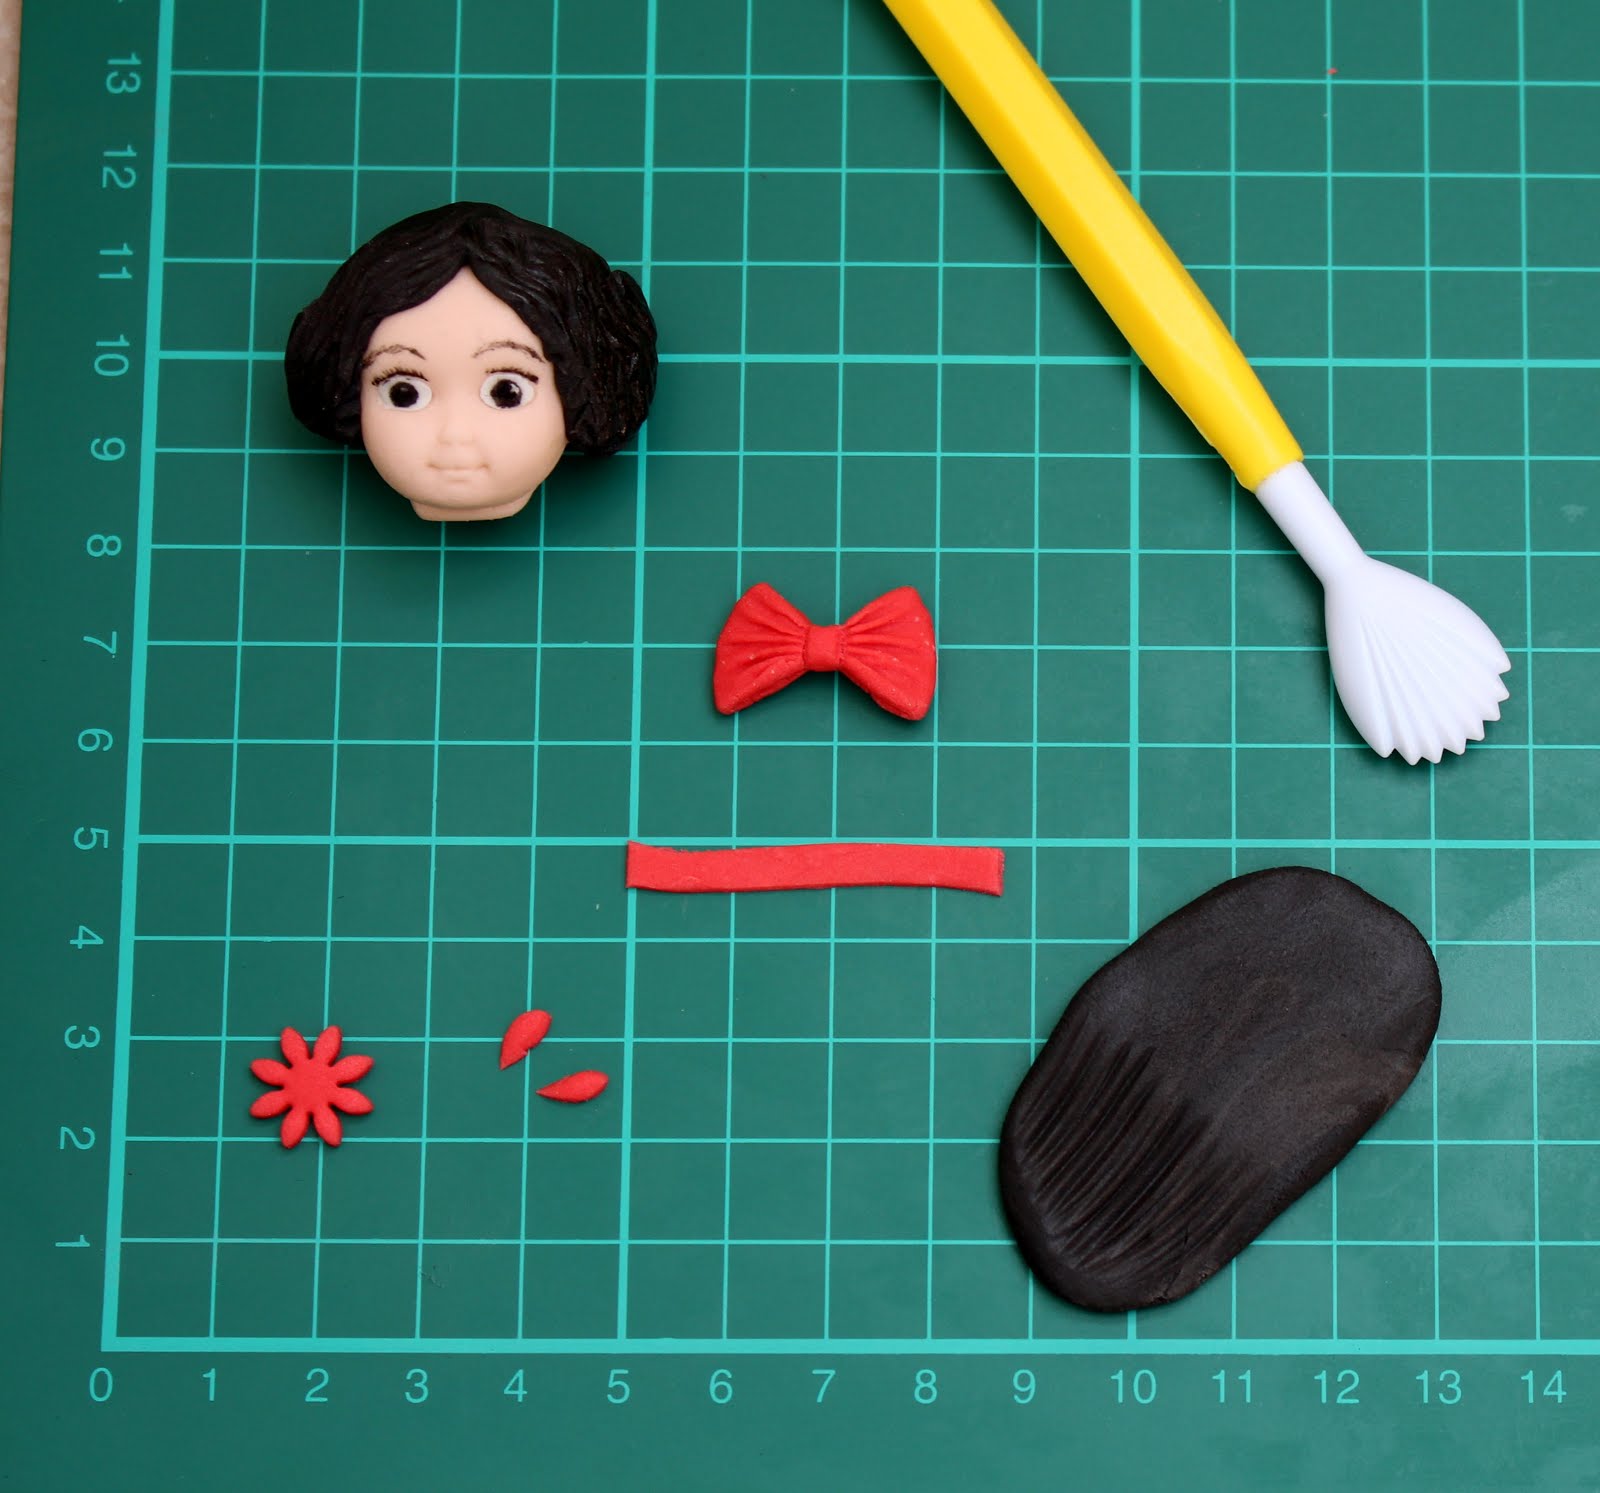
You will need a domed cupcake, a fluted cutter slightly larger than the diameter of your cupcake, a round cutter, a head and some arms made out of flesh coloured modelling paste using the Katy Sue Designs moulds, a black edible pen, a dresden tool, a shell tool, a small daisy cutter, some white, black, red, yellow and navy blue fondant.
Step 2
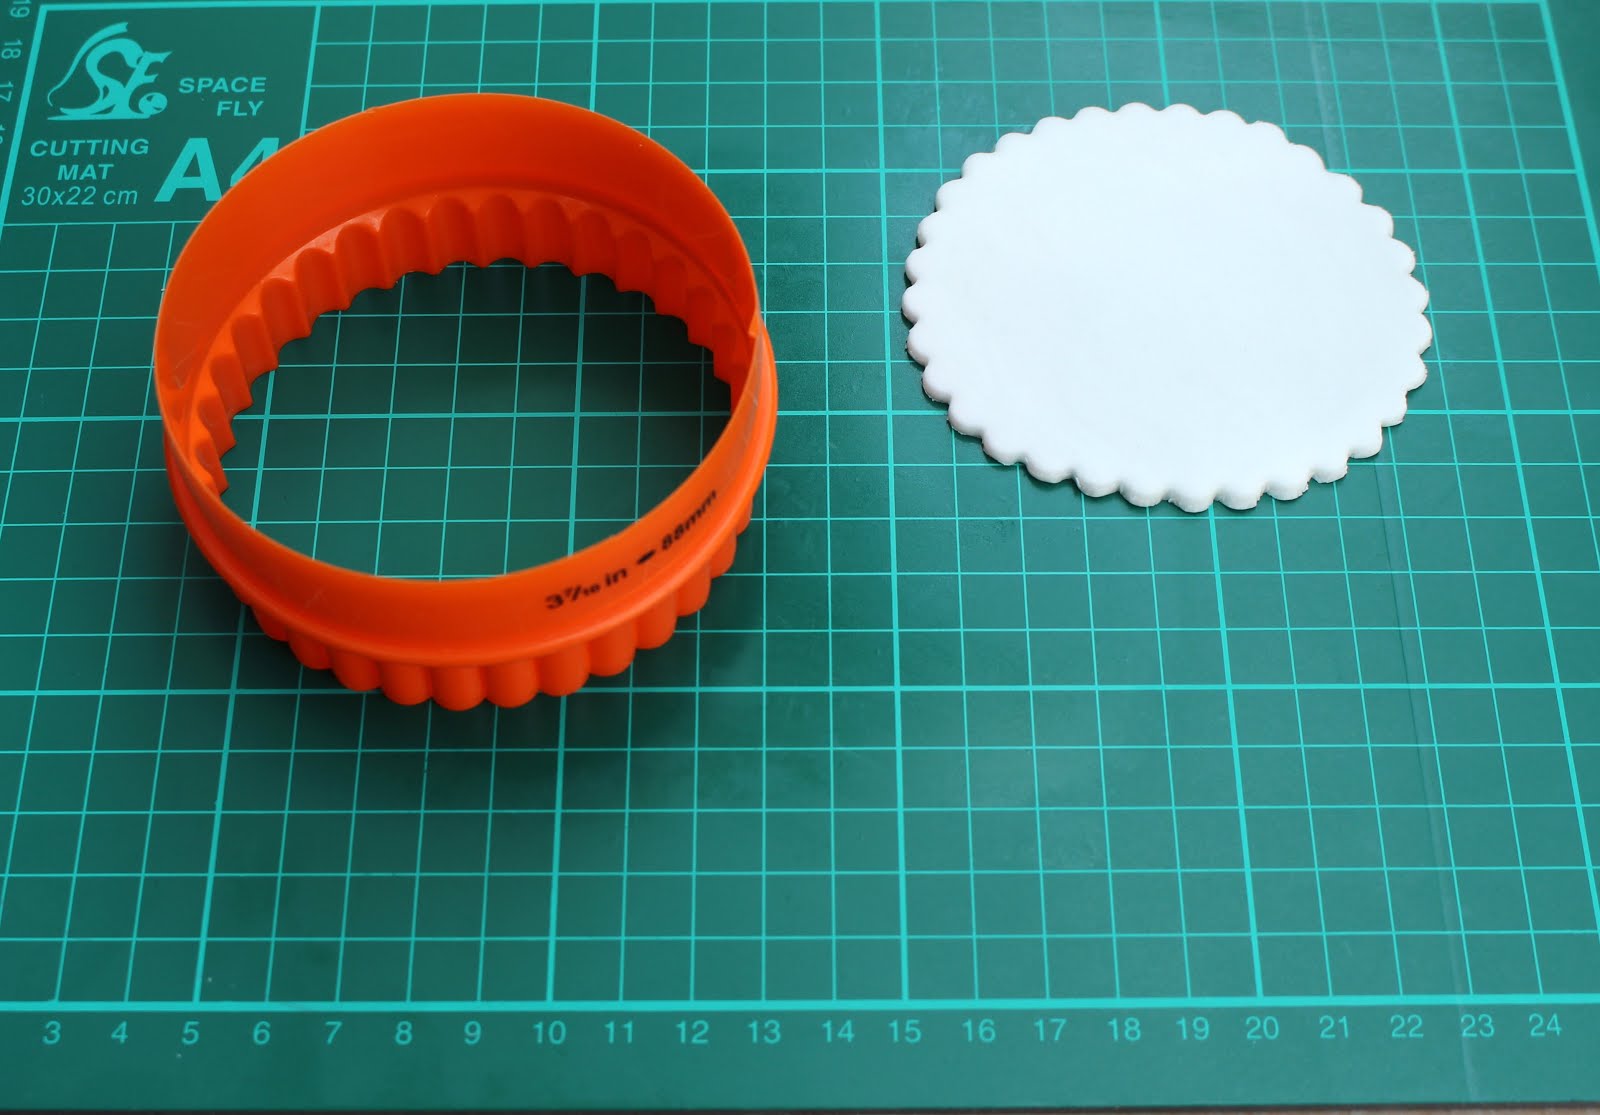
Using the fluted cutter – this one is 88mm wide – roll out some white fondant and cut out one circle as shown.
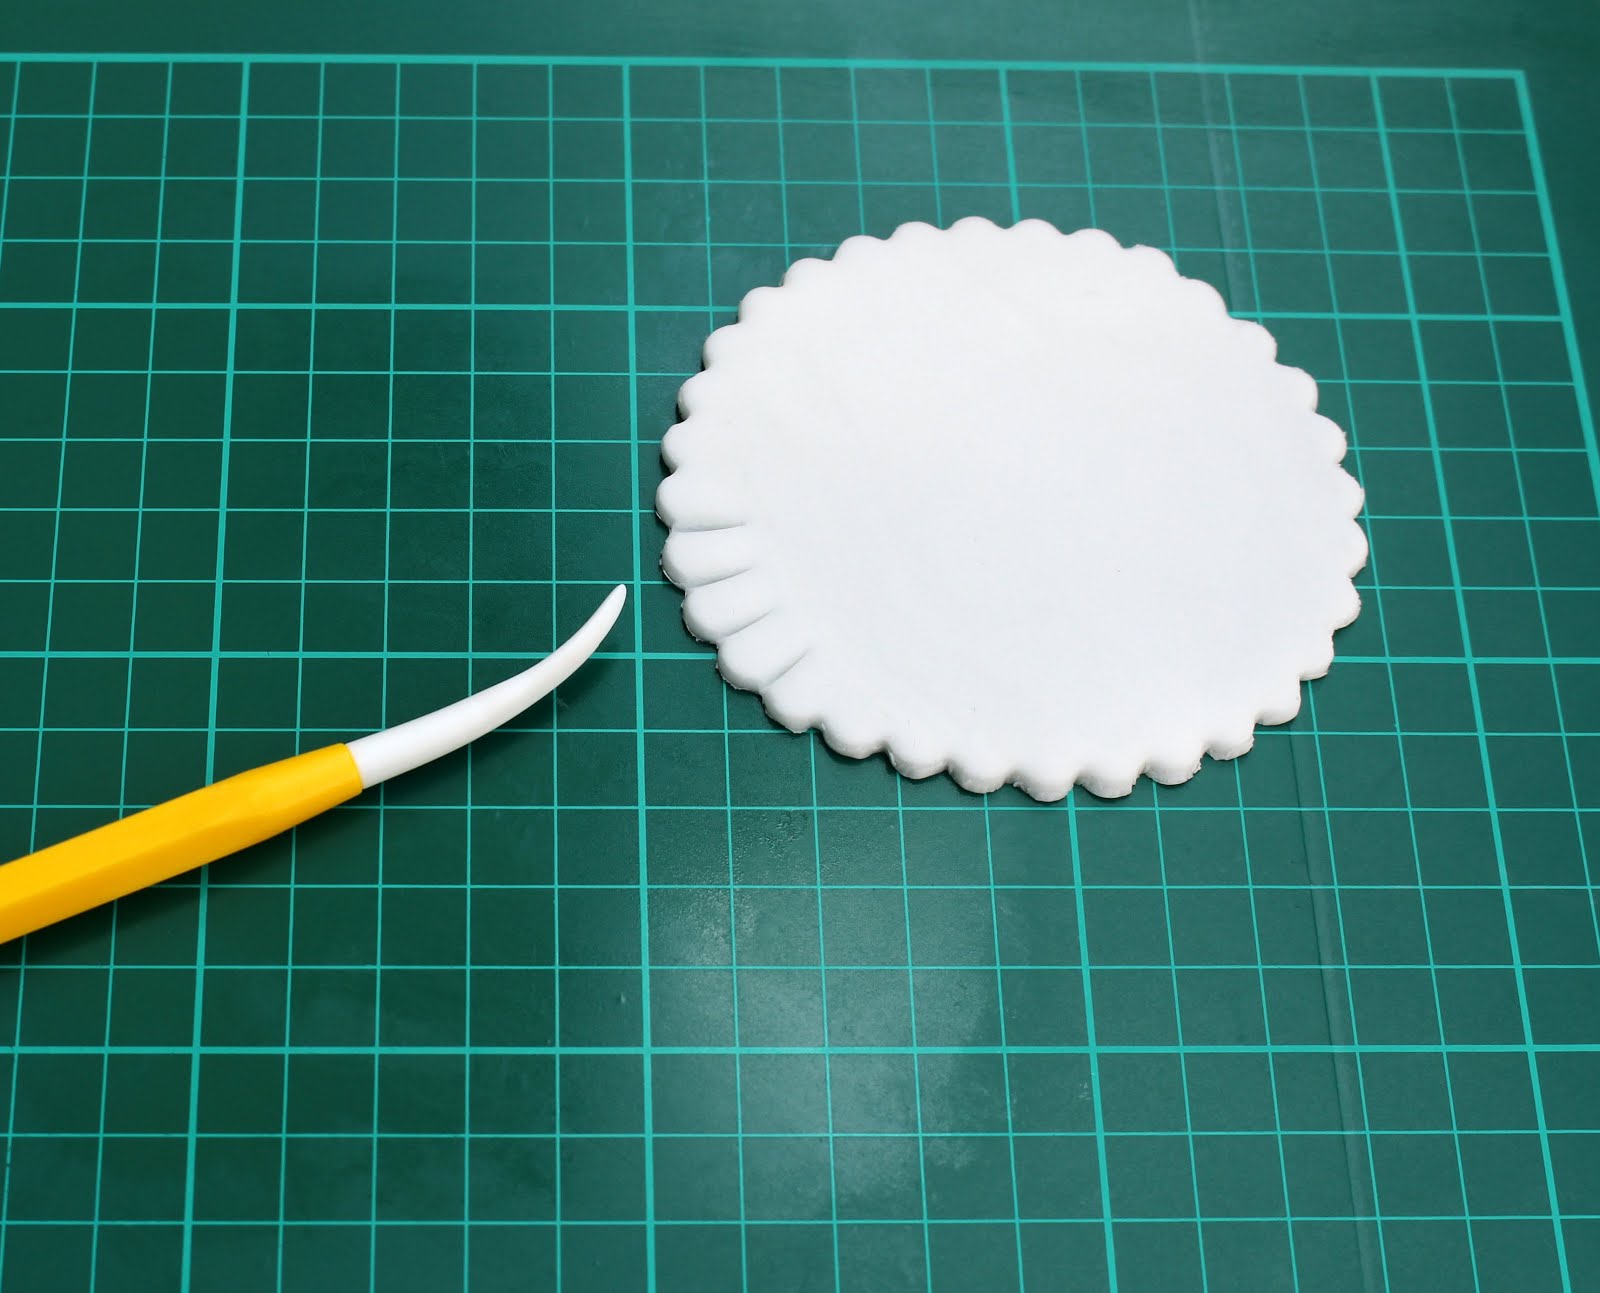
Step 3
With the dresden tool, start to work your way around the circle to create some pleats.

Step 4
Here is what it should like like when finished.
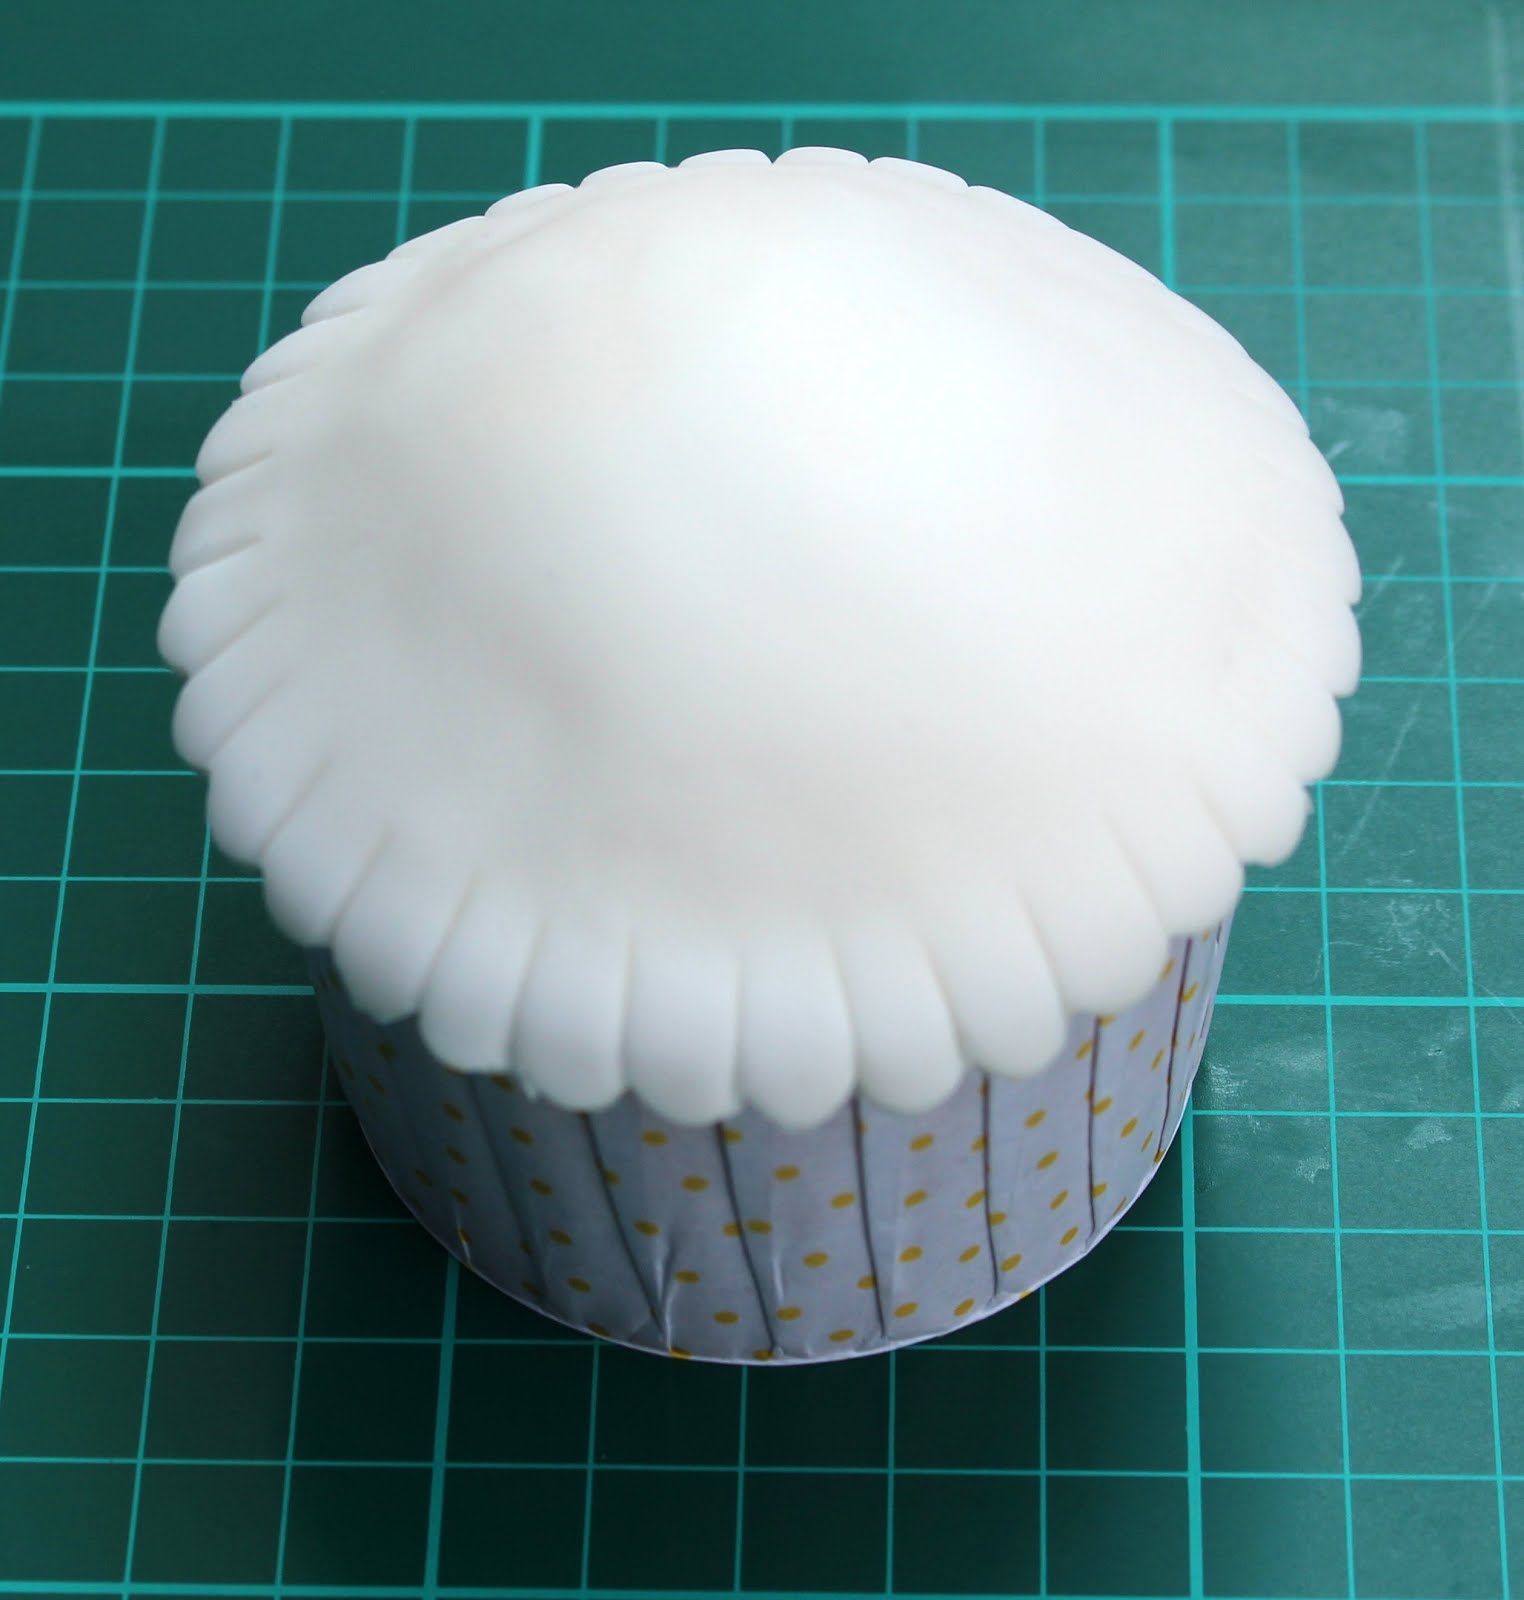
Step 5
Place the white fondant circle over the buttercream dome (if your buttercream is very soft you can refrigerate it first) – it should slightly overlap the cupcake.
Step 6
Cut a fondant circle (slightly smaller than the white one) out of yellow fondant.
Step 7
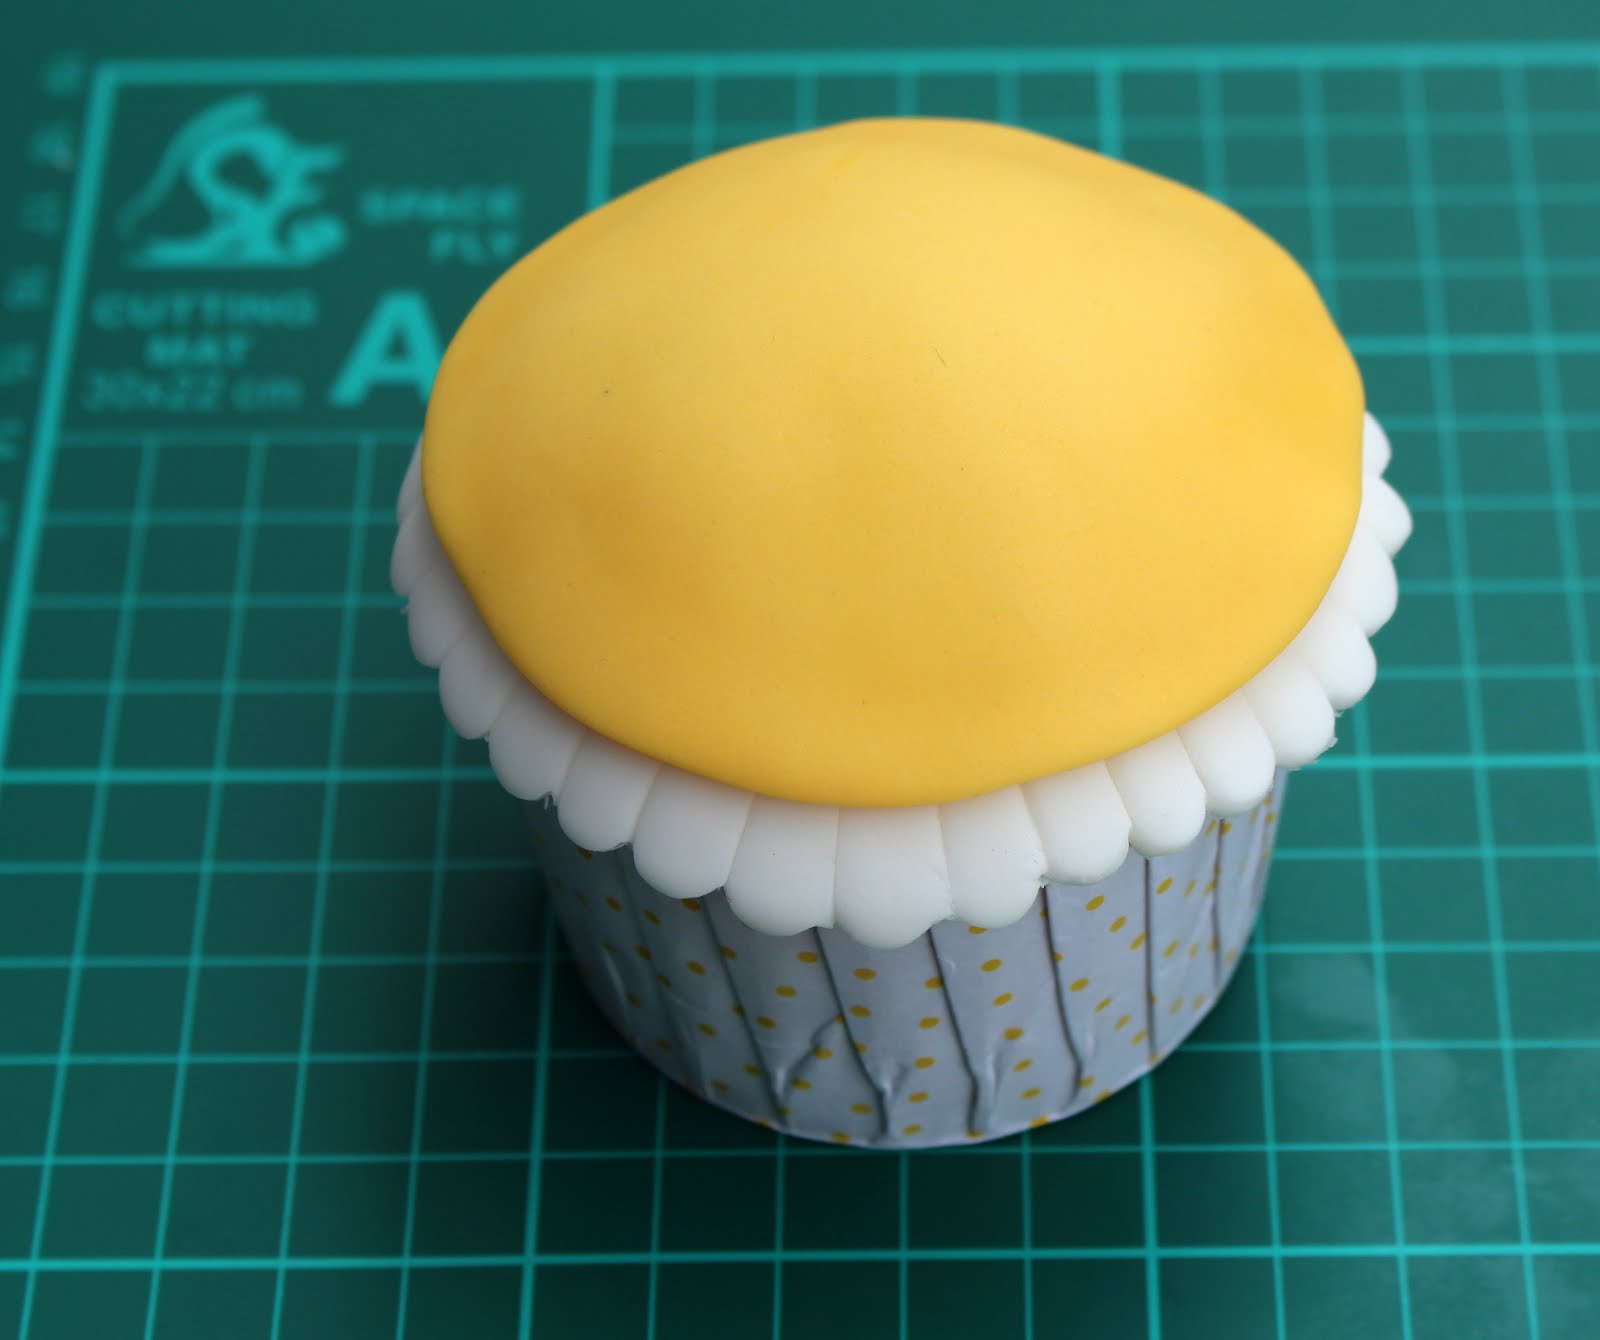
Place the yellow circle over the cupcake so it is nice and central.
Step 8
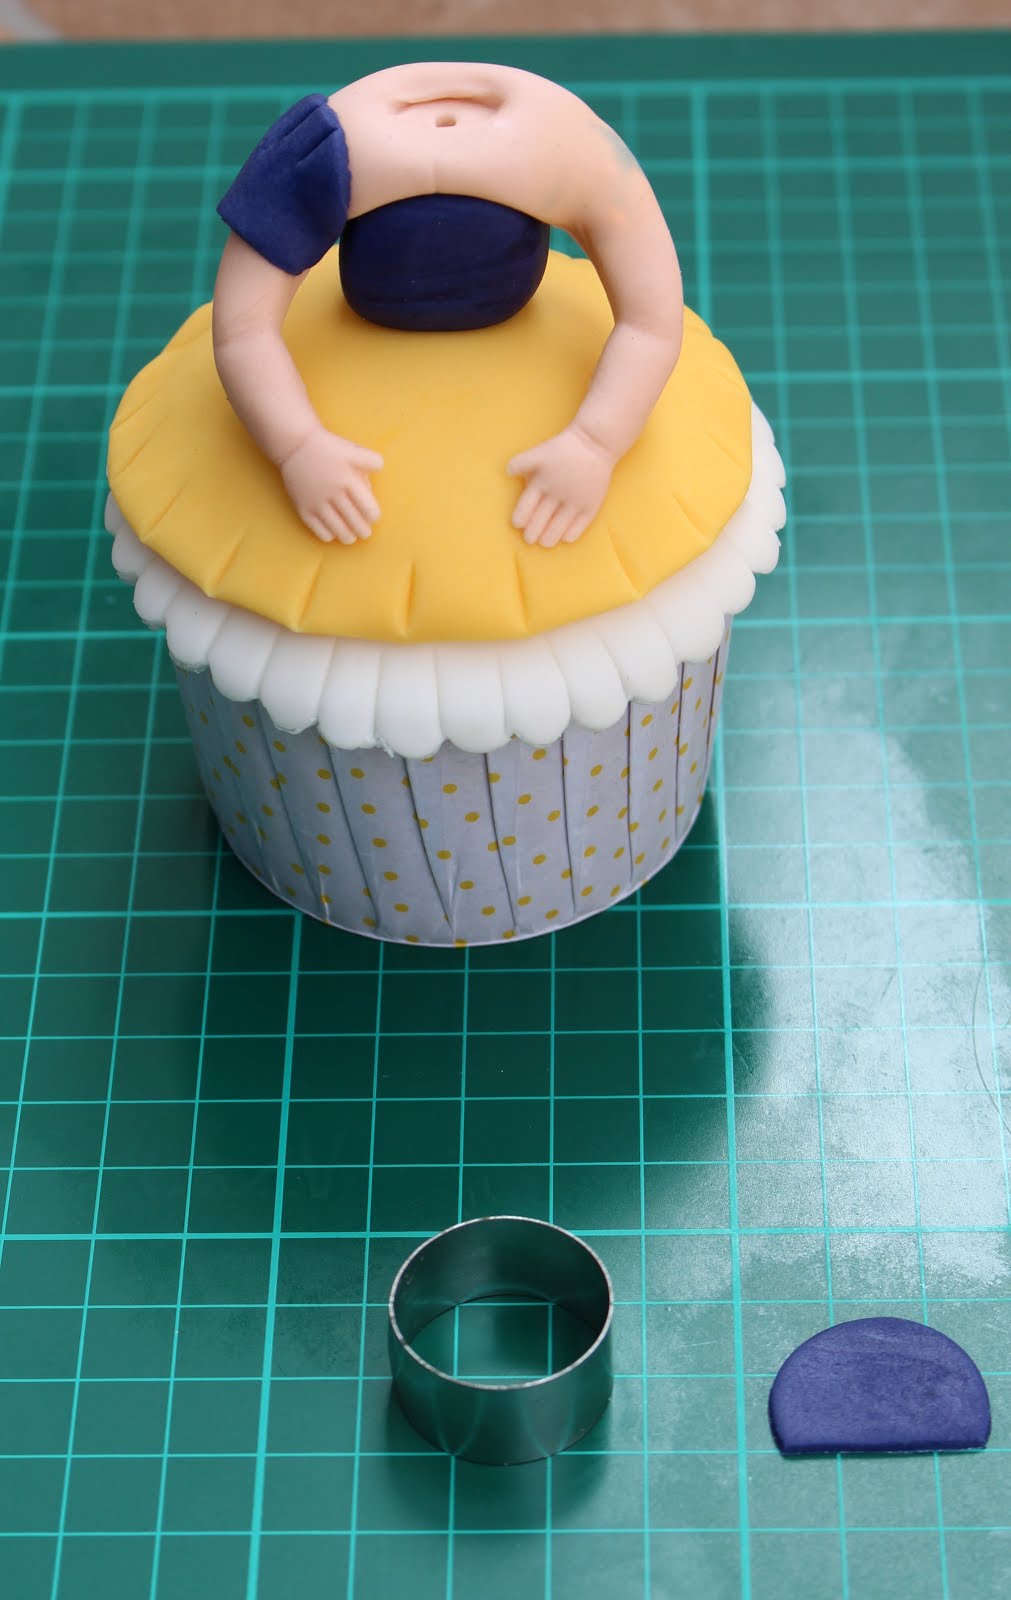
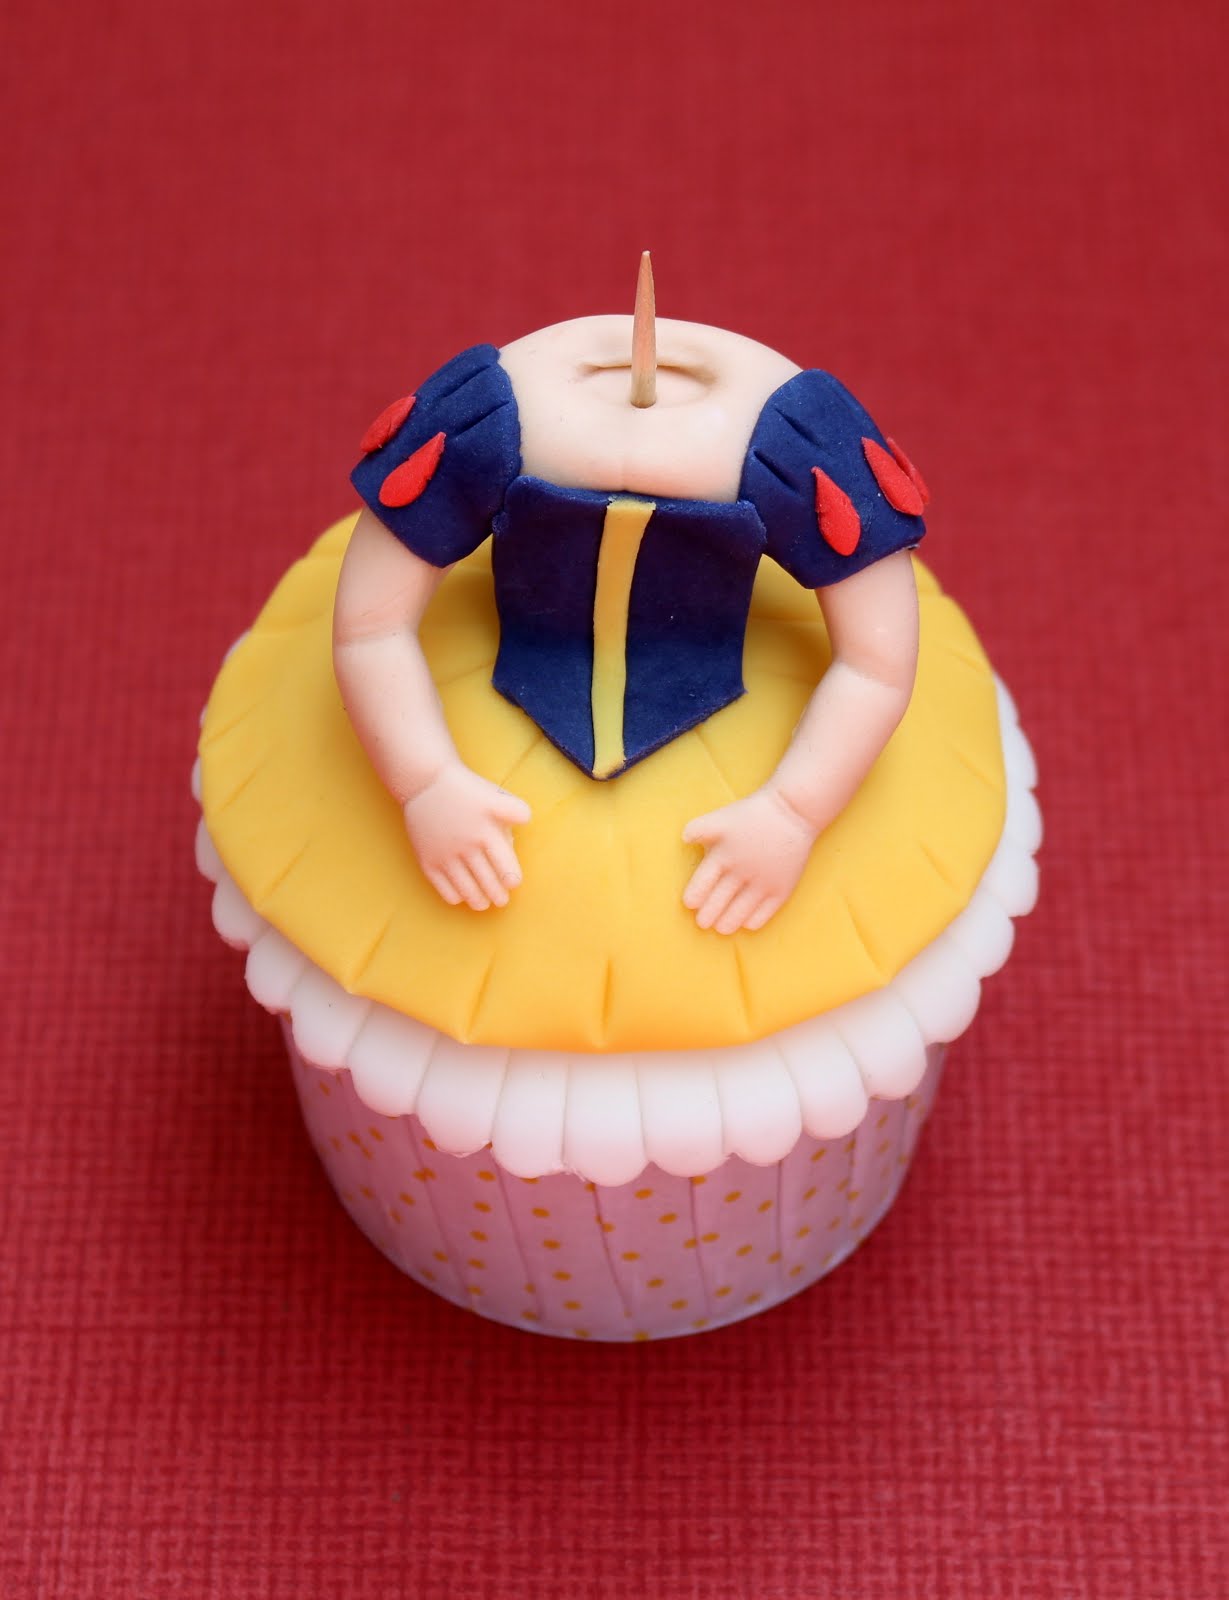
Shape the arms using the Katy Sue Designs arms mould as shown, then make a bodice out of navy blue fondant. Mark pleats with a dresden tool around the edge of the yellow circle.

Step 9
Attach the bodice and the arms to the middle of the cupcake. The arms and hands should gently rest on the dress.
Step 10
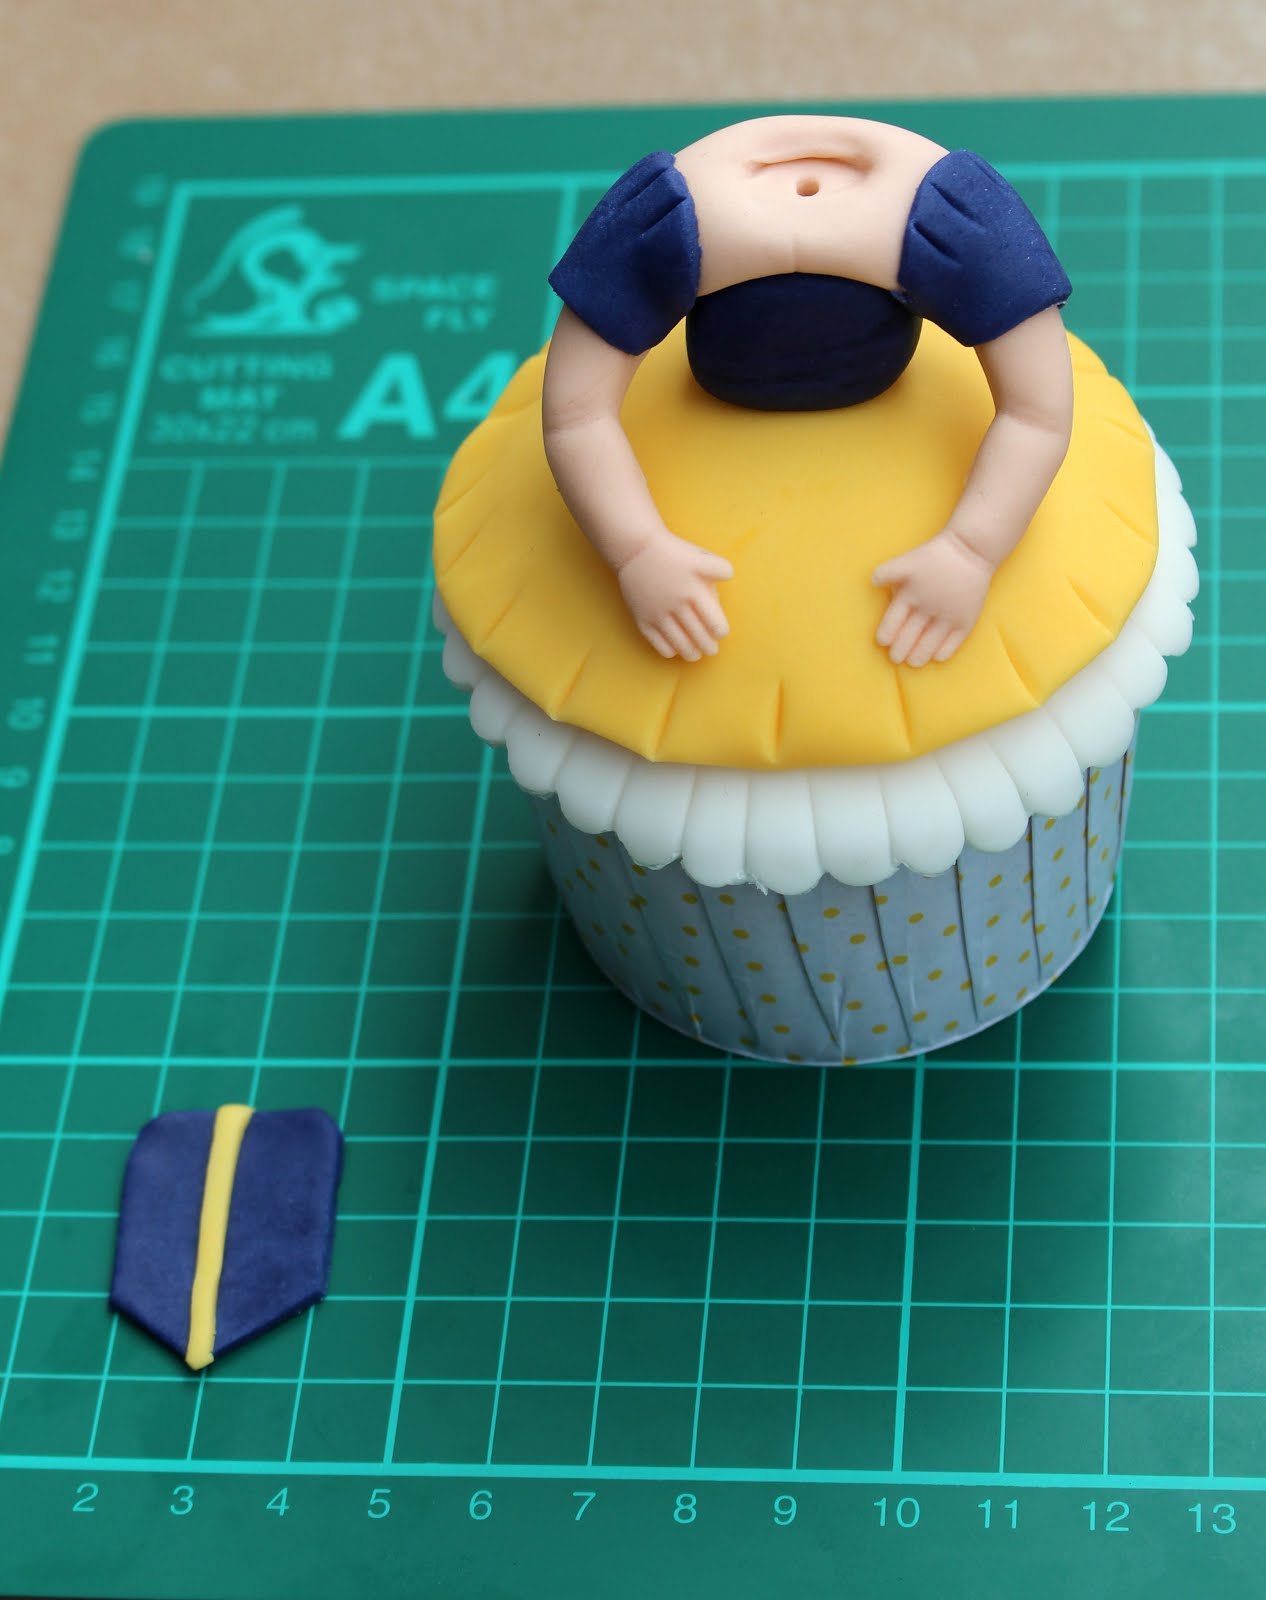
Using a small circle cutter (or freehand with a knife) make two sleeves as shown.
Step 11
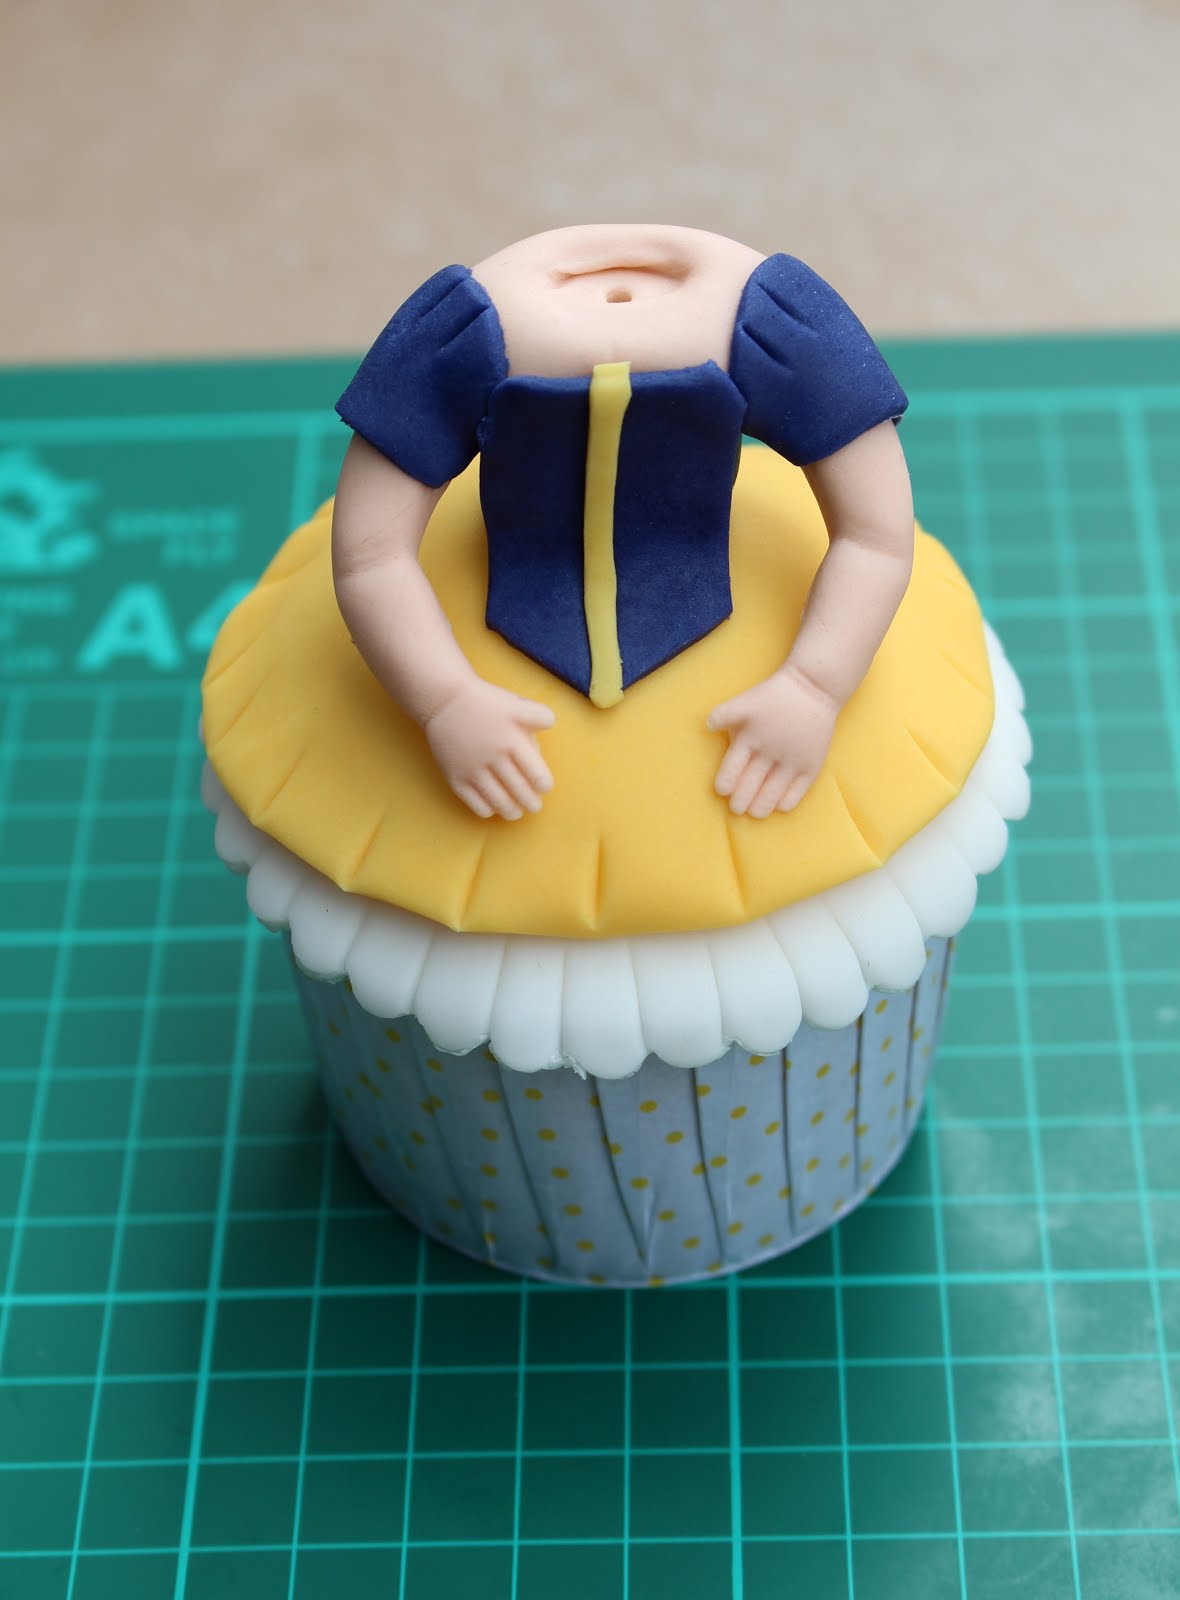
Mark the top of each sleeve with a dresden tool and cut out a shape as shown out of navy blue fondant for the front of the dress. When happy with the size, add a strip of yellow fondant down the middle.
Step 12
Stick the front part of the dress to the body with edible glue and mark some further pleats around the yellow fondant near her waist.
Step 13
Using the head made from the Katy Sue Designs head mould, add in the eye details with a black edible marker pen. Roll out some black fondant for the hair and with a shell or dresden tool create the strands of the hair. Apply to the head and reshape until you get the desired hairstyle. Make a red bow and a strip of red fondant for the hair band. Cut out the petals from a small daisy in red fondant to decorate the sleeves of the dress.
Step 14
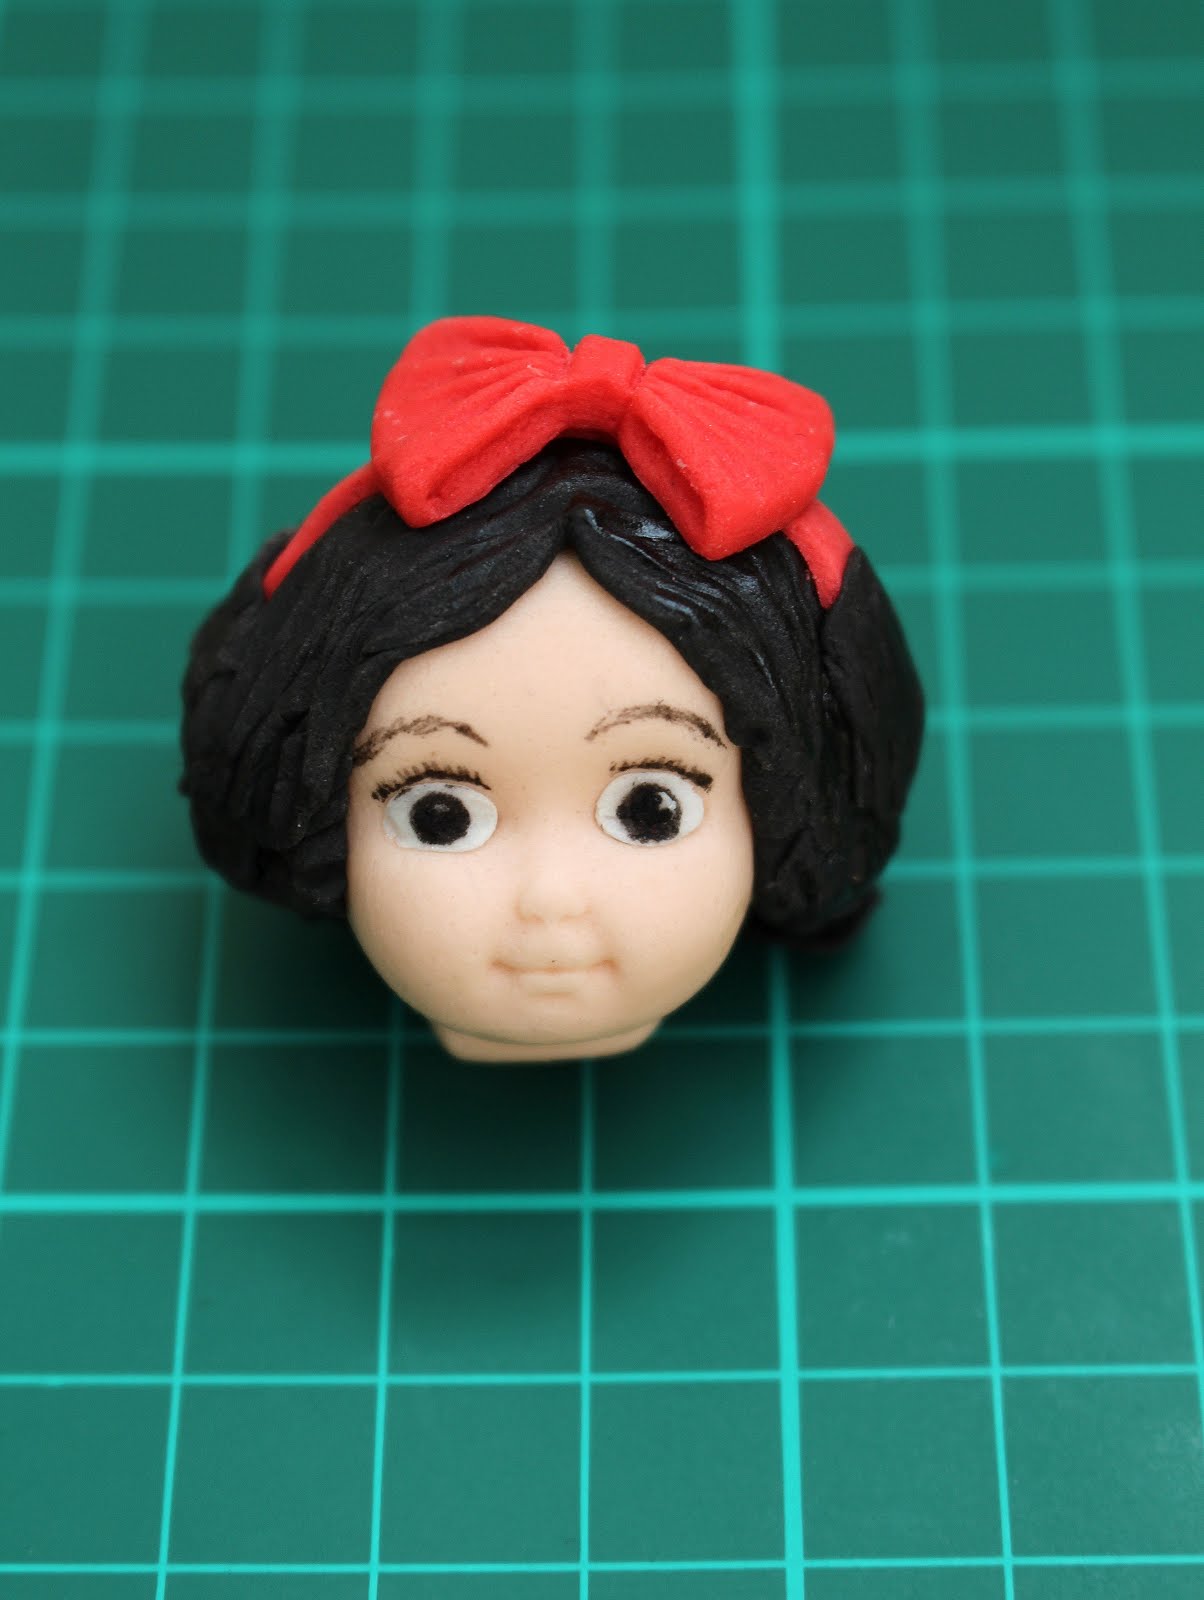
Here is the finished head. You can see here that I also used some white modelling paste in each eye before drawing on the black pupil and then added a tiny dot of white fondant in each eye. I have since made some faces without the white modelling paste in the eyes and i think it looks better. You can also add some pink dust to her cheeks and lips if you want her to have more make up – I have gone for a pale look here.
Step 15
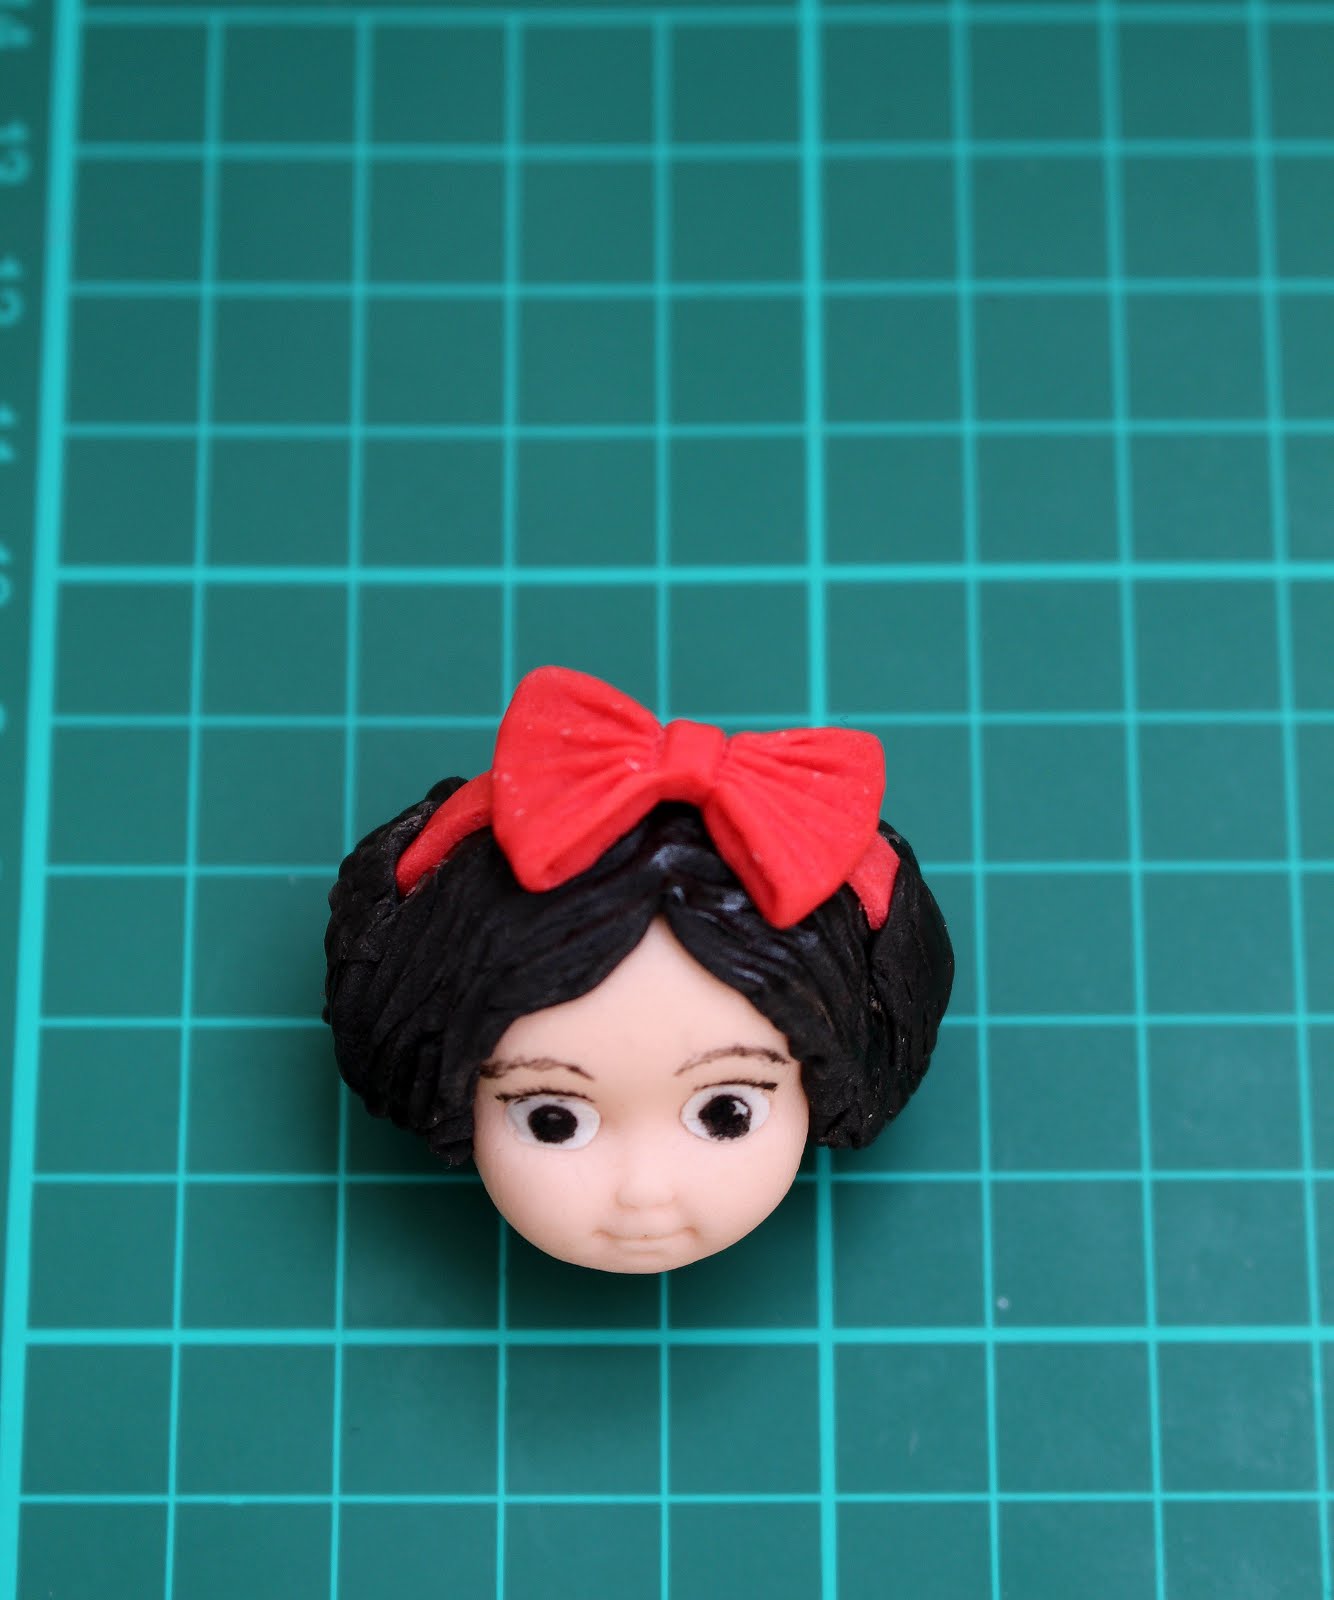
Here is a top shot of the head, you can see that the hair band doesn’t go right across the head. Also I added some food glaze to the hair to make it nice and shiny.
Step 16
So now back to the body: if you want to add strength to the whole thing you can add a cocktail stick or a piece of raw spaghetti through the middle of the neck but it isn’t really necessary if you want to keep it completely edible and safe for children.
Step 17
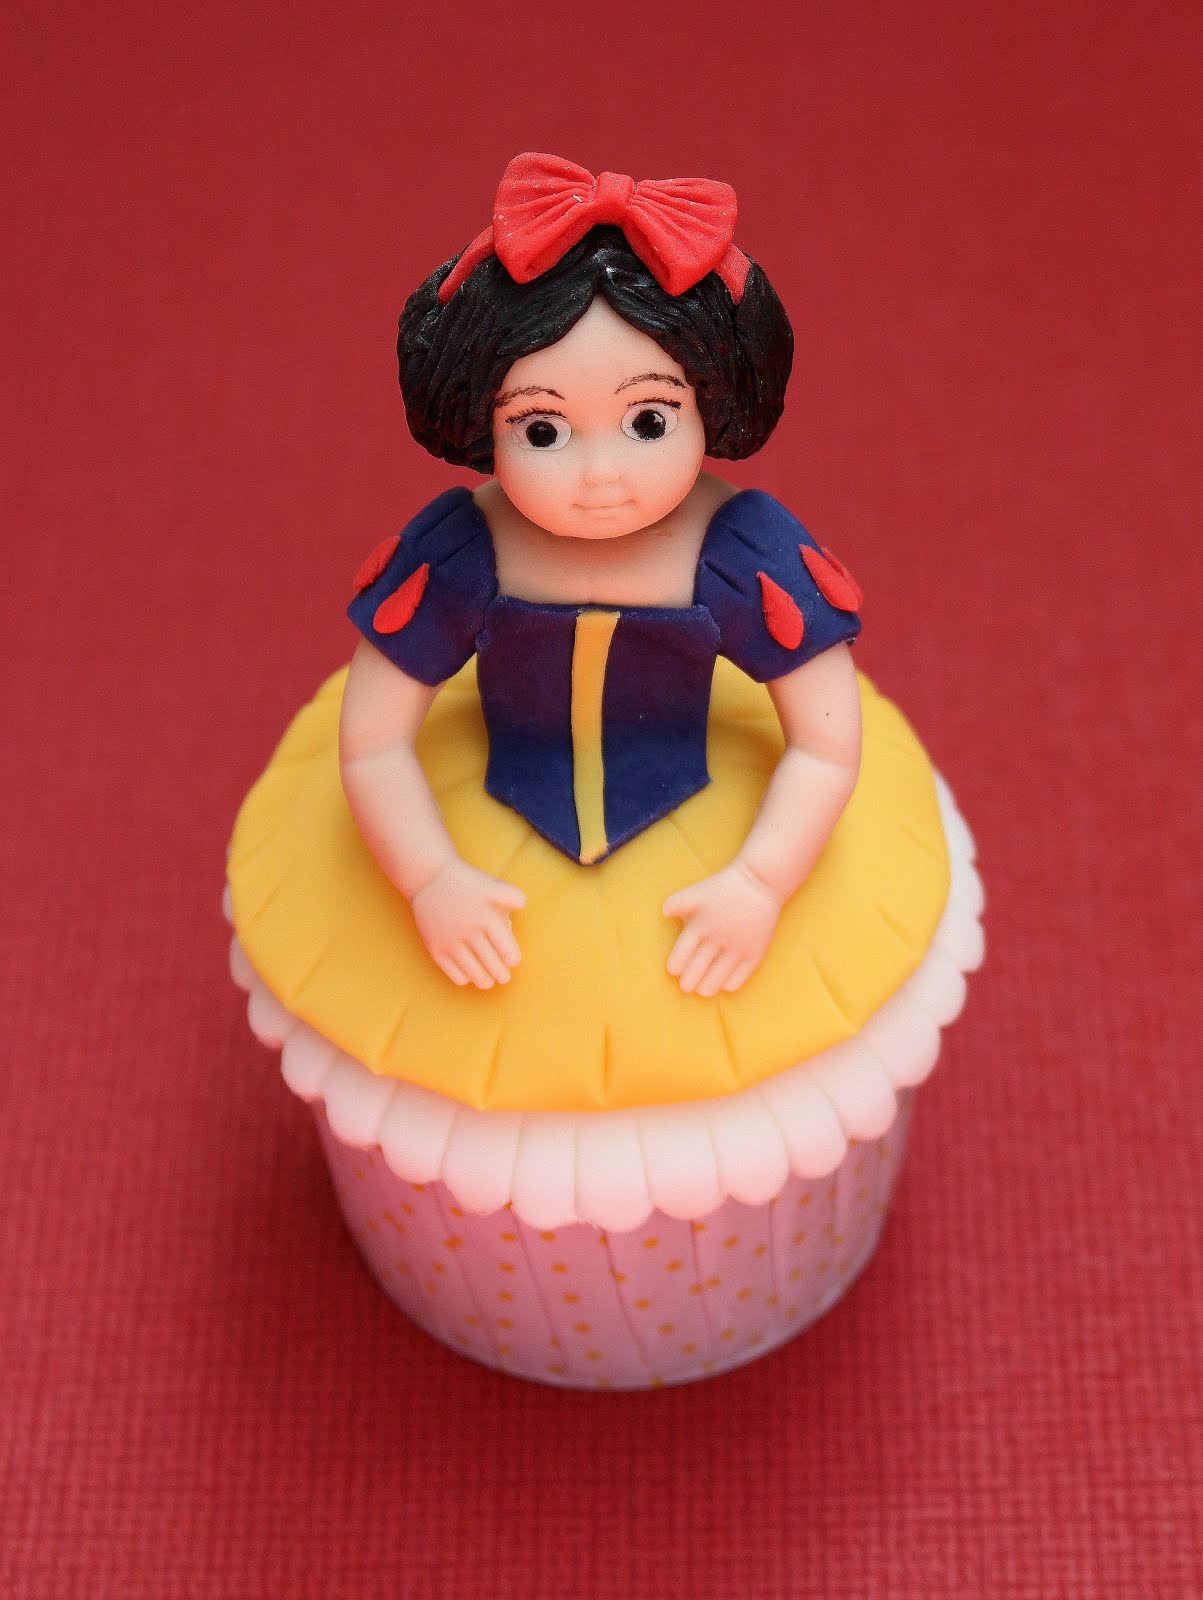
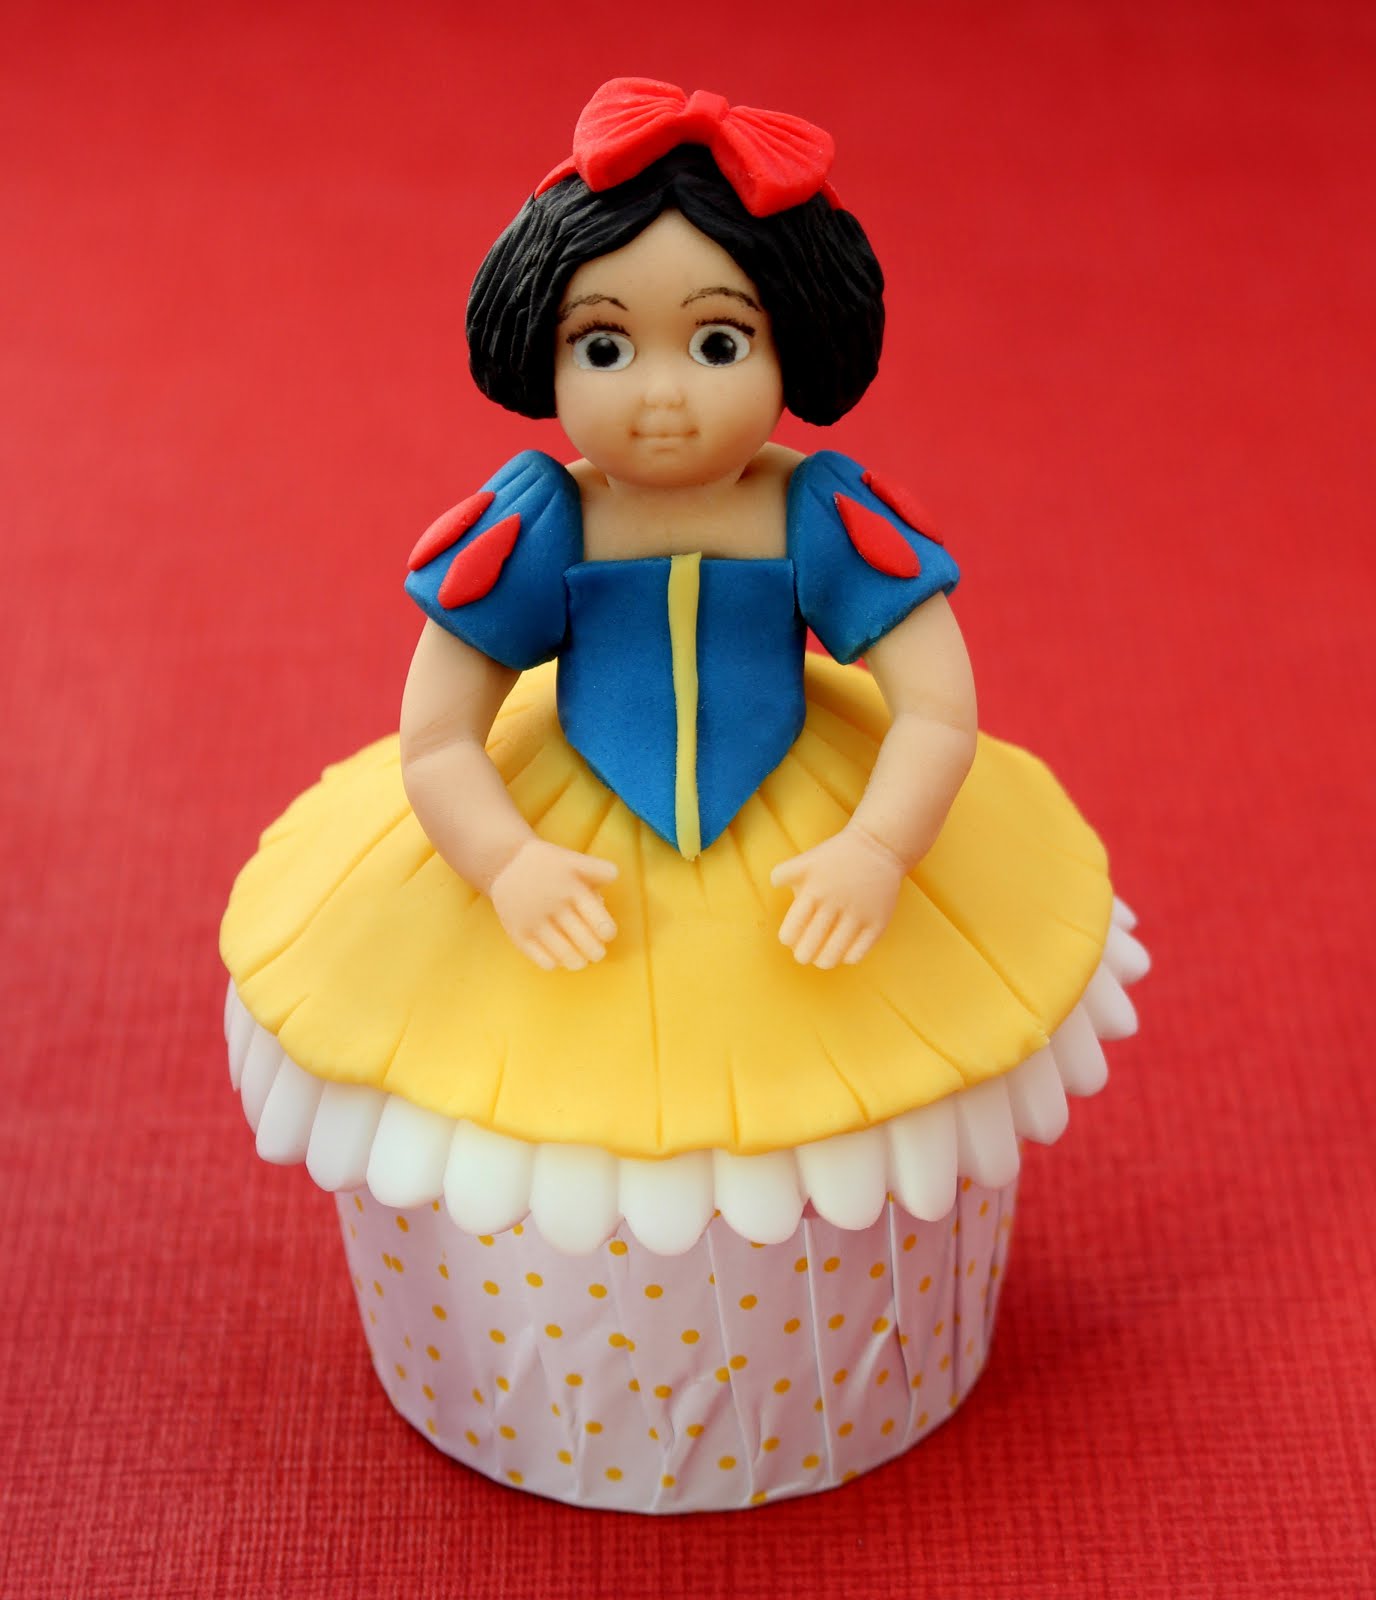
Push the head onto the body using some edible glue to secure – and then you are done!
You can see more ideas using our head set mould on our website http://www.katysuedesigns.co.uk/cake-decorating/head-set-a-1inch/
For tips more tips and techniques on using and painting our figure moulds take a look at these tutorial videos.
Leave a comment