DIY Christmas Crackers
Add a handmade festive touch to your Christmas table and make your own crackers! Watch Jak Heath's video and follow her step-by-step guide below – Jak has even provided cracker templates for you to print out, making this an even easier-to-follow fun project.
Watch how to make your own Christmas crackers
What you'll need
Download and print the cracker templates
Cracker Template 1
Cracker Template 2
Cracker Template 3
Cracker Template 4
Make the cracker decorations

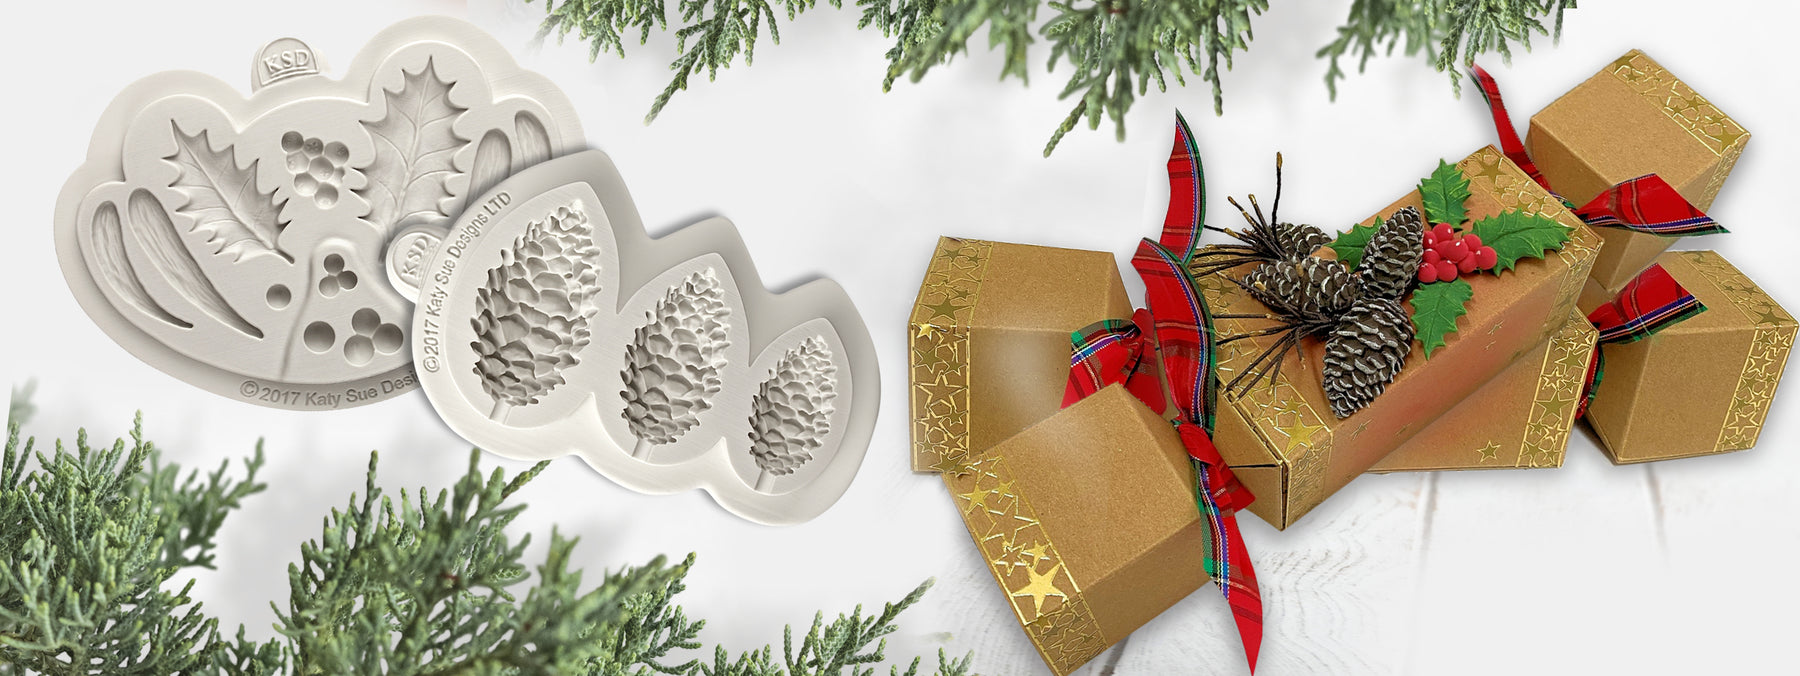
1. Make Pine Cones, Holly leaves from our Holly and Mistletoe Mould and Berries from Air Drying Clay and leave to dry on a piece of kitchen roll.

2. Once these are dry use some white acrylic paint to dry brush your embellishments. Dry brushing will pick up all of the detail and make them look frosty. Add a small dot of the acrylic paint onto each berry for a bit of shine.

3. Using the wire, cut into small pieces and twist together to make pine needles, dip each needle into paint or glitter on the tips.
Assemble your crackers
1. Take 2 sheets of the A4 Kraft card and cut the length to 8¾ inches
2. Score the 1st Kraft card at 2 inches, 4 inches, 6 inches and 8 inches leaving ¾ inches to add the red liner tape to. (Cracker Template 1)
3. Take your 2nd piece and score at 1⅞ inches, 3¾ inches, 5⅝ inches and 7½ inches, leaving a tab to add the red liner tape. (Cracker Template 2)
4. Turn both cards and score at 2 inches, 2¾ inches and 3½ inches. (Cracker Template 3)
5. Fold on all score lines and add the red liner tape and stick to form the cracker shape.
6. At the end of each cracker you will have 3 score lines, fold the cracker flat and cut triangles from the outer score lines up to the middle score line about one-third up each side (Cracker Template 4)
7. Take some ribbon or twine and wrap around the ends of the cracker where you cut away the triangles and this will draw in the cracker to stop anything you add inside dropping out.
8. Use the sticker border to decorate the cracker wrapping around each side and cutting off the excess.
9. This is optional but you could add some colour with ink of choice and shade what will be the middle part of the cracker.
10. Arrange the holly leaves, berries, pine cones and pine needles onto your cracker.
11. Fill with a small gift and perhaps even a hand written joke!
Share your handmade Christmas crackers on our Katy Sue Craft Facebook group, CLICK HERE
Comments
Leave a comment