How To Use Air Dry Clay In Moulds
If you're curious about incorporating air dry clay into your craft projects, using silicone moulds is a fantastic starting point. This accessible material paired with the precision of silicone moulds opens up a world of creative possibilities, from intricate home decorations to unique gift ideas. Join us as we guide you through the essentials of using air dry clay with various types of silicone moulds, ensuring you have all the knowledge you need before getting started.
General Tips When Using Our Moulds
In this video, we focus on the key steps to success with Katy Sue moulds when working with air dry clay. From the initial preparation of your mould using cornflour to ensure a smooth release, to the best technique for precise detail capture, we cover it all. Learn how to manage excess clay effectively and the benefits of using light vegetable fat or lip balm for a flawless demoulding process. This guide is filled with practical advice to help both beginners and experienced crafters achieve perfect results with every cast.
Working With Intricate Detail Moulds
Learn how to use air dry clay with intricate silicone moulds, focusing on casting delicate details effortlessly. Discover how a touch of white vegetable fat or lip balm can transform your moulding experience, ensuring the clay adheres properly yet releases smoothly from even the most delicate areas.
Using More Than One Clay Colour
Explore the vibrant world of multicoloured clay creations. See how easy it can be to add multiple clay colours to a single mould, enhancing the visual appeal of your projects without complicating the crafting process.
Texture Moulds
Our texture moulds come in two main varieties: standard and continuous. Continuous molds are designed so that their patterns align seamlessly on all sides, creating a flawless connection for expansive projects. Whether working with a standard or continuous mould, the technique remains largely the same. Take time to carefully press the the clay into the mould to achieve precise, crisp edges and detailed imprints without the need for rolling pins. This ensures a thin, even layer of clay, capturing the intricate textures perfectly without distorting the design. Discover how to use these moulds to enrich your projects with a wide variety of textures, from elegant brickwork wraps to delicate fabric imprints.
Two Part Moulds
When working with two-part molds it's crucial to mould both parts simultaneously to accommodate the slight shrinkage that occurs as the clay dries. This approach guarantees that both halves align correctly. After filling the mould, a thin layer of PVA glue will ensure a firm bond between the two parts. Follow this step-by-step process to achieve beautifully detailed pine cones, enhancing your crafts with their 3D effect.
Border Moulds
Craft elegant, continuous borders with our specialized border moulds. By forming a clay 'snake' that matches the width of before pressing into the mould, you will ensure the clay is capturing every single detail of the mould. If your clay 'snake' comes up short, simply add more and continue the process without compromising the border's continuity. This technique is essential for achieving a perfect result every time.
Differences When Using Deep & Shallow Moulds
For deep molds, like the "Green Man" design, it's crucial to prepare the mould with cornflour to ensure a clean release and to avoid air pockets by starting with deepest parts to ensure all the detail is captured. Transitioning to shallow moulds, we explore techniques to prevent clay from sticking or lifting. A touch of white vegetable fat or lip balm can secure clay within the mould, allowing for a smoother crafting experience.
Dry Times, Colours & Coatings
This section delves into the culmination of your air dry clay journey, focusing on the critical steps of drying, cutting, and the decorative finishing that elevates your clay creations to works of art.
Drying Time: It's crucial to understand how various factors such as the thickness of your piece, initial moisture level of the clay, and ambient conditions in your workspace affect the drying time. Thin pieces like flowers may dry within an hour, ready for painting.
Colouring & Painting: A broad spectrum of decorating mediums is explored, from a touch of gilding wax that highlights intricate details in an instant, to the use of markers for adding vibrant or subtle colour accents. Watercolour and gouache paints offer translucency or opacity, allowing for layering and depth.
Sealing & Varnishing: Finalizing your project involves choosing the appropriate sealer to protect and enhance your work. Spray varnishes or simple hairspray can fix delicate mediums without smudging, whereas brush-on varnishes are suited for more robust paints and inks. It's crucial to remember that despite sealing, air dry clay's paper-based nature limits its durability outdoors, advising against exposure to the elements for prolonged life.
Air Drying Clay Q&A
How do I revive clay if it's too dry? Why is my clay sticking? In this essential Q&A section, Heather has the answers to these questions and more, offering practical solutions to common issues.
Hearty Air Drying Clay
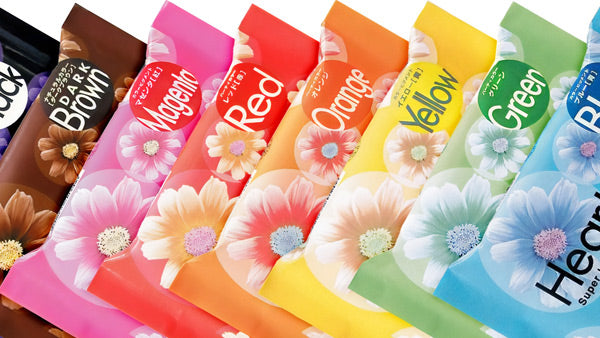
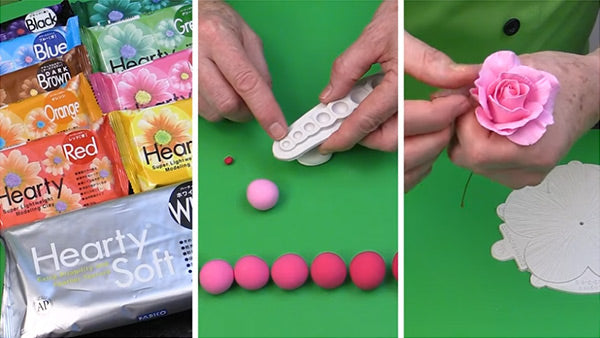
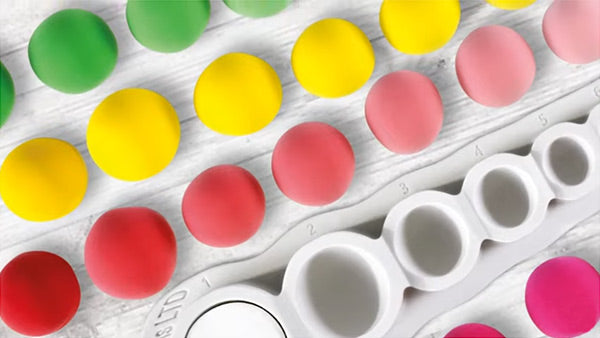
Super lightweight, Hearty modelling clay is perfect for use with our range of food safe moulds to make embellishments for art & craft projects. Can be mixed with other Hearty clays to create an infinite variety of colours.
Subscribe to our Newsletter
The latest product launches & offers delivered to your inbox
Click here to subscribe
 Cosmic Shimmer


