
Create Your Own Menu & Name Cards
Learn how to create your own Menu & Name Cards with this step by step using Flower Soft Multi Function Die Cuts.

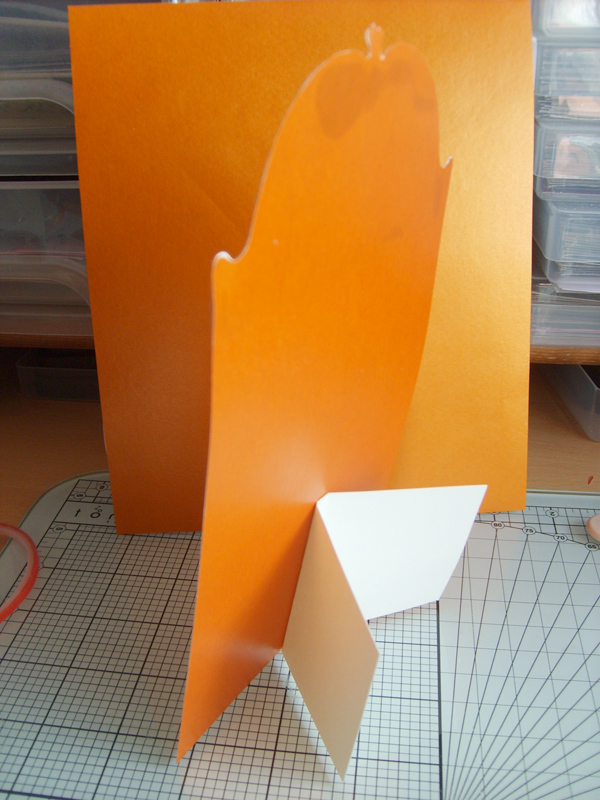
The Menu is simple to create, tip to bottom it measures 8 inches. First cut your card to an 8 inch length, this time leaving on the decorative end and complete the top as before. Now in exactly the same way back the card with your chosen backing paper. Cut another piece of backing paper approx 4 1/2 inches x 5 1/2 inches and glue this to the front of your card.Wrap a piece of ribbon around the top of the card just below the bottom petals, join at the front and cover the join with your printed menu.


When you have printed your Menu, make sure you cut the topper out to fit central to the card leaving a small edge of the backing paper showing around the edge. This is where doing a test print is useful to make sure that the font is an acceptable size.
To make the stand for your menu, use the piece of card you cut off the back bottom of your card. Cut it to approx 2 1/2 inch deep x 4 3/4 wide. Measure to find the centre of your card then score approx 3mm either side of centre of the card. You now have a book shaped piece of card. On the bottom edge of this card you need to cut at an angle from the tip of each score line, towards the outside edge of the card cutting to approx 1/4 inch down the side of the card. Put tape between the two central score lines and attach to the base of your card. The fact that the card is not straight at the bottom but cut up at an angle allows the card to stand straight on the table.
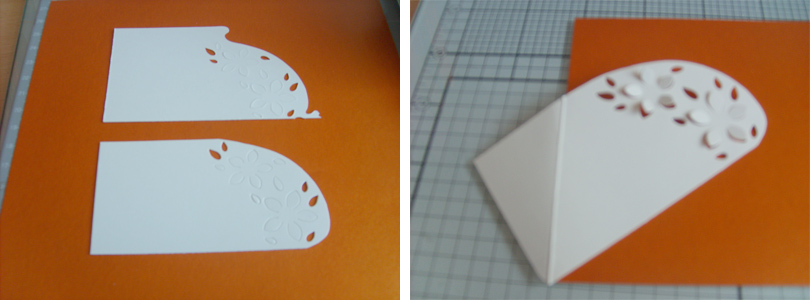
Two table name plates are made from one die cut end of one card. First cut off the die cut end of the card but this time cut approx 4 inches from the tip of the die cut at centre point. Now cut this exactly in half. With your scissors cut up the outside edge of the card longways, cutting off the curved edge forming a straight line until you reach the area where the leaves start then round the card off to the centre cutting off the tip. You now have a piece of card with pattern on one end, slightly shorter than 4 inches long. Score from the bottom right hand corner at an angle to the top edge about 1/2 inch before the flower area starts. Fold back the scored area. Your card should now stand leaning slightly backwards. Once again line the back of the card with backing paper and cut off making sure none shows around the edge. As on your Save the Date card you now need to make an incision on the fold about 1 inch from the bottom right hand corner. Put your ribbon through the hole around the front bottom edge of the card and join with tape at the back. If you form a triangular shape at the back of your card with the ribbon you will find it lies flatter at the front. Add sequins and seed beads to the centre of the flower and add the name of your guest.
Check back tomorrow for our final Wedding Stationery step by step.
Yvonne
Leave a comment