
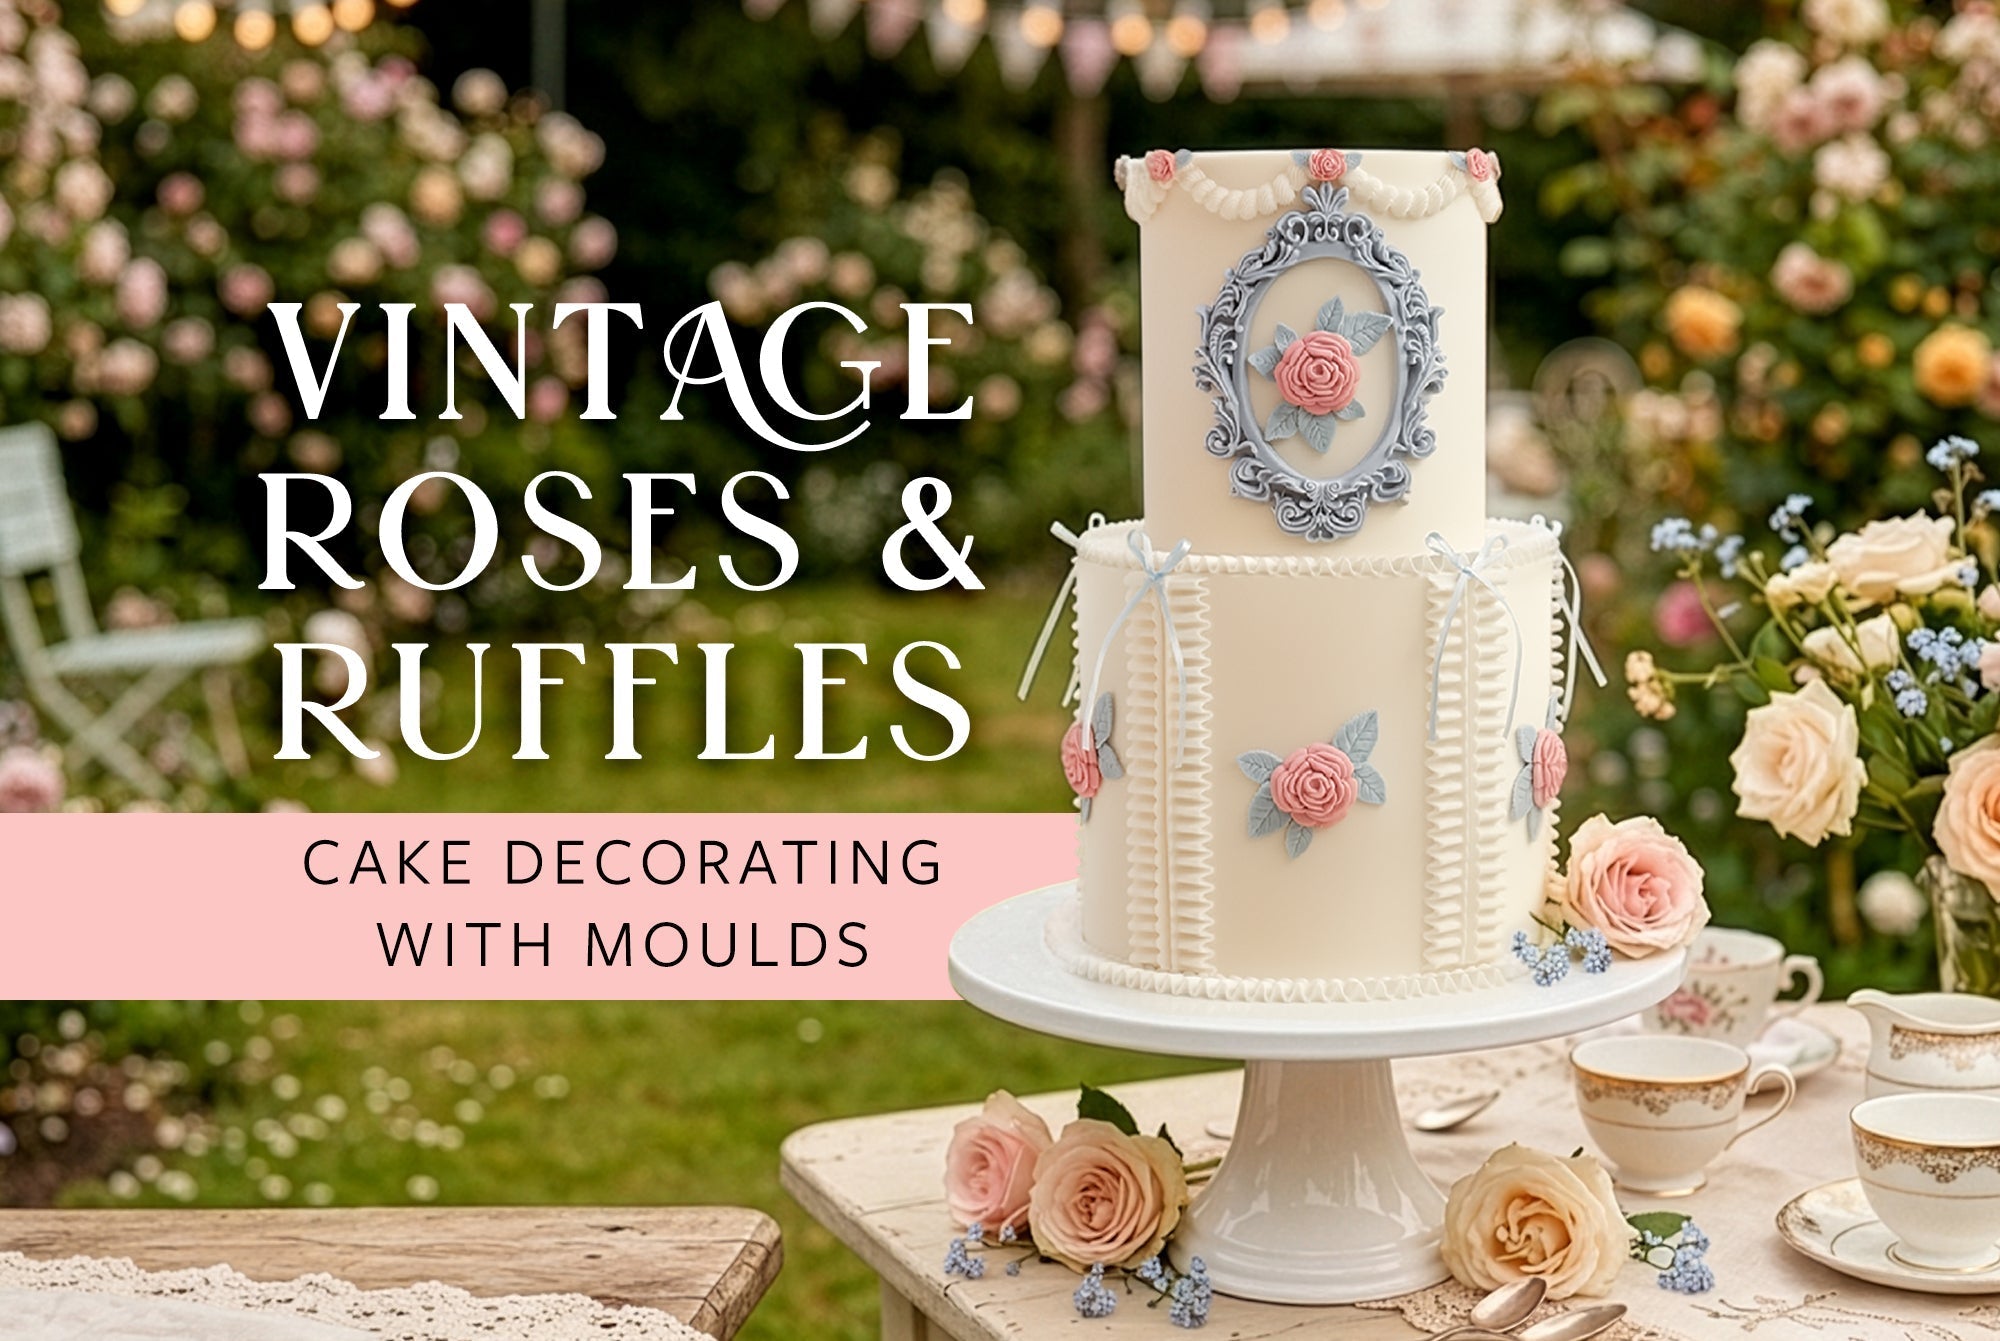
Vintage Bas-Relief Roses Cake Decorating Tutorial
Create an elegant vintage-inspired celebration cake featuring delicate royal icing piping and beautifully detailed fondant roses. In this tutorial, Lynsey demonstrates how to combine traditional piping techniques with moulded fondant embellishments to create a refined design full of charm.

The standout feature of this cake is the use of the Rose Stems Silicone Mould, which creates intricate bas-relief style roses that sit beautifully against the cake surface. Combined with piped swags and shell borders, the finished design has a timeless, vintage feel that would suit birthdays, anniversaries, weddings and afternoon tea-inspired celebrations.
Watch how to decorate a beautiful vintage rose cake
What You'll Need
- Fondant (Renshaw Extra recommended)
- Royal icing (coloured pink)
- Edible glue
- Rainbow Dust ProGel colours (Pink, Peach and Blue/Green tones)
- Rainbow Dust Metallic Black Paint
- White vegetable fat (Trex) or cornflour
- Piping bags
- Wilton No.18 open star piping tip
- Large open star piping tip
- Medium open star piping tip
- Paintbrushes
- Dresden tool
- Palette knife
- Cake turntable stand
- Round cutter (for marking swag guides)
Don't want to pipe?
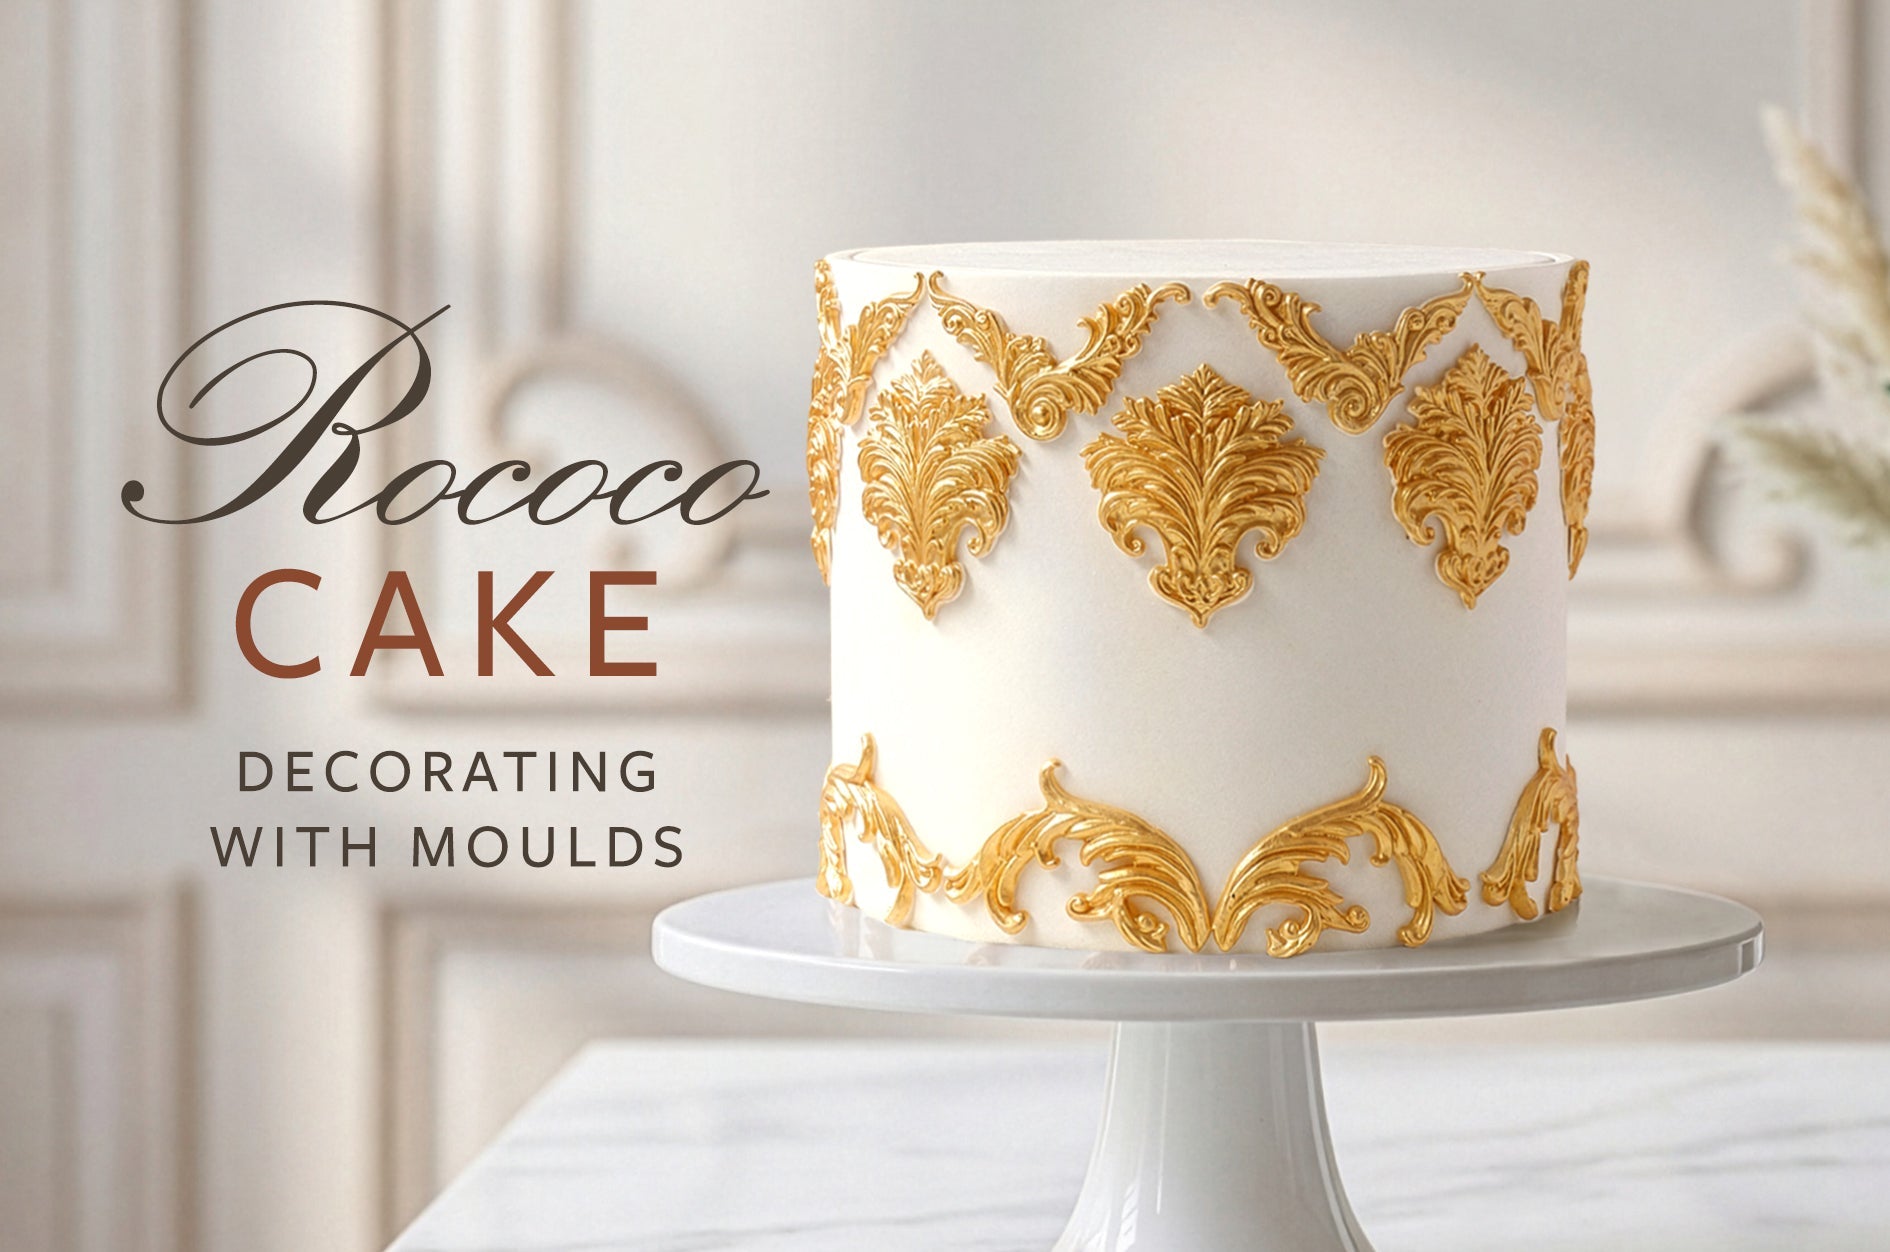
If piping isn't something you're confident with, it's easy to achieve a similar decorative look using fondant instead. Simply use with one of the Katy Sue Border Moulds to create elegant piped-style borders that can be attached directly to your cake with edible glue. It's a great alternative for beginners or anyone looking for a quicker way to achieve a beautifully finished cake.
Instructions
Step 1 – Create the Piped Borders
Begin with a smoothly covered cake and lightly mark guide lines for the swag design around the top edge using a round cutter. Fill a piping bag fitted with a Wilton No.18 open star tip with pink royal icing and pipe decorative swags around the top of the cake, following the guide marks. Use a large open star tip to pipe a generous shell border around the top edge and bottom of the cake. Use a medium open star tip to pipe a matching border layered around the top of these. The layered piped borders create a soft, vintage-inspired framework for the moulded rose decorations.
Step 2 – Add the Decorative Dot Pattern
Using Rainbow Dust Metallic Black Paint, create evenly spaced dots around the cake. Rather than using the brush end, dip the handle end of a paintbrush into the paint and gently stamp dots onto the cake surface. This produces neat, consistent circles and helps maintain an even pattern across the design. Allow the paint to dry before adding the fondant decorations.
Step 3 – Make the Rose Decorations
Prepare the Rose Stems Silicone Mould with a light coating of white vegetable fat or cornflour to help release the fondant cleanly. Use pink fondant for the roses and a soft blue-green fondant for the leaves and stems. Press the fondant firmly into the mould cavities, using a Dresden tool to work it into the finer details. Allow the leaf colour to overlap the rose sections slightly so the decoration releases as a single piece. Trim away any excess fondant with a palette knife, ensuring everything sits flush with the top of the mould. Gently flex the mould around the edges before turning it over and carefully releasing the decoration.
Repeat this process to create a selection of large rose clusters, smaller rose sprays and individual rose stems. Leave the decorations to firm up slightly before attaching them to the cake.
Step 4 – Arrange the Roses on the Cake
Apply a small amount of edible glue to the back of each decoration. A homemade glue made from Tylo (CMC) powder and water works perfectly, although ready-made edible glue can also be used.
Position the larger rose clusters first to create focal points around the cake. Add the smaller rose stems and individual flowers between the black dots, spacing them evenly around the design. Use only a very light touch when pressing the decorations into place to avoid damaging the delicate rose details. If any areas lift away from the cake, simply add a little extra glue underneath and secure gently.
Step 5 – Finishing Touches
To complete the design, add small black ribbon bows at the points of the piped swags around the top of the cake. These simple accents provide contrast against the soft pink palette and help frame the design beautifully. The finished cake combines classic royal icing techniques with detailed moulded embellishments, creating a sophisticated bas-relief effect that looks intricate but is surprisingly easy to achieve with the right mould and materials.
Subscribe to our Newsletter
The latest products, offers and events delivered right to your inbox.