
Gesso Resist Backgrounds Technique
This instalment of the Cosmic Shimmer Education Series explores three versatile gesso resist techniques that turn simple cardstock into richly textured backgrounds. Using white gesso and Cosmic Shimmer water-based inks, Sheena shows how to create:
• A mottled paint effect
• Faux wood grain effect
• A soft woodland glow over stencilled trees
Each background is ideal for tags, card fronts, die-cut shapes or mixed media panels. High-quality gesso is recommended for this project as it is strongly pigmented and clingy, giving better coverage and grip, so less product is needed.
Watch the full length tutorial
Create Gesso Resist Backgrounds
Watch Next
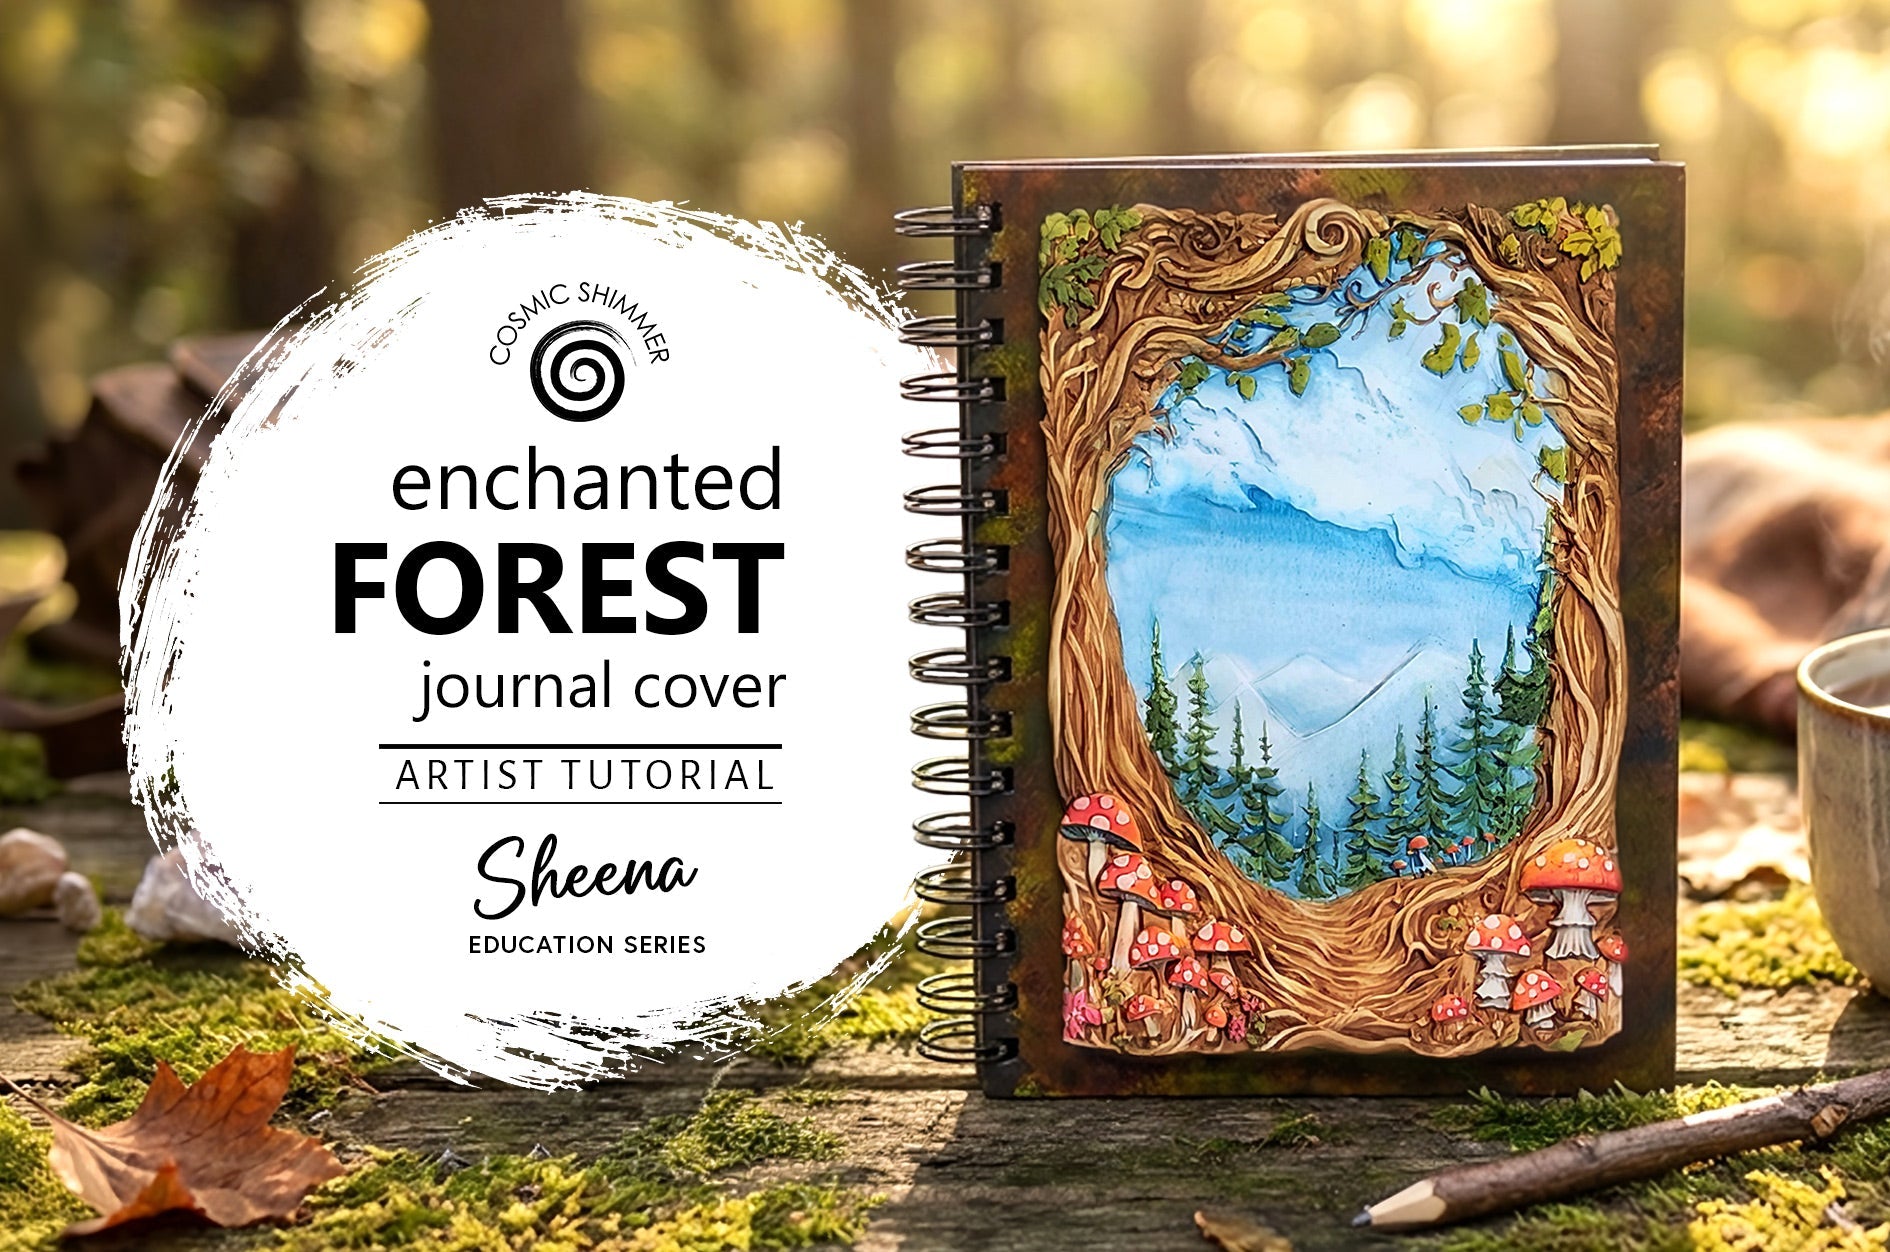
Woodland Scene Journal Cover Tutorial
Turn a plain journal into a magical mixed media keepsake with this beautiful woodland scene project. Using the Enchanted Forest Scene Silicone Mould, Cosmic Shimmer Art Journals, air dry clay, and Cosmic Shimmer Water-Based Inks, this tutorial shows how to create and paint a detailed clay panel, then mount it onto a journal cover for a truly enchanting finish.
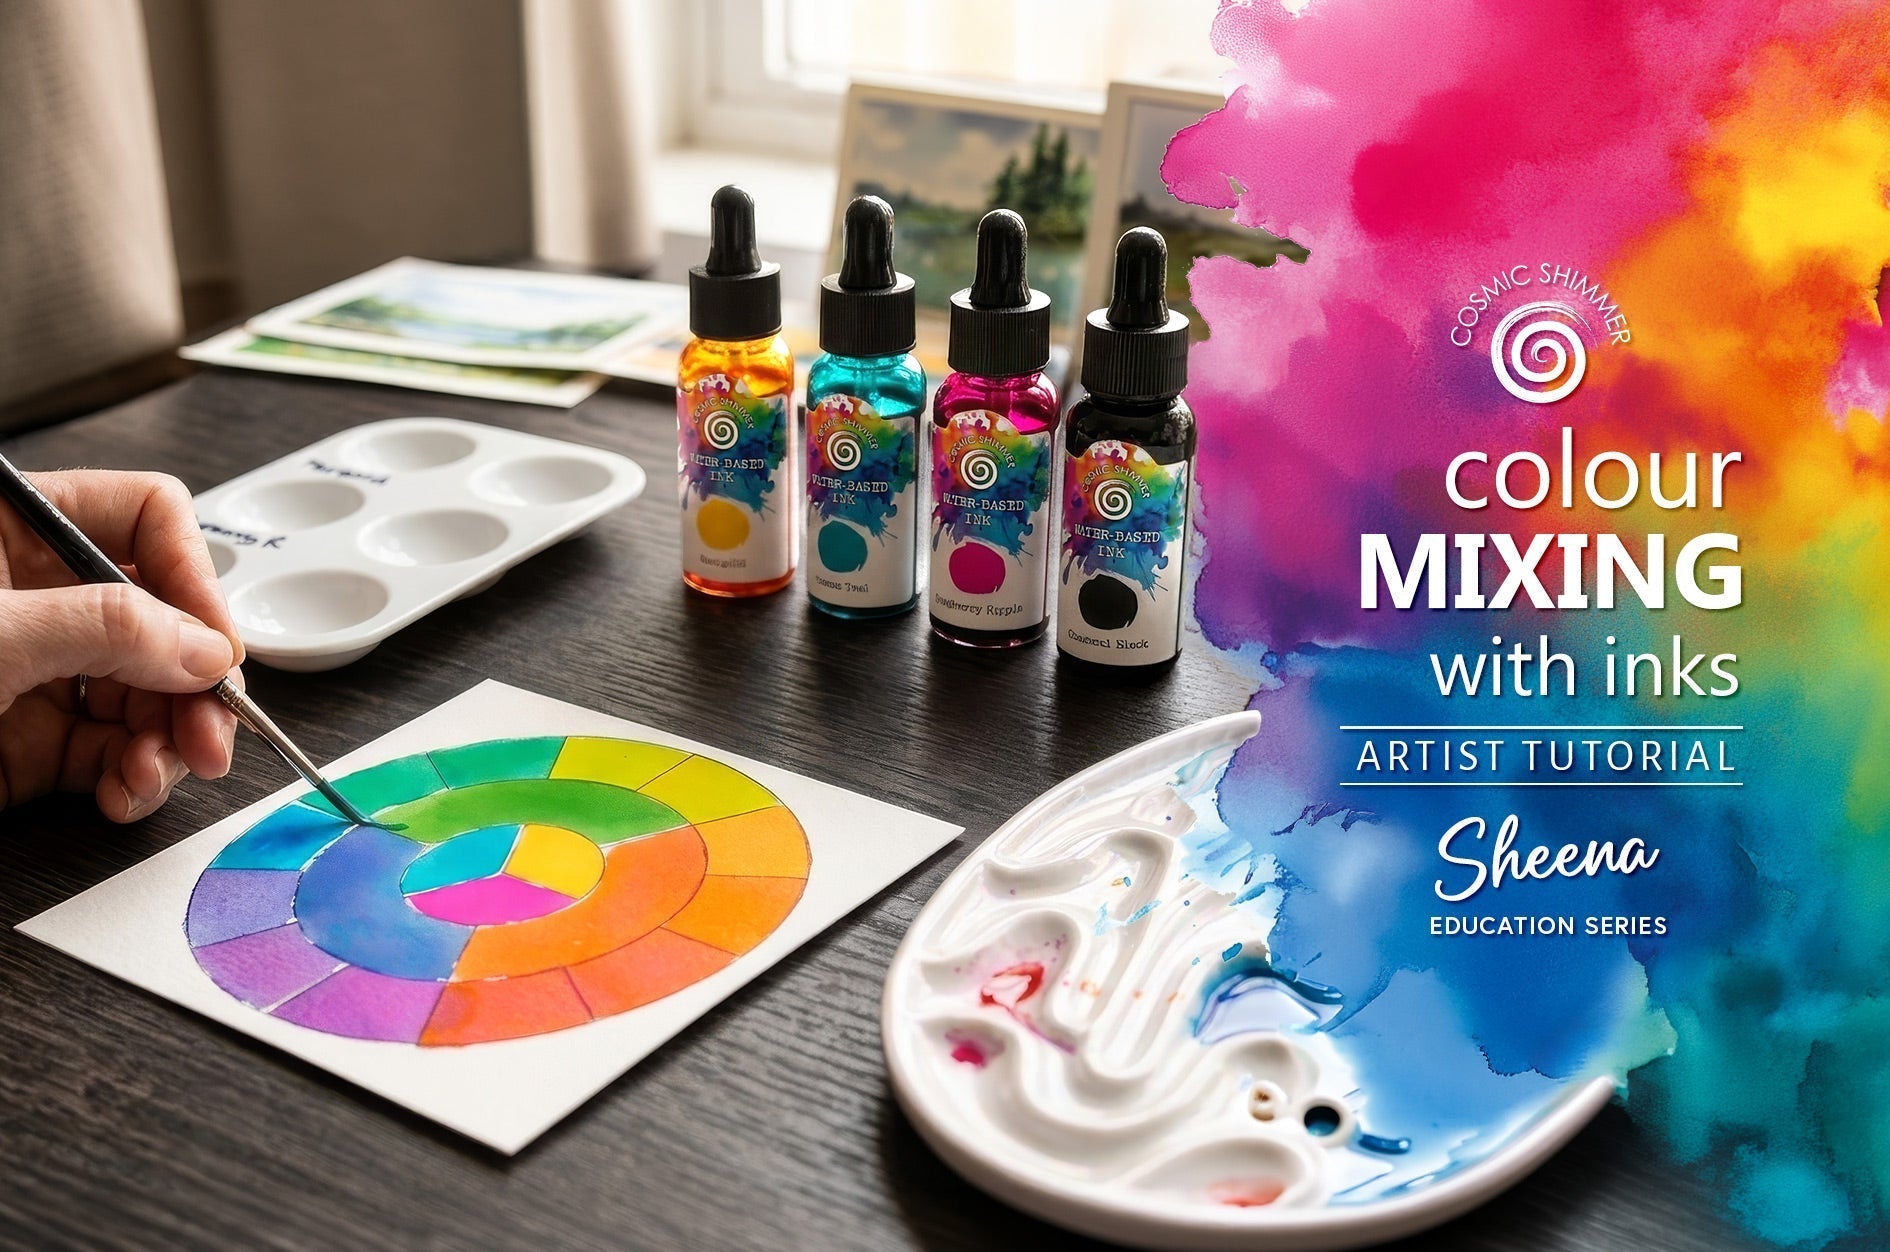
Colour Mixing with Inks Beginners Guide
In this tutorial, Sheena Douglass shows you how to unlock a full spectrum of colour using Cosmic Shimmer Water-Based Inks in this simple yet effective mixing guide. By working with just three base colours and black, this tutorial shows how to create everything from bold, vibrant shades to soft pastels and natural tones—perfect for getting the most from your inks.

Air Dry Clay Patina Paint Effect with Andy Skinner
Discover how to create realistic aged metal effects using Cosmic Shimmer Matt Chalk Paints. In this tutorial, Andy Skinner demonstrates simple yet effective painting techniques to achieve authentic patina finishes. The project centres around a beautifully detailed dancer, posed en pointe with fairy wings and flowing costume details captured in air dry clay using the Cosmic Shimmer Dance Silicone Mould. The elegant design provides plenty of raised texture and fine detail, making it ideal for showcasing layered paint techniques and realistic aged metal patina effects.
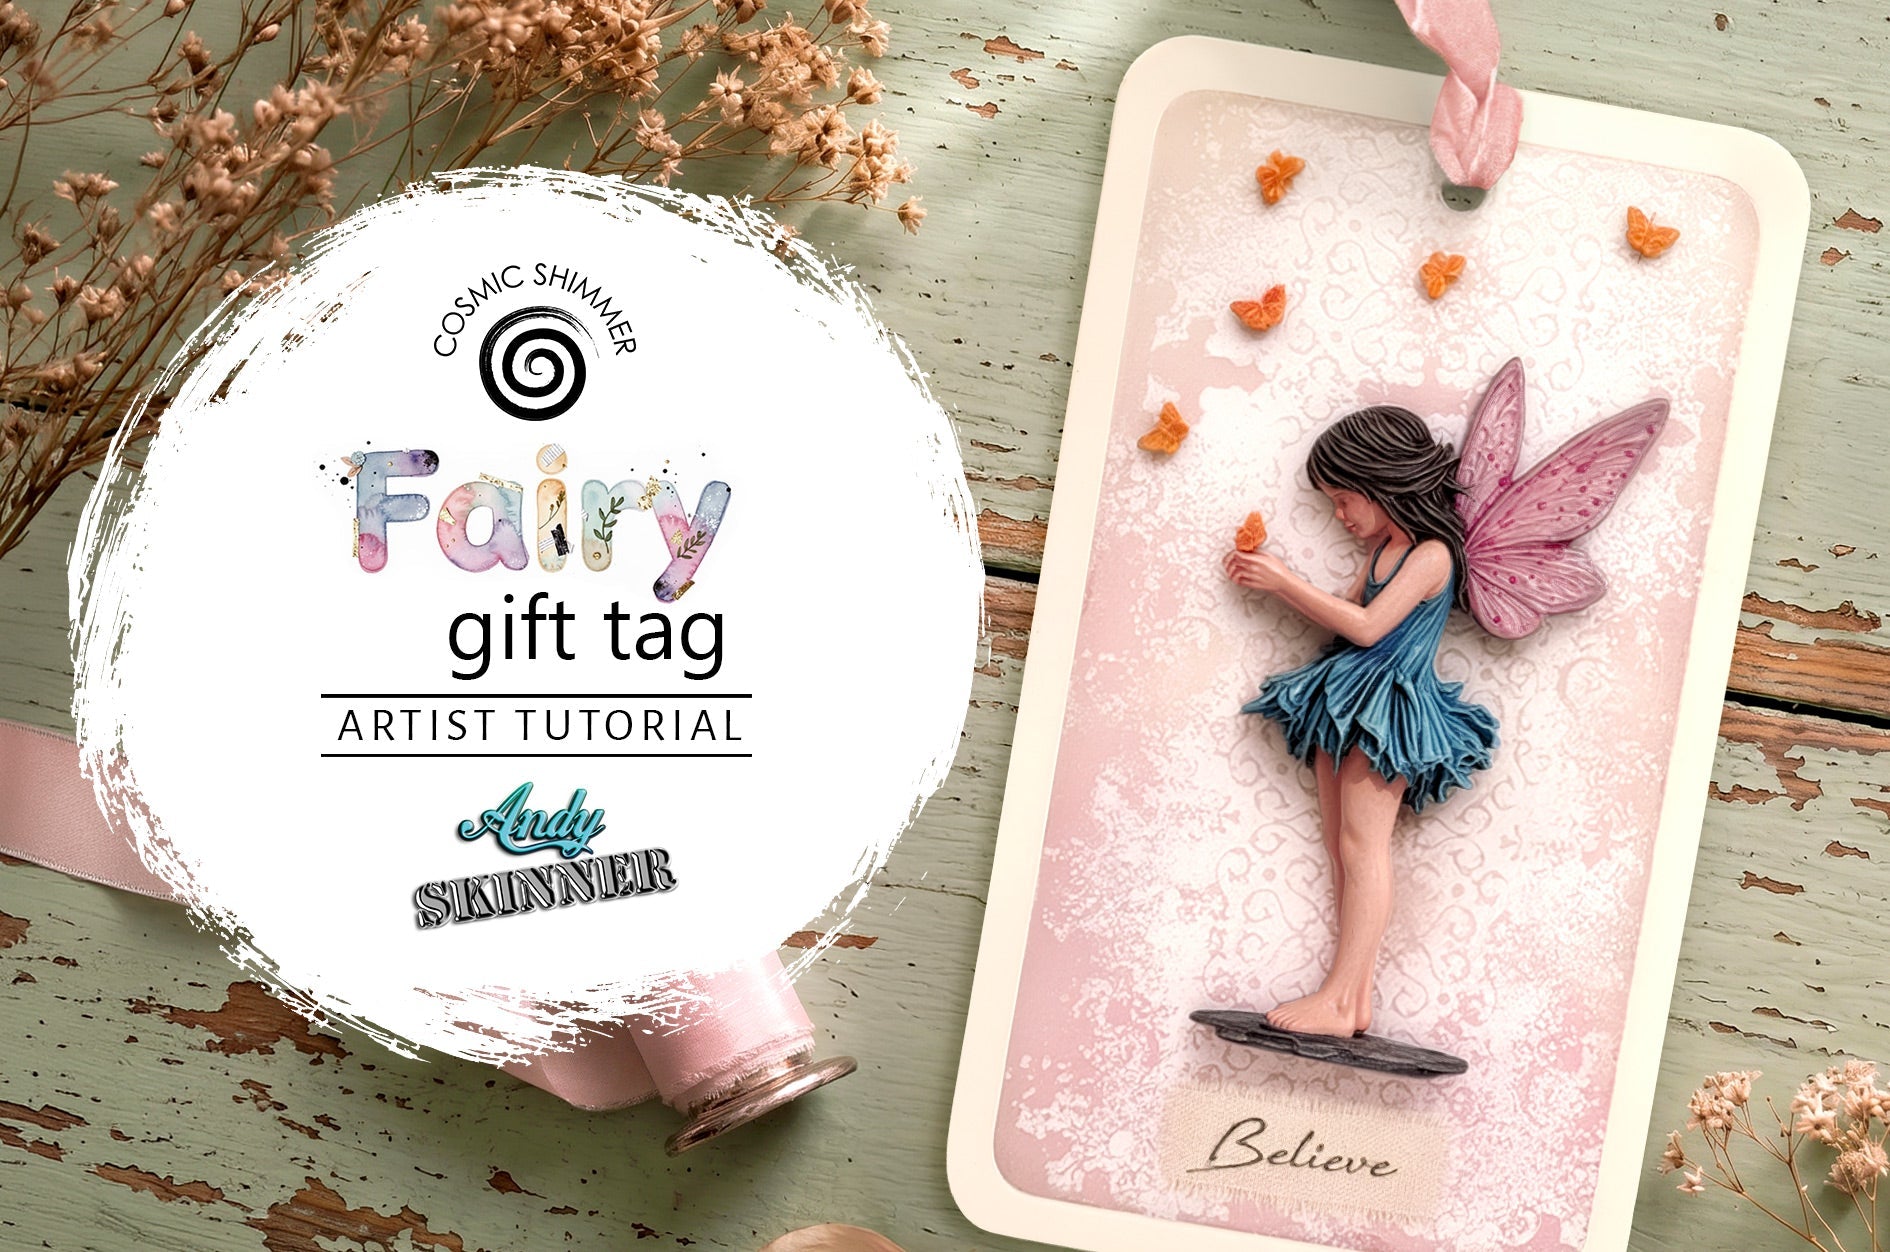
Mixed Media Fairy Gift Tag Project with Andy Skinner
Bring moulded embellishments to life with layers of colour, texture and subtle shimmer. In this tutorial, Andy Skinner demonstrates how a simple air-dry clay cast can be transformed into a beautifully detailed focal point for a gift tag using Cosmic Shimmer Matt Chalk Paints. Featuring the Cosmic Shimmer Little Things Silicone Mould, this project is packed with fine textures and raised details that make it ideal for showcasing layered paint effects.
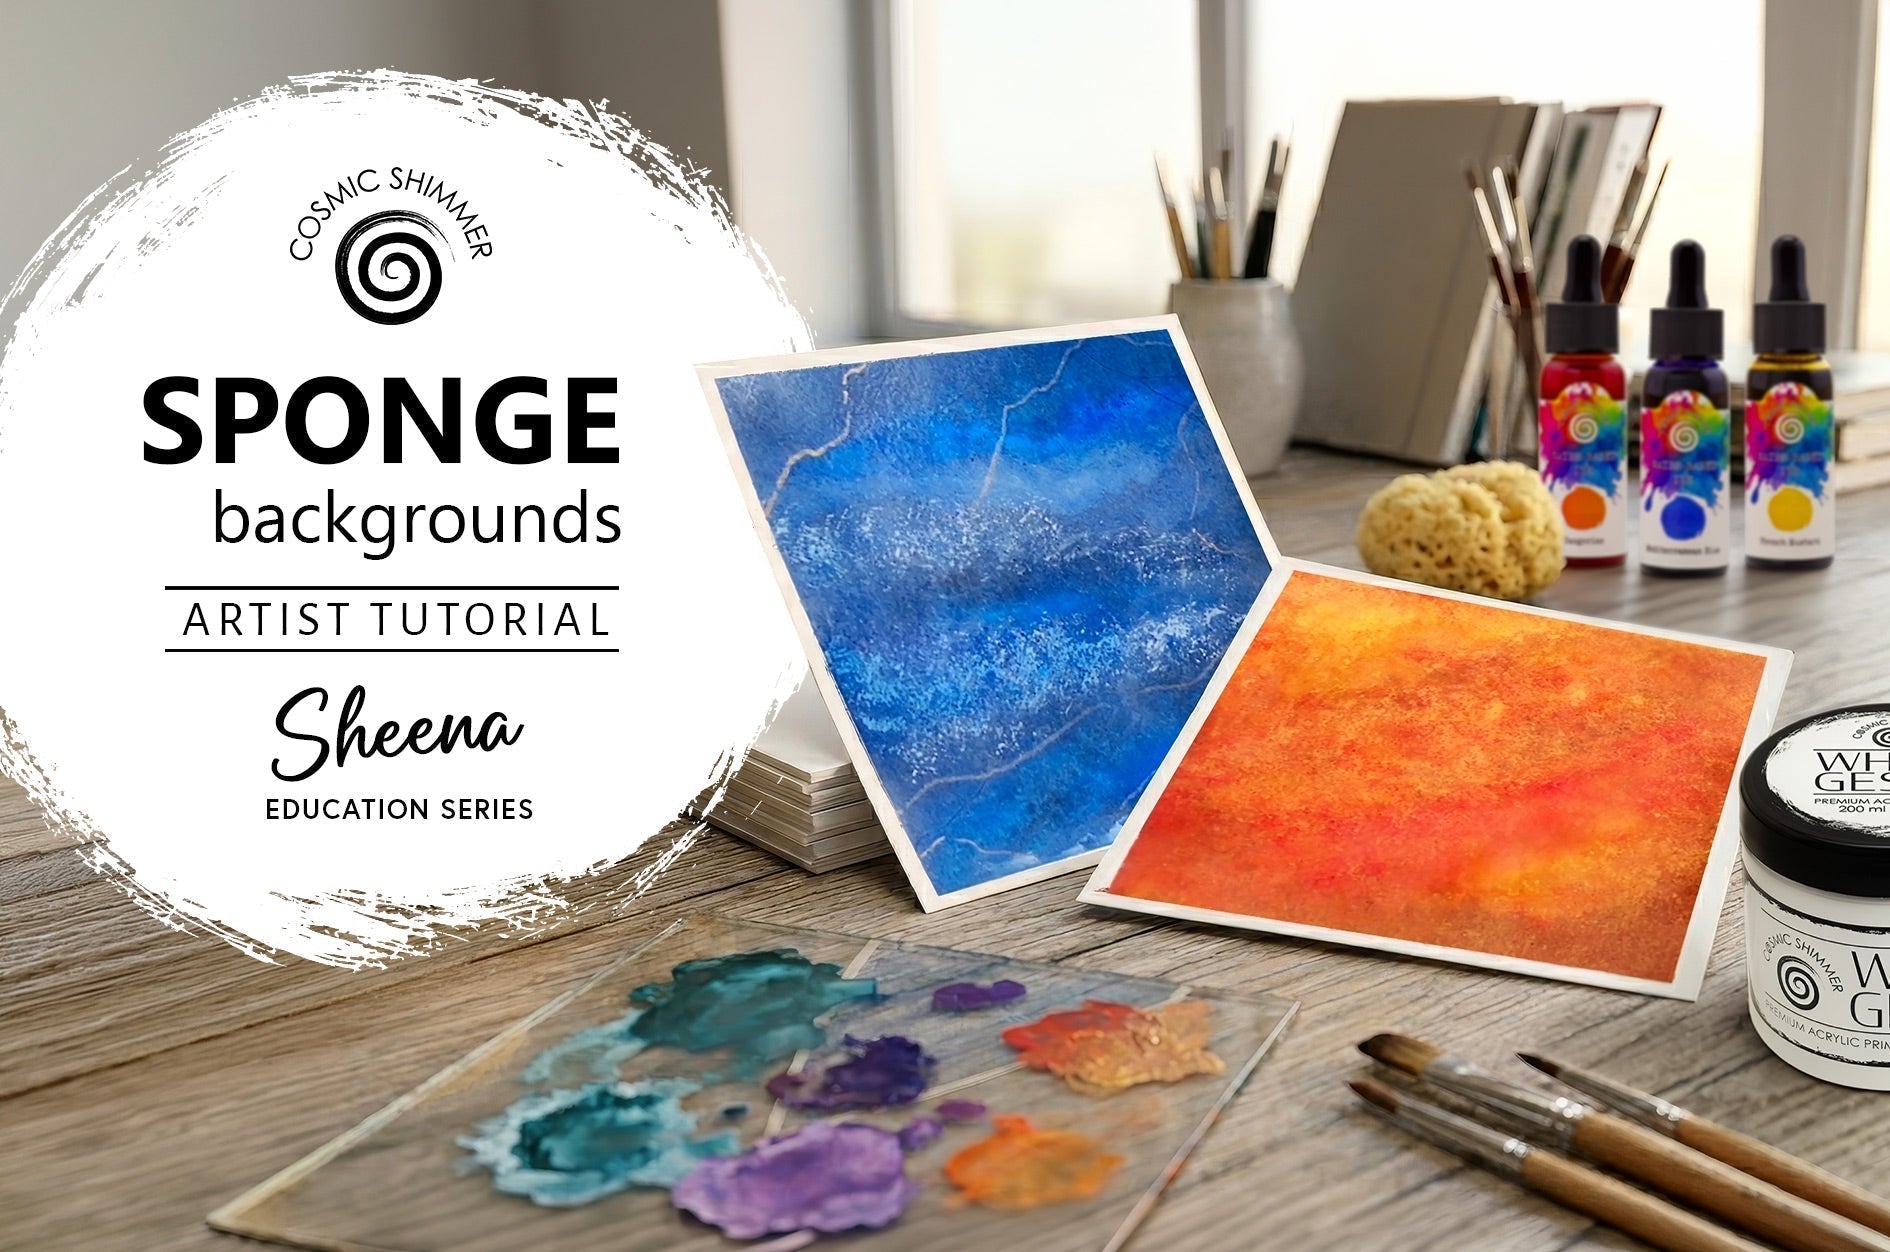
Sponge Painted Backgrounds Tutorial with Sheena
Backgrounds are the foundation of countless cardmaking and mixed media projects, and few techniques are as versatile, beginner friendly and effective as sponge inking. Using simple everyday materials and a handful of Cosmic Shimmer products, it is possible to create richly layered backgrounds with depth, texture and metallic highlights
Subscribe to our Newsletter
The latest product launches & offers delivered to your inbox
Click here to subscribe